

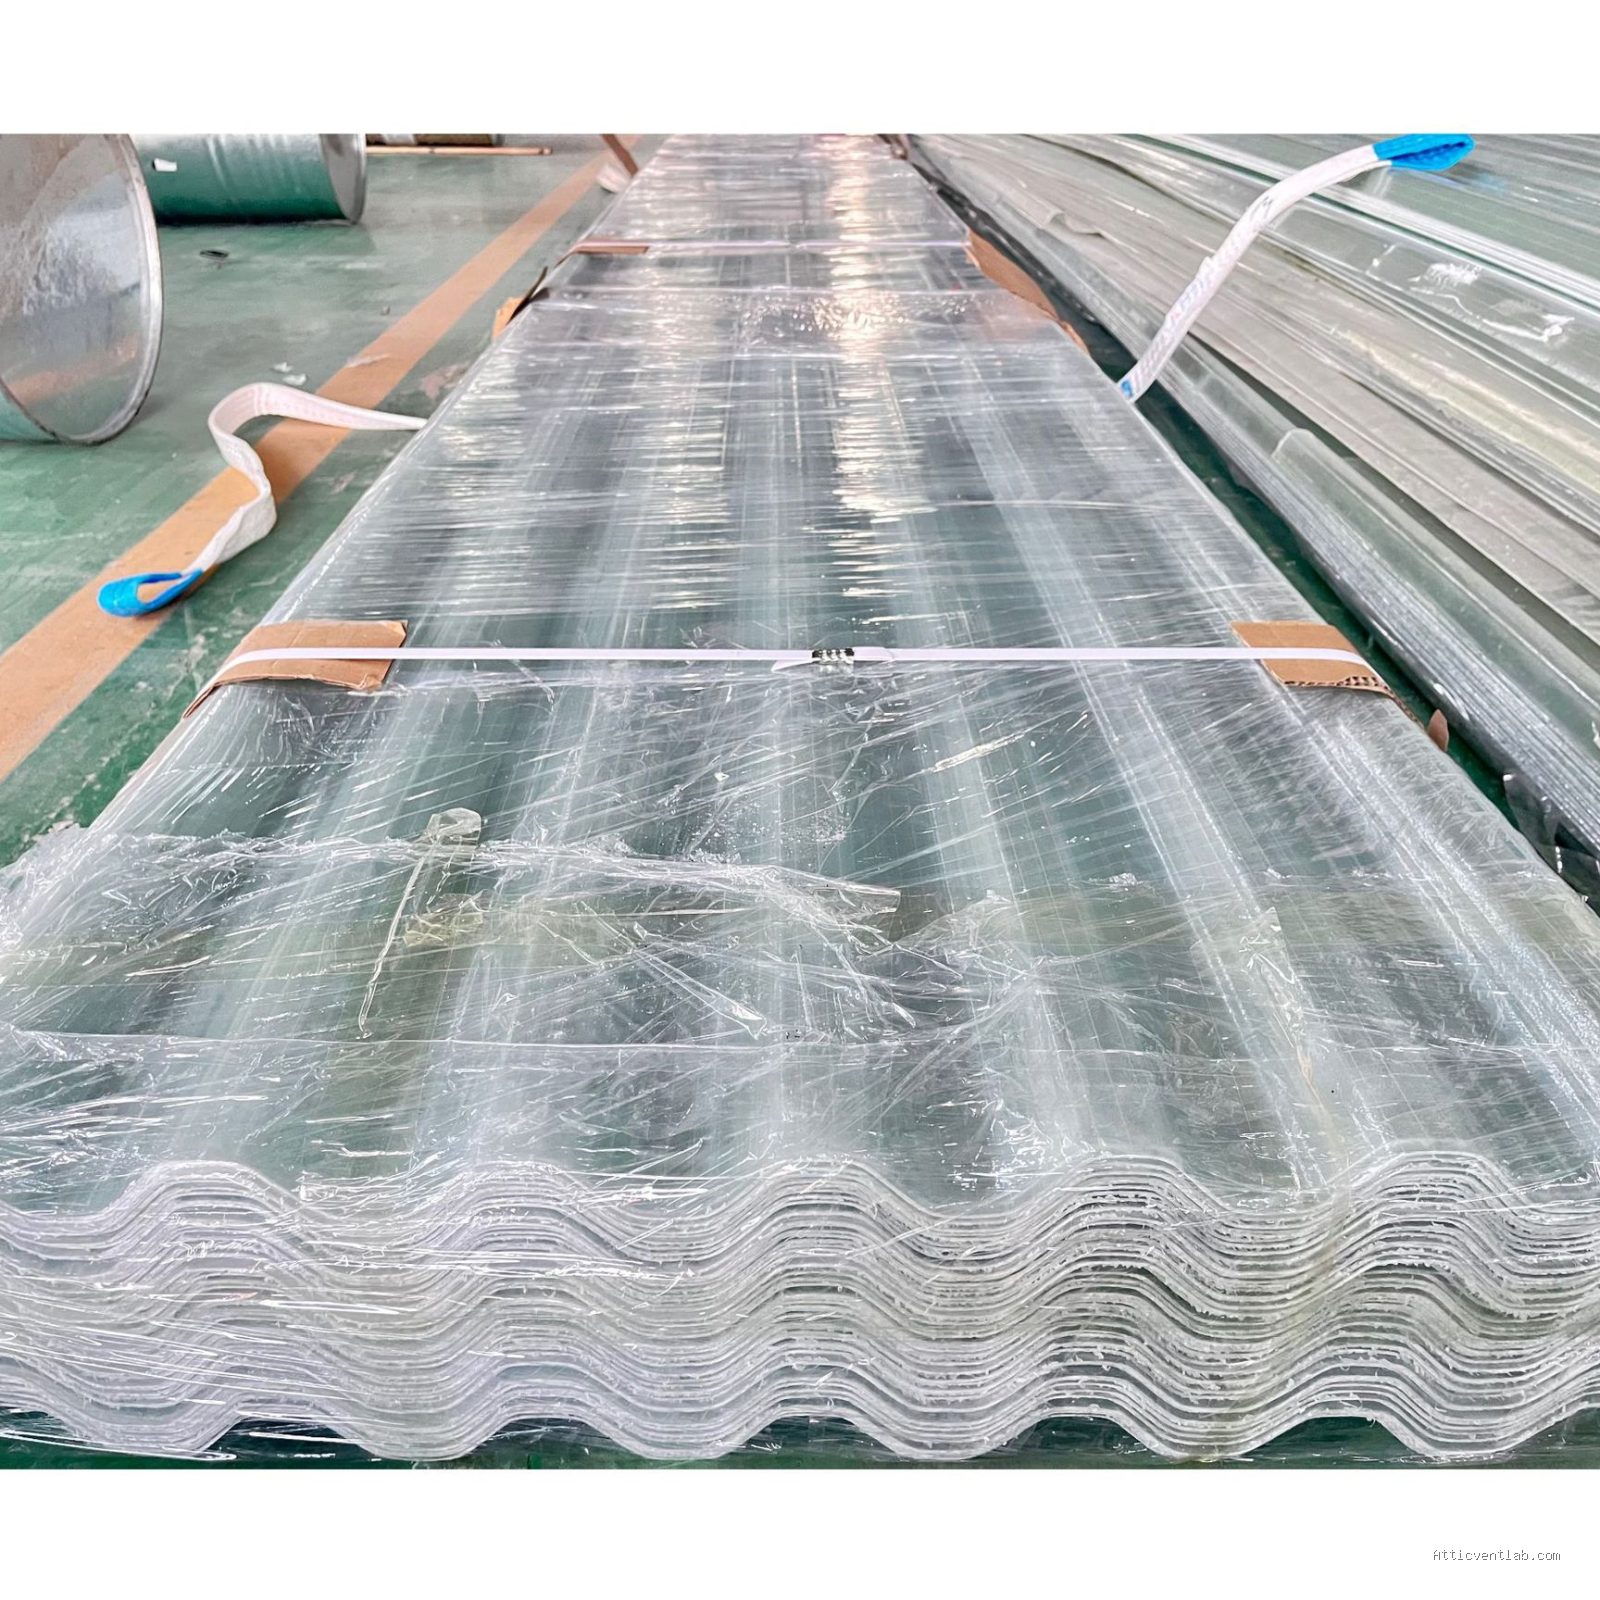
Atticventlab.com – To effectively seal slotted screws on aging corrugated fiberglass roof panels, you must clean the area thoroughly, remove rust or debris, and apply a high-quality UV-resistant elastomeric sealant or dedicated butyl rubber patch over the fastener head. This prevents water infiltration caused by degraded gaskets and material thinning around the screw holes.
Understanding the Challenge of Aging Fiberglass
Corrugated fiberglass panels are notorious for becoming brittle and micro-cracked as they age. When these panels were originally installed, the slotted screws were likely fitted with small neoprene or rubber washers. Over time, these washers dry rot, crack, or compress, leaving a direct path for moisture to enter your structure. Because fiberglass is prone to stress fractures, simply tightening the screws further is often a destructive mistake that leads to larger cracks.
The slotted nature of these older screws adds another layer of complexity. Unlike modern hex-head screws, slotted heads are difficult to torque properly without the driver slipping and causing further damage to the surrounding panel material. Sealing these fasteners is not just about stopping a leak; it is about reinforcing the connection point to prevent structural rattling and further material fatigue.
Preparation for a Durable Seal
Before applying any sealant, the surface must be surgically clean. Even the best commercial-grade sealant will fail if it is applied over oxidized fiberglass dust or mineral deposits. Use a soft-bristled brush to remove loose debris, followed by a light wipe with isopropyl alcohol to remove oily residues. If the screw itself is heavily rusted, it is often better to replace it with a stainless steel version before sealing, provided the hole has not widened too much.
Recommended Sealing Methods
There are two primary schools of thought when sealing these fasteners. The first is the liquid sealant method, which involves using a thick, UV-stable sealant like polyurethane or specialized roof mastic. The second is the mechanical patch method, which utilizes pre-cut butyl tape patches that wrap over the screw head and create a waterproof umbrella.
| Method | Best For | Durability | Application Difficulty |
|---|---|---|---|
| Polyurethane Sealant | Small, hairline leaks | Medium | Low |
| Butyl Rubber Patches | Severely degraded holes | High | Low |
| Silicone (UV Rated) | Minor cosmetic repairs | Low | Medium |
Step-by-Step Sealing Process
Following a structured approach ensures that the sealant bonds correctly with the fiberglass substrate, which is essential for long-term weatherproofing.
- Inspect the screw head and the immediate fiberglass surrounding it for cracks or missing material.
- Clean the area with a non-abrasive cleaner and ensure it is bone-dry before proceeding.
- Apply a generous bead of high-grade elastomeric sealant around the base of the screw head, ensuring contact with both the metal and the fiberglass.
- Use a small putty knife or your finger (gloved) to smooth the sealant outward, creating a slight dome shape to encourage water runoff.
- If using a butyl patch, center the patch over the screw and press firmly from the center outward to eliminate air bubbles.
- Allow the sealant to cure for at least 24 hours before expecting heavy rain exposure.
Common Mistakes to Avoid
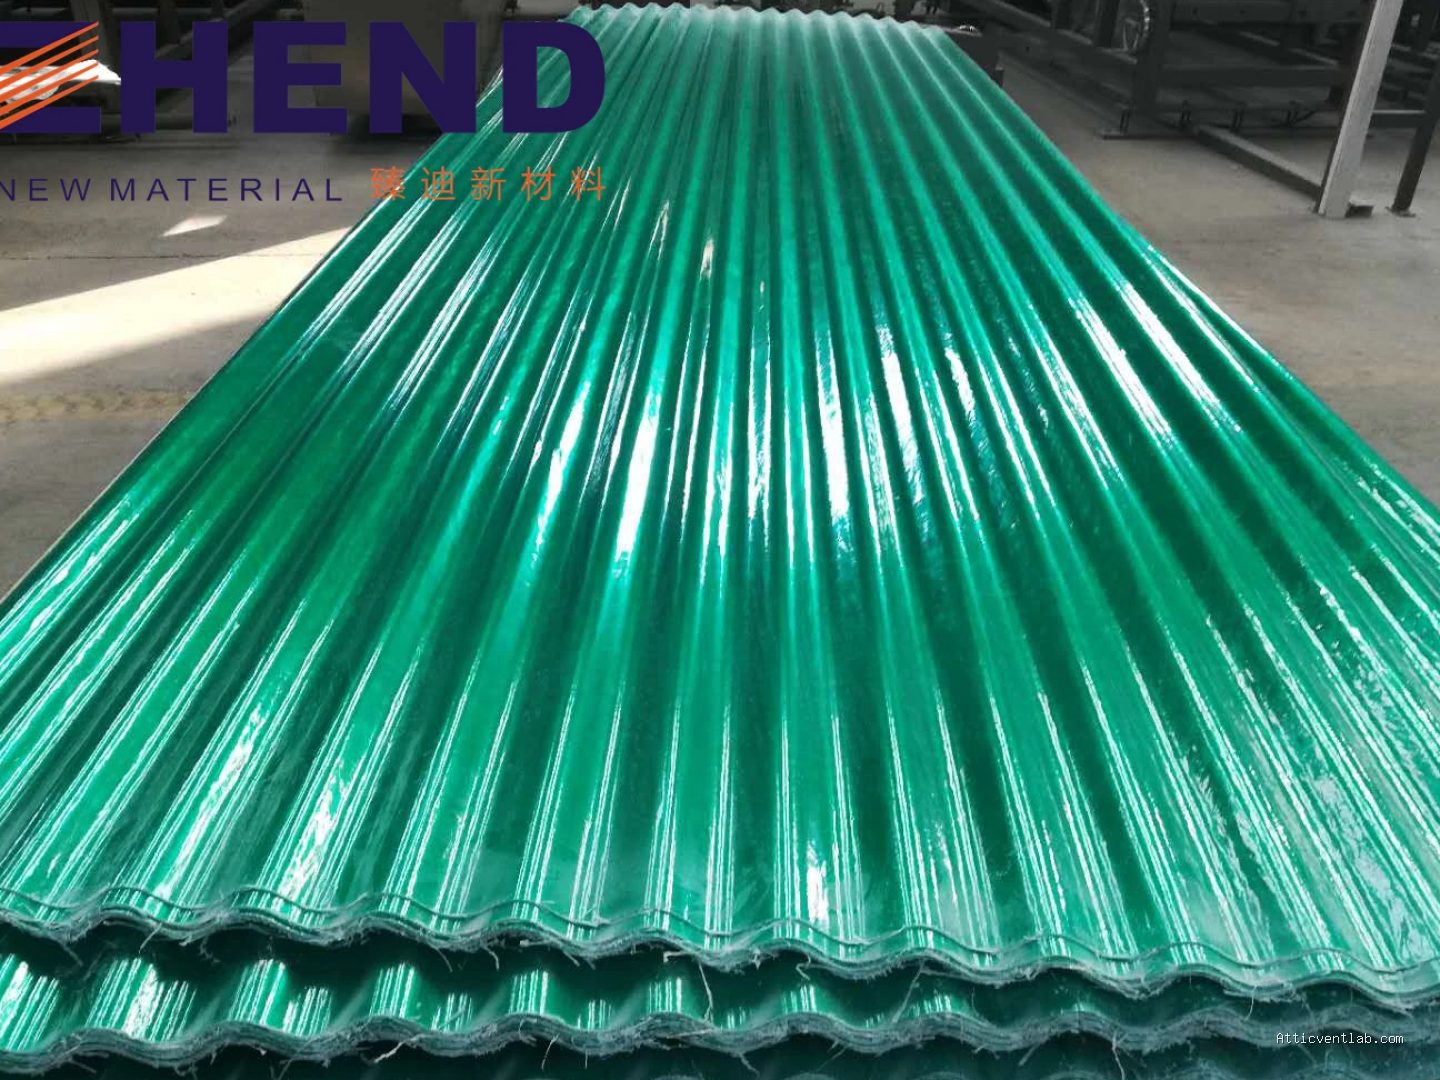
One of the most frequent errors is the use of standard hardware store silicone. Silicone often fails to bond long-term to the specific resins used in fiberglass panels, and it can actually peel away as the panel expands and contracts with thermal cycling. Always look for products labeled as “elastomeric” or specifically designed for roofing applications.
📷 Photo by alibaba.com
Another mistake is over-tightening. If the fiberglass is aged, it loses its structural integrity. If you try to force a screw to seat tighter to stop a leak, you risk creating a “star crack” in the fiberglass. Once a star crack forms, the seal is compromised permanently, and you may need to install a larger rubber-backed washer or a metal flashing square to bridge the gap.
The Importance of Thermal Expansion
Fiberglass panels have a high coefficient of thermal expansion. They grow significantly in the heat of the day and shrink in the cold of the night. Your sealing method must be flexible. Rigid epoxy or cement-based fillers are entirely inappropriate for this task because they will crack the moment the roof moves. Always opt for materials that remain pliable at low temperatures and do not become brittle under intense UV exposure.
When to Consider Total Replacement
While sealing screws is a great maintenance task, it is not a permanent fix for a roof that has reached the end of its life cycle. If you find that more than 30 percent of your fasteners are leaking or that the fiberglass panels are becoming translucent and thinning, sealing is merely a temporary patch. At this stage, the material is likely too weak to hold fasteners securely, and professional replacement of the panels should be considered.
Frequently Asked Questions
Q: Can I use standard caulk for these repairs?
A: No, standard interior caulk lacks the necessary UV inhibitors and flexibility to handle the thermal expansion of roof panels and will likely fail within a single season.
Q: Should I remove the screw before sealing?
A: Only remove the screw if it is rusted or loose. If the screw is holding firm, it is better to seal over it to avoid creating a new hole in the already fragile fiberglass panel.
Q: How long should a proper seal last?
A: When using professional-grade elastomeric sealants or butyl patches, you can expect the repair to remain waterproof for 5 to 7 years, provided the fiberglass panel itself remains intact.
Maintaining the integrity of your roof is a proactive process. By addressing these slotted screws now, you prevent the slow degradation of the underlying rafters and insulation, which is far more expensive to repair than a simple fastener seal.
Read also: Signs of Attic Insulation Blocking Air Circulation Along the Top Plates
📷 Photo by everwinmaterials.com








1 Comments
[…] Read also: How to Seal Slotted Screws on Aging Corrugated Fiberglass Roof Panels […]