


Atticventlab.com – Flashing a plumbing vent stack on a standing seam metal roof requires the installation of a specialized EPDM or silicone pipe boot that is mechanically fastened to the roof deck and sealed with high-grade metal roof sealant to ensure a watertight transition without compromising the roof’s thermal expansion capabilities.
Standing seam metal roofs are prized for their durability and sleek aesthetic, but they present unique challenges when it comes to roof penetrations. Unlike asphalt shingles, where flashing is tucked under layers, metal roofs rely on a system of hidden clips and interlocking panels that move as temperatures fluctuate. If you rigid-mount a vent stack, you risk buckling or tearing the metal, leading to severe leaks.
Understanding the Movement Factor
The primary reason for failure in metal roof flashing is a misunderstanding of thermal expansion. Metal panels expand and contract significantly throughout the day. When a plumber or roofer installs a vent pipe, they must account for this movement. Using a standard “off-the-shelf” plumbing boot designed for shingles is a recipe for disaster. You need a base that can flex with the roof or a secondary curb system that isolates the penetration from the panel itself.
Selecting the Right Flashing Material
For most residential standing seam applications, a flexible rubber pipe boot with an aluminum or lead-coated base is the industry standard. These boots are designed to be cut to size, fitting the diameter of your PVC or cast-iron vent pipe perfectly. The aluminum base is malleable, allowing it to be shaped to the contours of the standing seam rib if necessary, though it is always best to place the penetration in the flat pan of the panel whenever possible.
Comparison of Flashing Methods
| Method | Best Use Case | Durability | Installation Complexity |
|---|---|---|---|
| EPDM Rubber Boot | Standard PVC stacks | High (20-30 years) | Moderate |
| Metal Curb System | Large pipes/HVAC | Very High (30+ years) | High |
| Lead Flashing | Historic restorations | Moderate | Low |
Step-by-Step Installation Guide
Proper installation ensures that your roof remains waterproof for decades. Follow these steps to secure the penetration correctly on a standing seam roof:
- Locate the ideal spot for the vent, ensuring it is located in the flat pan of the metal panel rather than directly on a seam.
- Measure the pipe diameter accurately and trim the EPDM rubber boot approximately 20 percent smaller than the pipe to ensure a tight, compression-fit seal.
- Apply a generous bead of high-quality polyurethane metal roof sealant to the underside of the pipe boot’s base plate.
- Slide the boot over the vent pipe and press it firmly against the roof surface, ensuring the sealant creates a consistent gasket.
- Use stainless steel screws with rubber-backed washers to secure the base plate to the roof panel, spacing them roughly 1 to 2 inches apart around the perimeter.
- Apply a final bead of sealant around the top edge of the rubber boot where it meets the pipe to prevent water from running down the pipe and into the sleeve.
Common Mistakes to Avoid
One of the most frequent errors is over-tightening the fasteners. Because the metal roof needs to move, if you screw the flashing down too tightly into the wooden substrate, you might create a “pinning” effect. This causes the metal panel to warp around the vent pipe, creating a wavy appearance and potential stress cracks. Always use fasteners designed for metal roofing that allow for slight thermal movement.
Another mistake is failing to account for the “rib” of the standing seam. If your vent pipe is too close to a vertical seam, the flashing base will not sit flat. If you absolutely must place a pipe near a seam, you may need to utilize a custom-fabricated saddle flashing that bridges the seam, rather than trying to force a flat-base boot over a raised rib.
Signs of Flashing Failure
Water damage from a faulty vent stack is often insidious. You may not notice a leak in the attic until the roof deck has already begun to rot. Look for signs of “rusting” around the base of the pipe, which indicates that water is sitting against the metal. Additionally, check for UV degradation on the rubber boot. If the rubber feels brittle or has developed cracks, it has reached the end of its lifespan and needs immediate replacement before a minor drip becomes a structural issue.
Maintenance Tips for Longevity
Twice a year, perform a visual inspection of your roof penetrations. Clear away any debris, such as leaves or twigs, that may have gathered against the uphill side of the vent pipe. Debris traps moisture and promotes corrosion of the metal panel. If you see the sealant beginning to pull away from the base, do not simply add more caulk. Remove the old, failing sealant entirely, clean the surface with a solvent approved for metal, and re-apply a fresh, high-grade sealant to ensure proper adhesion.
Frequently Asked Questions
Q: Can I use silicone caulk to seal the vent boot?
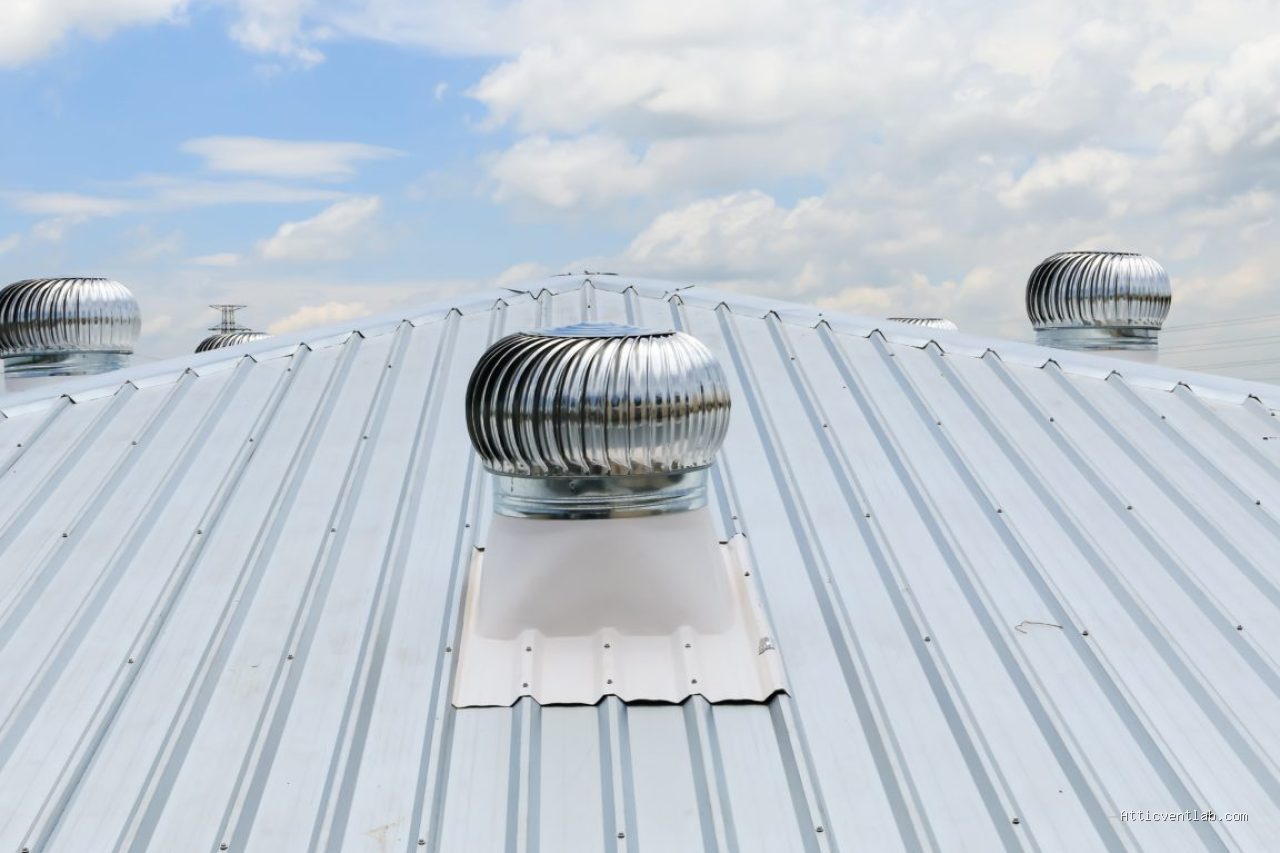
📷 Photo by rpsmetalroofing.com
A: While some silicones work, it is highly recommended to use a polyurethane-based sealant specifically labeled for metal roofing, as it offers superior adhesion and longevity under harsh weather conditions.
Q: Is it better to install the vent on the ridge or the panel?
A: Always install the vent stack in the flat pan of the panel. Installing it on the ridge interferes with the ridge cap integrity and is much more difficult to seal against wind-driven rain.
Q: How often should I replace the rubber pipe boots?
A: Most rubber boots last between 15 and 25 years depending on the sun exposure. If you live in a high-UV climate, inspect them every 5 years to check for cracking or loss of elasticity.
By following these professional practices, you protect the investment you have made in your metal roof. Proper flashing is not just about keeping water out; it is about respecting the architectural integrity of the standing seam system, allowing it to perform exactly as the manufacturer intended.
Read also: Causes of High Electricity Bills from Trapped Attic Heat Baking Ducts
📷 Photo by imagetou.com







1 Comments
[…] Read AlsoHow to Flash Plumbing Vent Stacks on Standing Seam Metal Roof Panels […]