

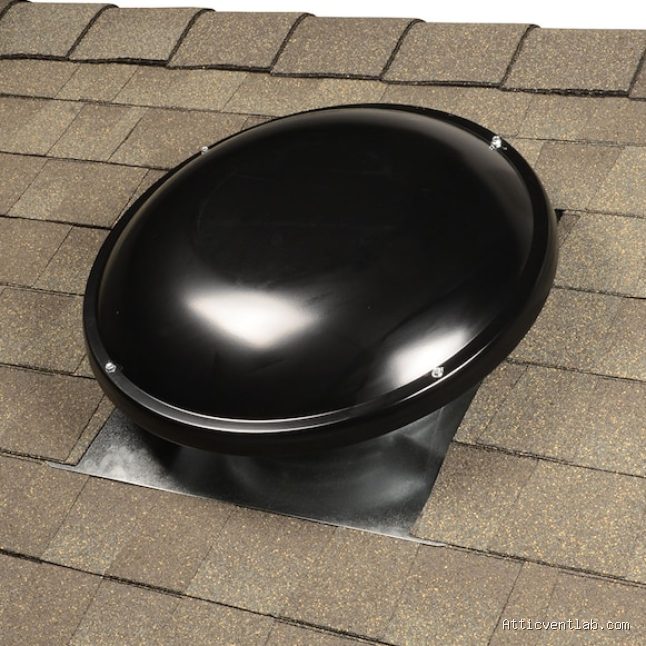
Atticventlab.com – Installing low-profile dome roof louvers on steep shingle pitches requires precise positioning near the ridge line and meticulous flashing techniques to ensure a watertight seal against gravity-driven water runoff. By securing the unit on the upper third of the roof slope, you maximize natural convection while minimizing the risk of leaks common with steeper roof angles.
Understanding the Challenges of Steep Roofs
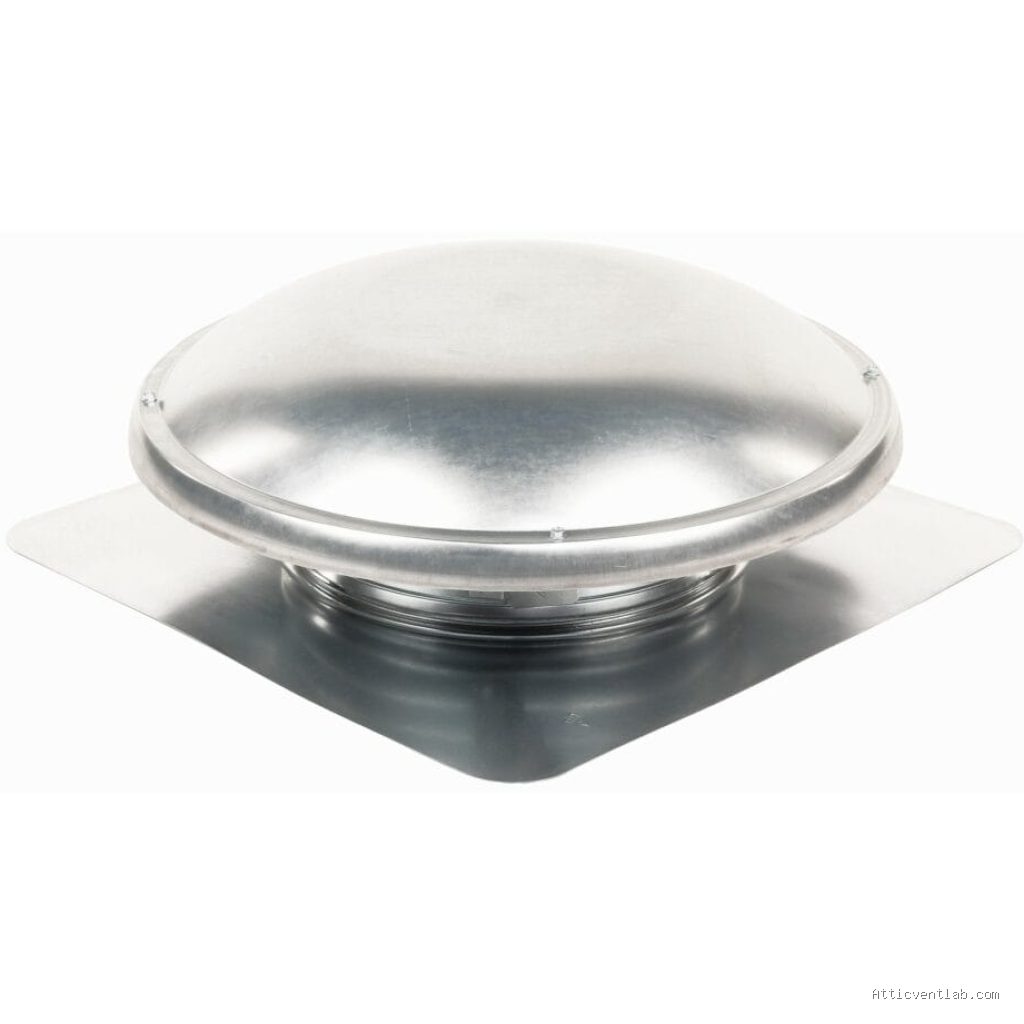
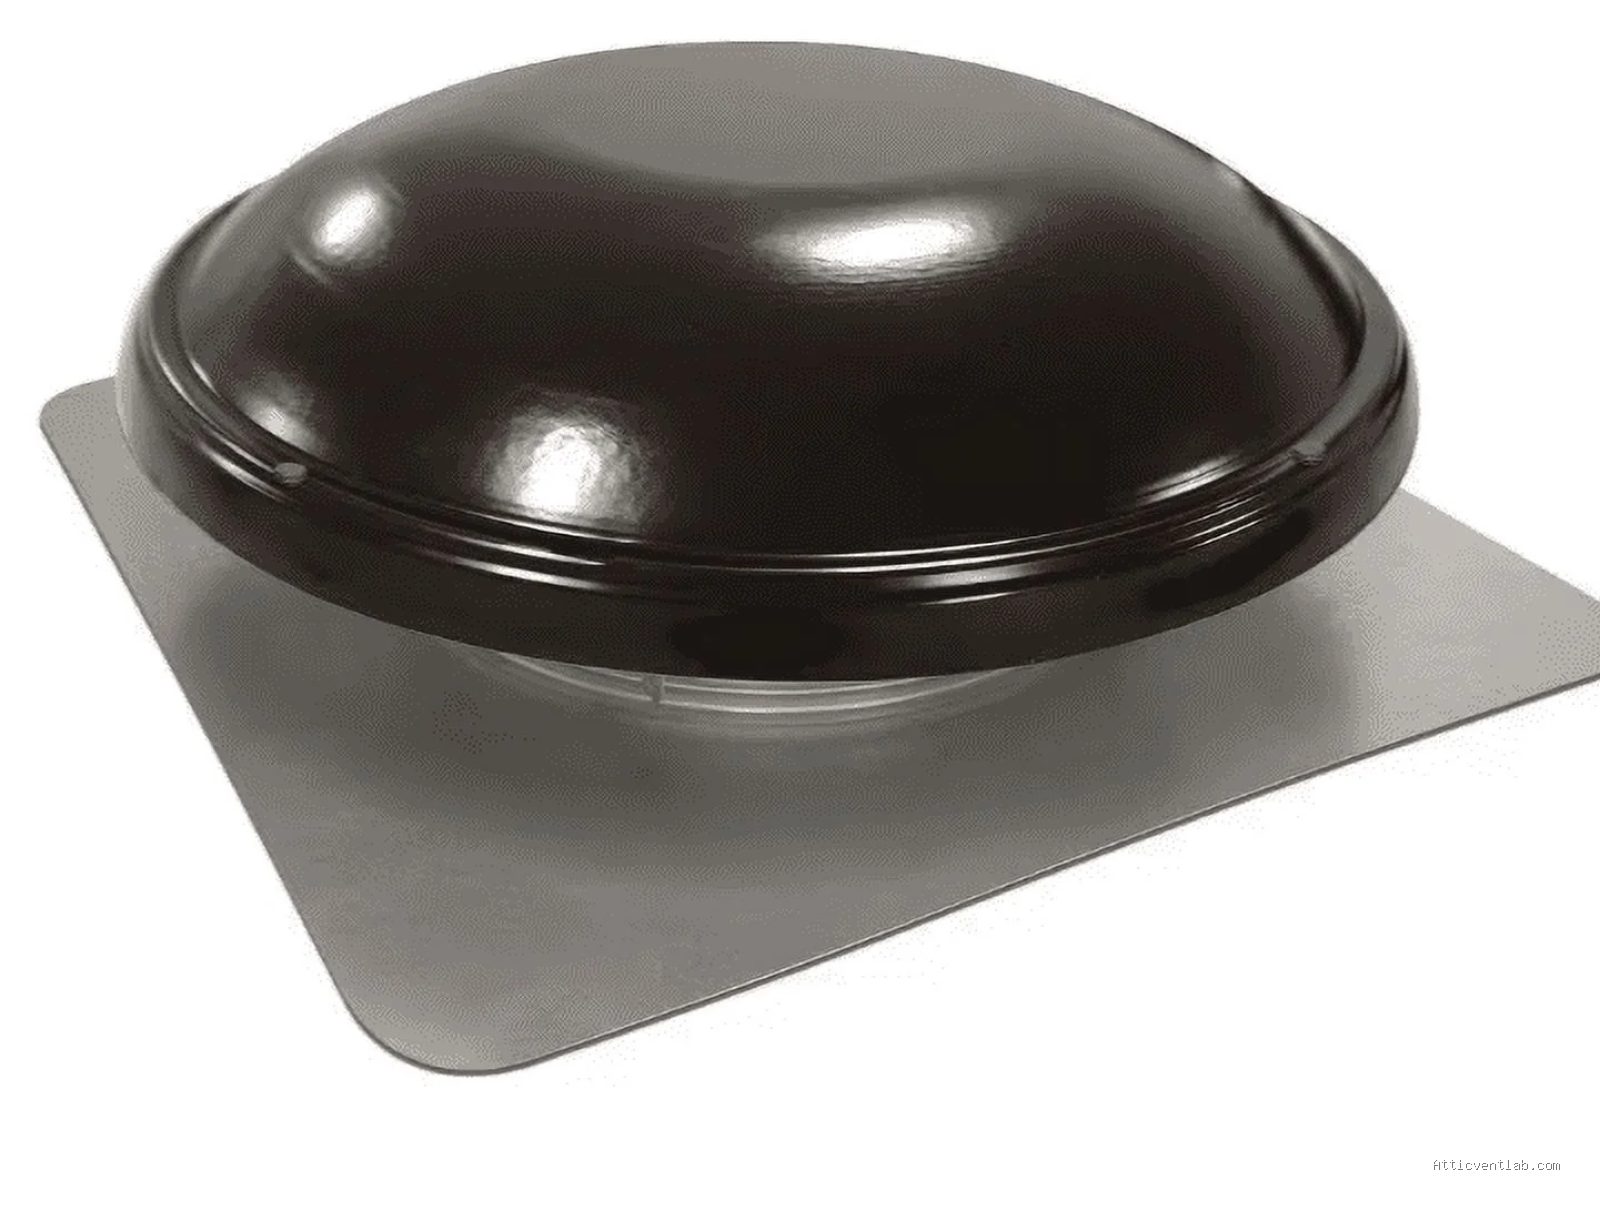
Steep roof pitches, typically defined as slopes greater than 6/12, pose unique challenges for ventilation installation. Gravity works more aggressively on steep surfaces, meaning any imperfection in your flashing or shingle integration will lead to water infiltration. Low-profile dome louvers are often preferred for these settings because they offer a smaller wind profile, reducing the likelihood of uplift damage during heavy storms while providing efficient exhaust for hot, moist air trapped in the attic.
The primary goal is to install the louver high enough to capture the hottest air but low enough to avoid interfering with the ridge cap shingles. When working on a steep pitch, safety equipment such as roof jacks, harnesses, and toe boards are not optional; they are critical for maintaining the stability required to perform clean, precise cuts and sealing work.
📷 Photo by roofingdirect.com
Tools and Materials Needed
Before beginning, ensure you have the correct equipment. Using the wrong sealant or cutting tool can compromise the integrity of the roof system. Below is a breakdown of the essential items required for a professional-grade installation.
| Item | Purpose |
|---|---|
| Roofing Cement | Sealing the flange to the shingle deck |
| Reciprocating Saw | Cutting the roof sheathing |
| Roofing Nails | Securing the louver flange |
| Utility Knife | Trimming shingles for a clean fit |
| Safety Harness | Fall protection for steep pitches |
Step-by-Step Installation Guide
Follow these steps to ensure your dome louver is installed securely and remains leak-free for the life of your roof.
- Locate the optimal position for the vent. It should be placed at least 18 inches below the ridge, ensuring it is centered between two rafters to avoid cutting into structural framing members.
- Mark the center point of the vent on the roof surface. Using the template provided by the manufacturer, trace the circular opening onto the shingles.
- Carefully remove the shingles within the marked area using a flat pry bar. Be gentle to avoid damaging the surrounding shingles that will remain on the roof.
- Cut the hole through the roof sheathing using a reciprocating saw. Ensure the cut is clean and follows the traced line exactly to maintain a snug fit for the louver throat.
- Apply a generous bead of high-grade roofing cement to the underside of the louver flange. This acts as the primary barrier against water seepage.
- Slide the upper half of the flange underneath the existing shingles above the hole. This “lapped” approach is vital on steep roofs; it forces water to flow over the flange rather than behind it.
- Secure the flange to the roof deck using roofing nails, placing them only on the sides and bottom of the flange. Do not nail the top flange if it is tucked under the shingles, as this could create unnecessary puncture points.
- Seal all exposed nail heads and the bottom edge of the flange with roofing cement to complete the waterproof seal.
Common Mistakes to Avoid
One of the most frequent errors installers make is over-nailing the flange. While it might seem intuitive to use as many nails as possible for stability, every nail is a potential leak point. Only use the amount specified by the manufacturer. Additionally, failing to properly “lap” the shingles—meaning sliding the top of the louver flange under the existing shingles—is a recipe for disaster. On a steep pitch, water travels downward at a high velocity; if the top of the flange sits on top of the shingles, water will inevitably get underneath.
Another common mistake is neglecting the attic side of the installation. Ensure that the insulation in your attic has not been pushed up against the new vent hole. If the insulation blocks the airflow, the louver cannot perform its intended function, leading to moisture buildup and potential mold growth in the attic space.
Read also: Why Cheap Roofing Caulking Shrinks and Pulls Away from Brick Flashing
Maintenance and Inspection
Even a perfectly installed dome louver requires periodic checks. Every two years, or after a severe wind storm, inspect the louver from the ground using binoculars or perform a roof inspection if safe access is available. Look for cracked sealant around the base or shingles that have curled away from the louver flange. If you notice debris trapped inside the dome, use a light spray of water or a soft brush to clear the mesh screen, as blockages will significantly reduce the efficiency of your attic ventilation system.
📷 Photo by walmart.com
Frequently Asked Questions
Q: Can I install a dome louver on a roof with a pitch steeper than 12/12?
A: Yes, but you must ensure that you use specialized flashing techniques and high-quality, cold-weather-rated roofing cement to account for the increased water runoff velocity and potential for ice damming in colder climates.
Q: Is it necessary to remove the old shingles around the cut area?
A: It is highly recommended. Trimming the shingles back allows you to properly flash the louver flange under the existing shingle layer, which is the only way to ensure a truly waterproof installation on steep slopes.
Q: Does the color of the dome louver affect its performance?
A: While color is primarily aesthetic, darker colors may absorb more heat. However, the impact on attic temperature is negligible compared to the importance of having proper airflow; focus on the vent’s NFA (Net Free Area) rating rather than the color.
📷 Photo by lowes.com








1 Comments
[…] Read also: How to Install Low Profile Dome Roof Louvers on Steep Shingle Pitches […]