

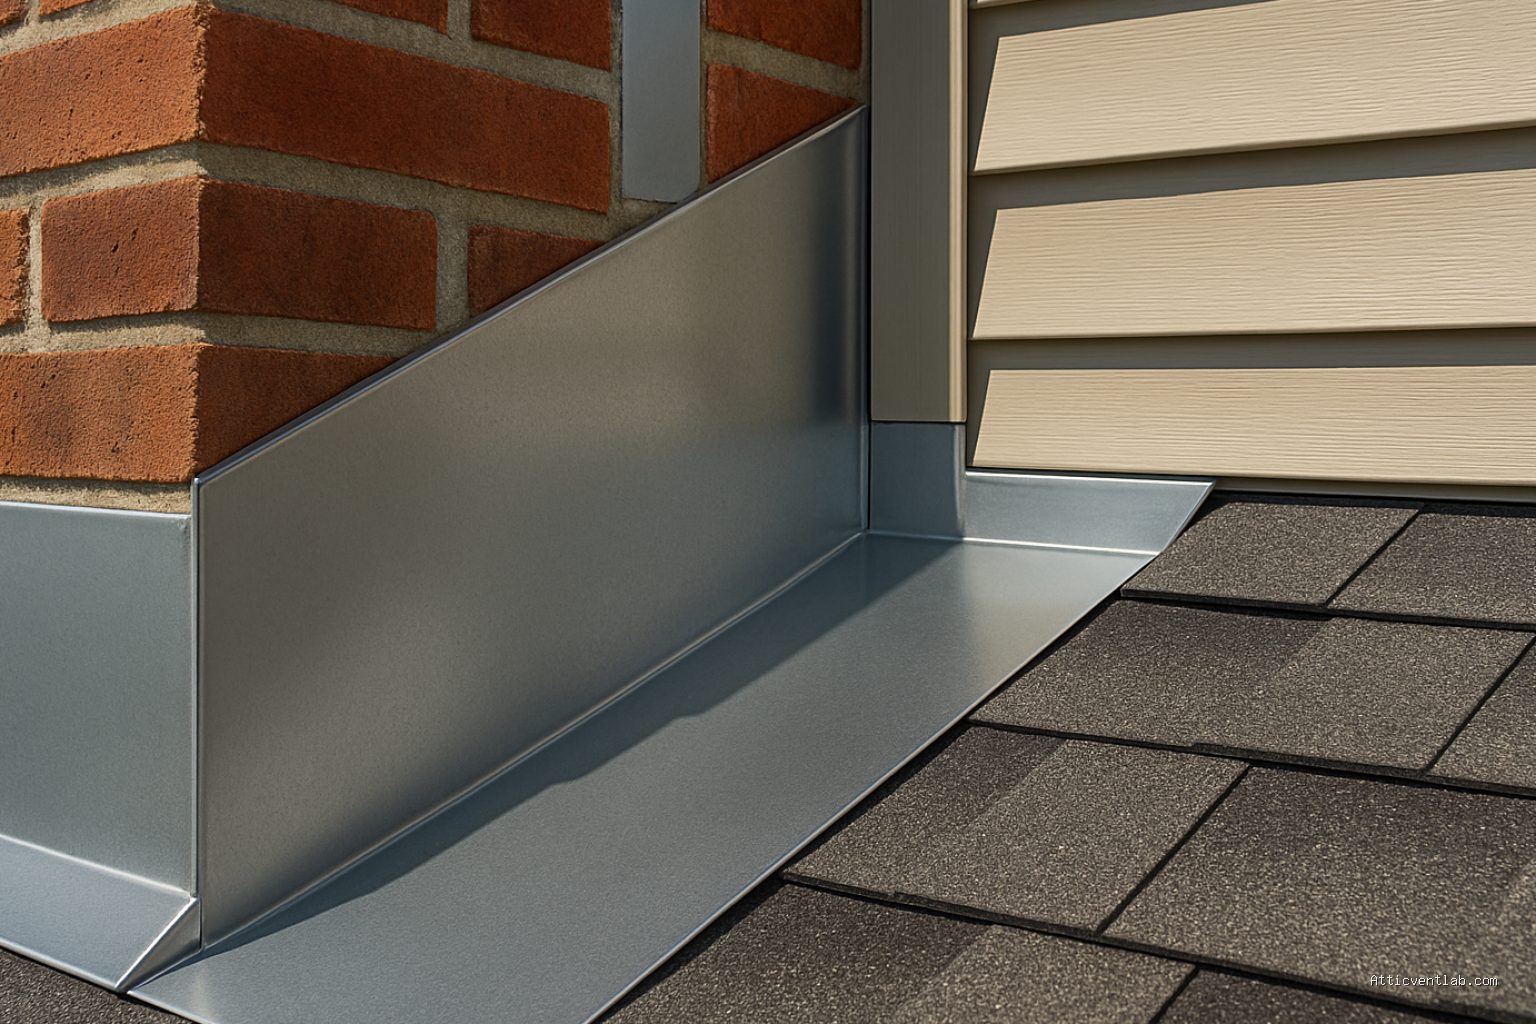
Atticventlab.com – Forming a hemmed edge on valley flashing prevents water from migrating laterally under roof shingles by creating a physical barrier that directs runoff toward the center of the valley. This technique, often called a water diverter or splash guard, is essential for managing high-volume water flow in valleys where standard flashing might otherwise allow leakage.
The Purpose of the Hemmed Edge
A hemmed edge is a fold at the outer margins of the valley metal that stands vertically or at a slight angle. Without this fold, water moving at high velocity can shoot across the flat surface of the flashing and slide underneath the adjacent shingles. This is particularly common in areas with steep roof pitches or heavy rainfall. By bending the outer inch of the metal upward, you force the water to remain within the defined channel of the valley, keeping it flowing predictably toward the gutter or eaves.
Tools Required for Precision Bending
Achieving a clean, consistent hem requires specific sheet metal tools. Relying on makeshift tools often results in wavy edges that look unprofessional and may trap debris. You will need a pair of straight-cut aviation snips for cutting the metal, a hand seamer (or bending tongs) for the initial fold, and a metal brake if you are pre-forming the flashing before installation. A plastic or rubber mallet is also necessary to tighten the hem without marring the finish of the metal.
Step-by-Step Guide to Forming the Hem
Follow these steps to create a professional-grade hemmed edge on your valley flashing:
- Measure and mark a line exactly one inch from the outer edge of your flashing sheet along the entire length.
- Secure the metal in a sheet metal brake or use a heavy straight edge to hold the metal down firmly along your marked line.
- Use a hand seamer to grasp the one-inch tab and begin folding it upward, working gradually from one end of the flashing to the other to maintain a consistent angle.
- Once the fold is at approximately 90 degrees, use a rubber mallet to tap the metal against your straight edge to ensure the bend is sharp and crisp.
- If you require a closed hem for extra rigidity, fold the metal back over itself completely, though for water diversion, a simple 90-degree or slightly canted “splash guard” fold is usually sufficient.
- Check the entire length for uniformity; any low spots in the hem can act as a dam, potentially causing water to overflow at the wrong point.
Comparison of Valley Flashing Techniques
| Feature | Standard Flat Flashing | Hemmed/Diverter Flashing |
|---|---|---|
| Water Control | Moderate (prone to lateral seepage) | High (active redirection) |
| Installation Difficulty | Easy | Moderate |
| Debris Accumulation | Low | Moderate |
| Structural Integrity | Low (edges can flutter) | High (hem adds stiffness) |
Common Mistakes and Best Practices
One of the most frequent errors installers make is creating a hem that is too tall. If the hemmed edge is higher than the surrounding shingle course, it can lift the shingles, creating a gap that invites wind-driven rain. Keep the hem height between 3/4 of an inch and one inch to ensure it remains tucked underneath the shingle overlap while still performing its function.
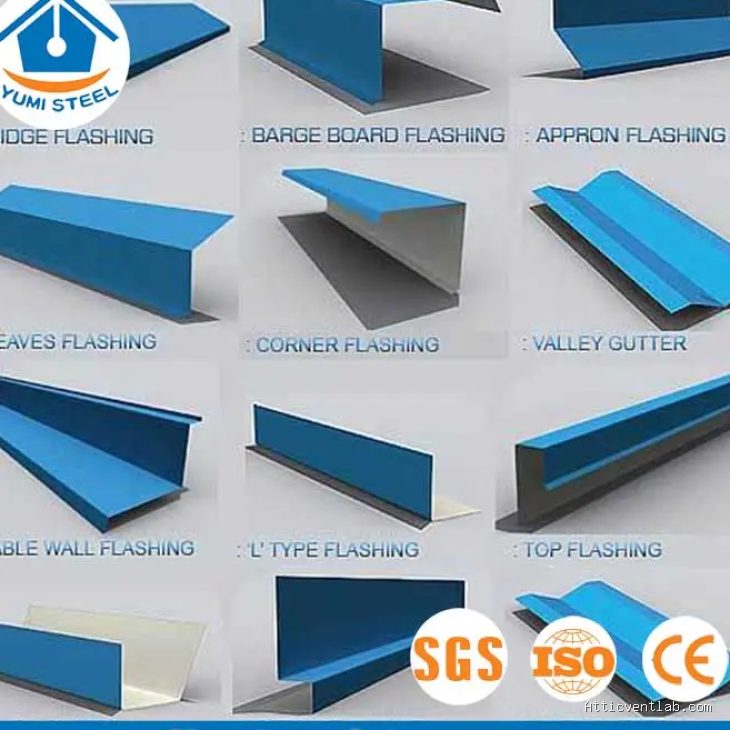
📷 Photo by yumisteel.com
Another common mistake is failing to properly transition the hem at the bottom of the valley. As the valley flashing reaches the gutter, the hem must be flattened or neatly trimmed to allow water to exit into the gutter system without splashing over the edge. Some roofers choose to terminate the hem slightly above the drip edge to facilitate a smooth flow into the gutter.
Material Considerations
The type of metal you choose impacts how easily you can form a hem. Aluminum is soft and easy to bend, but it can crack if the metal is of a low gauge or if you over-work the bend. Galvanized steel is much more durable but requires a sturdier hand seamer and more physical effort to achieve a sharp fold. Always ensure that the metal is compatible with your roofing materials to prevent galvanic corrosion, especially if you are using copper or zinc-coated steel.
Risks of Neglecting Valley Flashing
Neglecting the edges of your valley flashing significantly increases the risk of water infiltration. When water bypasses the flashing, it saturates the underlayment and the wooden roof deck. Over time, this leads to rot, mold growth, and the eventual failure of the roof structure. By taking the time to form a hemmed edge, you are essentially creating a secondary line of defense that keeps the structural components of your roof dry even during the most intense weather events.
Frequently Asked Questions
Q: Can I retroactively add a hem to existing valley flashing?
A: Generally, no. Retrofitting a hem requires lifting the shingles along the entire length of the valley, which often damages the shingles and compromises the existing seal. This process should be done during initial installation or a full roof replacement.
Q: Does the hemmed edge cause debris to build up in the valley?
A: Yes, a hemmed edge can trap small leaves and pine needles compared to flat flashing. It is important to perform regular roof maintenance and clear the valleys of debris at least twice a year to ensure the water channel remains unobstructed.
Q: What is the ideal angle for the hem?
A: A vertical 90-degree bend is standard, but some professionals prefer a slight inward tilt (about 85 degrees) to ensure water is pushed back into the center of the valley channel rather than just hitting the wall of the hem.
Final Thoughts on Longevity
A well-formed hemmed edge is a hallmark of quality craftsmanship in roofing. It demonstrates an understanding of fluid dynamics and a commitment to preventing the most common cause of roof leaks. While it requires extra time and specialized tools, the long-term benefit of a dry attic and a structurally sound roof is well worth the effort. Always prioritize the integrity of the metal bends, as these are the points most susceptible to stress and metal fatigue over time.
Read also: Why Self-Tapping Fasteners Break When Installing Through Heavy Steel Rafters
📷 Photo by americanqualityremodeling.com








1 Comments
[…] Read AlsoHow to Form a Hemmed Edge on Valley Flashing to Keep Water Running Center […]