

Atticventlab.com – Cheap roofing caulking shrinks and pulls away from brick flashing because it lacks the necessary elastomeric properties to handle thermal expansion and contraction, causing the low-quality polymer bonds to fail under constant UV exposure and temperature cycling.
Roofing maintenance often feels like a battle against the elements. When you notice gaps appearing between your brick flashing and the roof surface, the culprit is almost always the material used during the last repair. Homeowners often reach for inexpensive, hardware-store-shelf caulks, unaware that these products are designed for interior gaps rather than the punishing exterior environment of a roof.
The Science Behind the Failure
High-quality roof sealants are engineered with high solid content and specialized polymers that allow them to stretch as the house moves. In contrast, cheap caulks—frequently water-based acrylics or low-grade silicone blends—are brittle. When the sun hits your roof, the brickwork and the metal flashing expand at different rates. If the sealant cannot stretch with this movement, it loses its adhesion to the masonry.
Once the bond between the sealant and the brick is compromised, the material begins to shrink. This is often accelerated by the evaporation of the carrier solvents found in bargain-bin products. As the sealant cures, it loses volume, creating a physical pull away from the rough, porous surface of the brick. This creates a tiny channel where water can enter, eventually leading to rot, mold, and structural damage to the roof decking.
Why Brick Flashing is a Unique Challenge
Brick is not a uniform surface. It is porous and often covered in a layer of dust or efflorescence, which acts as a barrier to adhesion. Professional-grade sealants are designed to penetrate these pores, while cheap caulks merely sit on top of the surface. Furthermore, brick holds heat differently than metal. This temperature differential creates a “shear stress” at the joint, which is the primary mechanical cause of sealant failure.
Using the wrong product leads to a cycle of constant re-application. You fix the gap, the cheap caulk fails within six months, and you end up spending more money and time on recurring repairs than you would have if you had invested in a high-performance polyurethane or specialized roofing sealant from the start.
| Feature | Cheap Acrylic/Latex Caulk | Professional Polyurethane Sealant |
|---|---|---|
| Thermal Movement | Very Poor (Cracks under stress) | Excellent (Stretches up to 50%) |
| UV Resistance | Low (Degrades/Chalks) | High (UV Stabilized) |
| Adhesion to Brick | Surface only | Deep penetration |
| Lifespan | 1–2 Years | 10–20 Years |
Common Mistakes During Application
Even the best sealant will fail if the preparation is poor. Many DIYers apply new caulk directly over the old, cracked material. This is a recipe for disaster because the old caulk provides an unstable base. Another common error is failing to clean the brick properly. If the surface is dusty, the sealant bonds to the dust rather than the brick, leading to immediate peeling once the temperature changes.
Over-application is another frequent mistake. Applying a thick, messy bead of caulk does not make it stronger. In fact, a bead that is too thick can actually inhibit the proper curing process, leaving the interior of the sealant soft while the exterior hardens, which leads to internal splitting.
Steps to Properly Seal Brick Flashing
- Remove all old, loose, or cracked sealant using a putty knife or a wire brush to ensure you are working on a clean substrate.
- Clean the brick surface thoroughly with a stiff-bristle brush to remove mortar dust and efflorescence, then wipe with a damp cloth and let it dry completely.
- Apply a backer rod into deep gaps if the space between the brick and the flashing exceeds a quarter-inch; this prevents three-point adhesion and allows the sealant to flex properly.
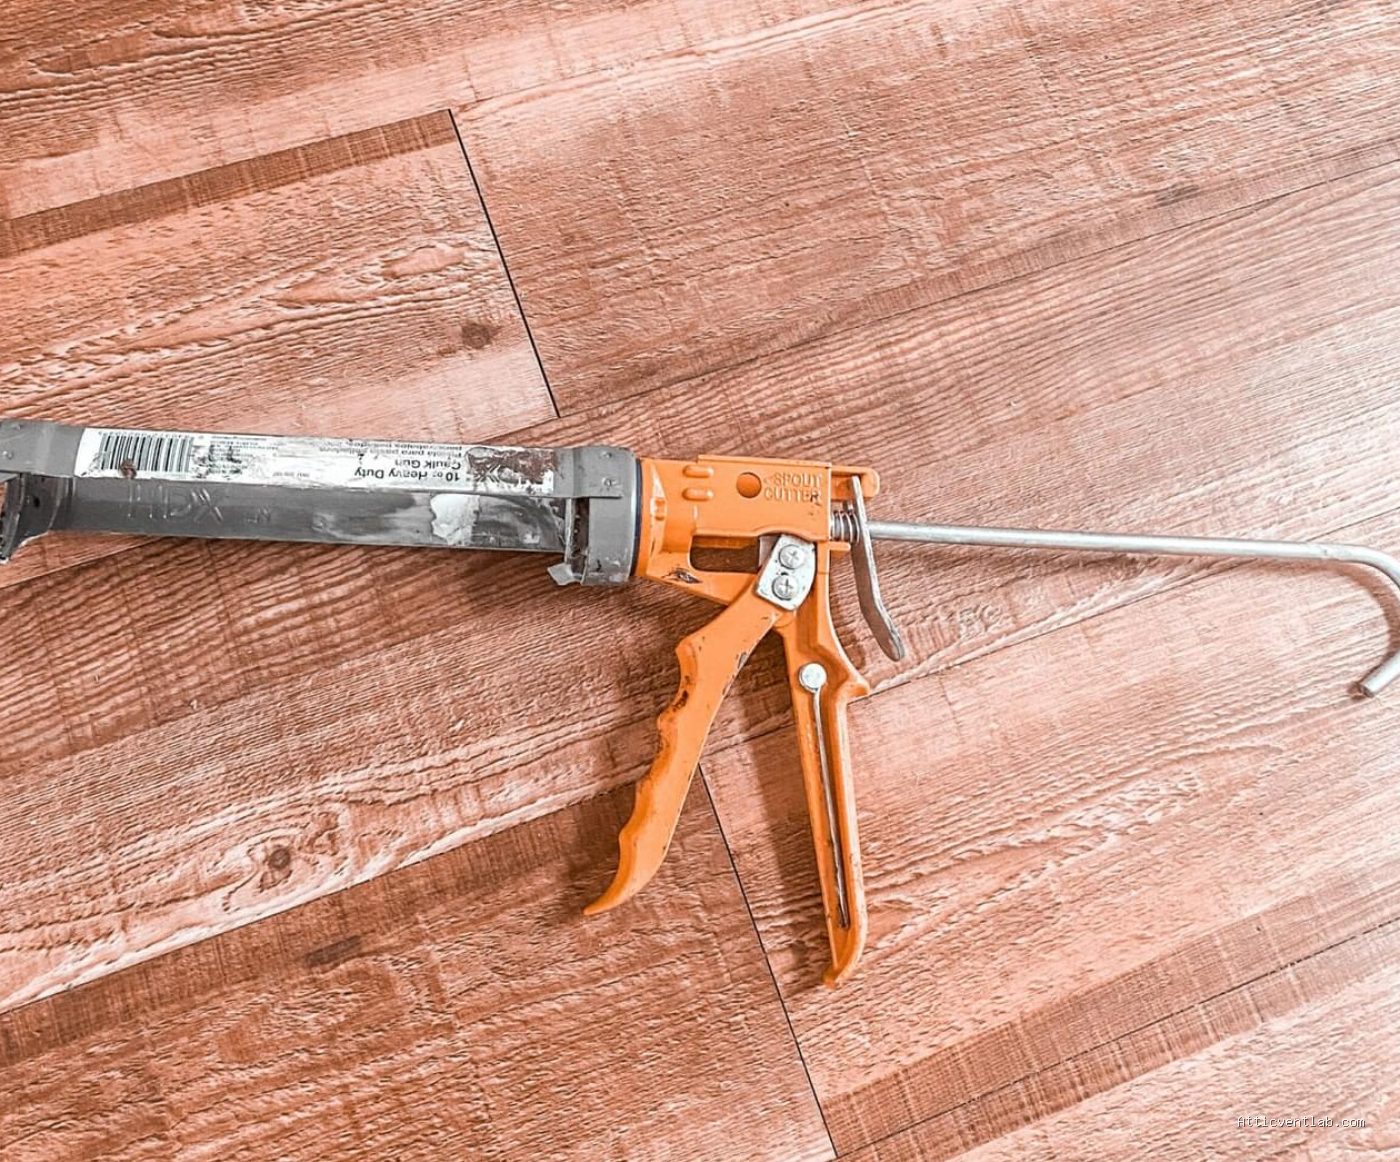
- Apply a high-quality, paintable polyurethane roofing sealant using a caulking gun, maintaining a consistent bead size.
- Tool the sealant immediately with a rounded smoothing tool to ensure it makes full contact with both the flashing and the brick, creating a concave shape that sheds water.
The Long-Term Risks of Ignoring Gaps
When you ignore a shrinking sealant, you are essentially inviting water into your attic. Once water breaches the flashing, it travels behind the metal and directly into the roof framing. Because this happens slowly, it often goes unnoticed until you see a water stain on the ceiling or smell a musty odor in the attic. By that point, the cost of the repair has moved from a simple tube of caulk to expensive structural carpentry and potentially mold remediation.
Read also: How to Seal Valley Flashing Transitions onto Low Slope Shed Roof Additions
Prevention is significantly cheaper than the cure. Investing in a sealant specifically labeled for “flashing” or “masonry” will save you from the repetitive maintenance cycle. Check your flashing joints every spring as part of your annual home maintenance routine. If you see signs of “pulling away,” address it immediately before the next rain cycle begins.
Q: Can I use standard silicone caulk for brick flashing?
A: Generally, no. While some high-end silicones work, standard hardware store silicone often fails to adhere well to porous brick and can be difficult to clean up if you ever need to perform a future repair.
Q: Why does my caulk crack only in the winter?
A: Extreme cold causes materials to contract. If the caulk has lost its elasticity, it cannot stretch to accommodate the contraction of the building materials, leading to clean, sharp cracks at the joint.
Q: Is there a way to tell if my current sealant is failing?
A: Yes, perform a physical inspection. If the caulk feels hard to the touch, has visible gaps at the edge of the brick, or shows signs of “chalking” (a powdery residue), it has reached the end of its functional life.
📷 Photo by rescue-my-roof.com








1 Comments
[…] Read also: Why Cheap Roofing Caulking Shrinks and Pulls Away from Brick Flashing […]