

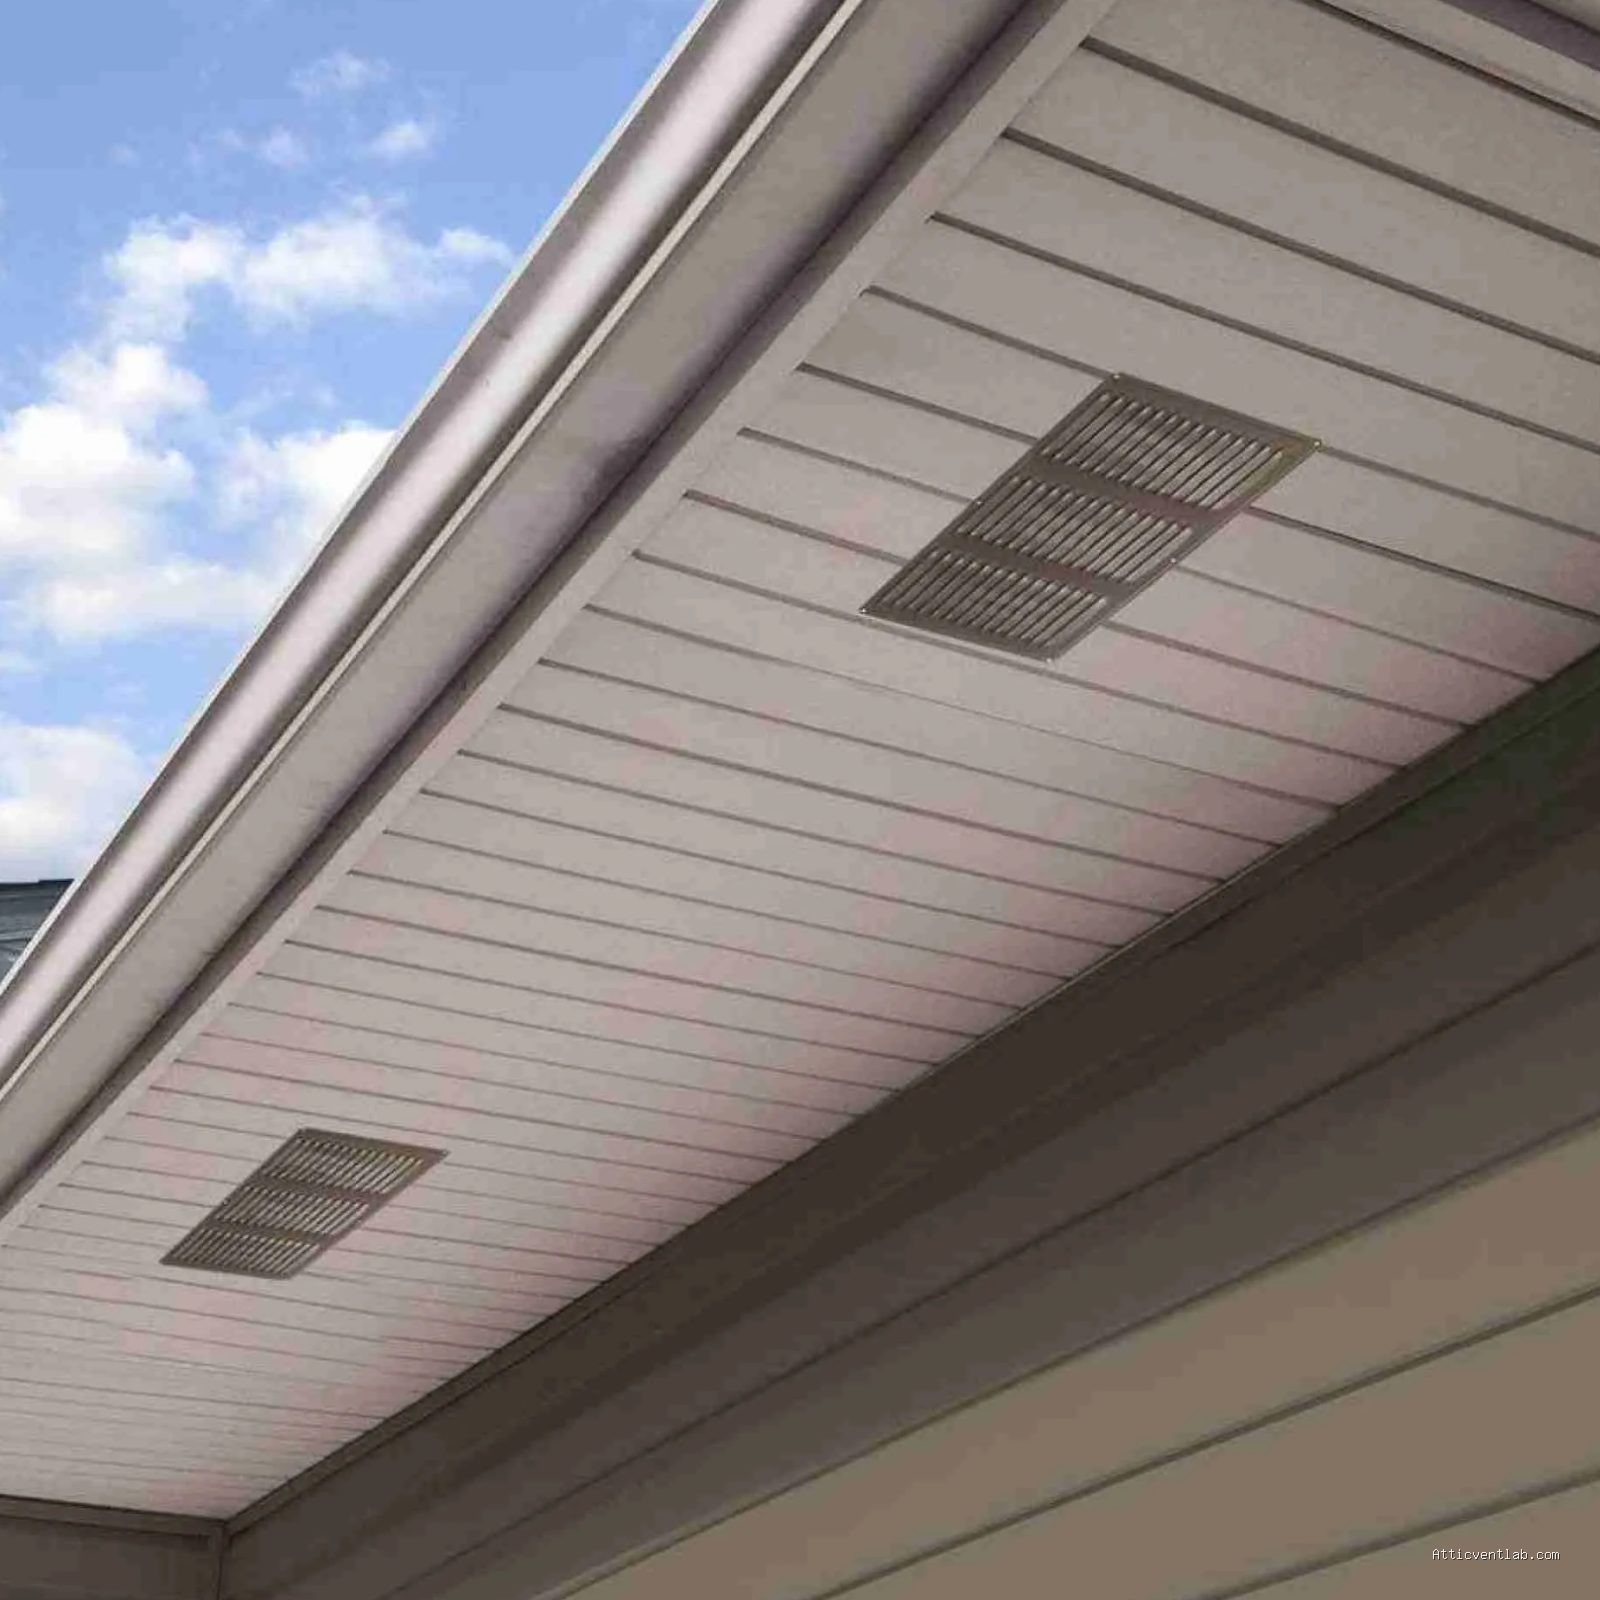
Atticventlab.com – Installing continuous soffit vents on long eaves requires precise measurement, strategic spacing, and unobstructed air pathways to ensure a consistent, uniform intake of fresh air that effectively prevents moisture buildup and ice damming in your attic.
Proper attic ventilation is the backbone of a healthy roof system. Without a continuous stream of air entering through the soffits and exiting through the ridge or gable vents, your attic becomes a trap for heat and humidity. In long eaves, the challenge isn’t just installing the vents; it is ensuring that the airflow is not choked by insulation or poor structural alignment. Achieving even airflow across the entire length of the eave is essential for maintaining a consistent roof deck temperature.
Understanding the Physics of Eave Ventilation
The primary goal of soffit ventilation is to create a stack effect. As warm air rises and escapes through the top of the roof, it creates negative pressure that pulls fresh, cool air from the outside through the soffit vents. When dealing with long eaves, installers often make the mistake of assuming that any vent will do. However, the net free area (NFA) must be balanced. If your intake capacity is significantly lower than your exhaust capacity, the system will pull air from other gaps in your home, such as light fixtures or plumbing stacks, which defeats the purpose of attic ventilation.
Preparation and Material Selection
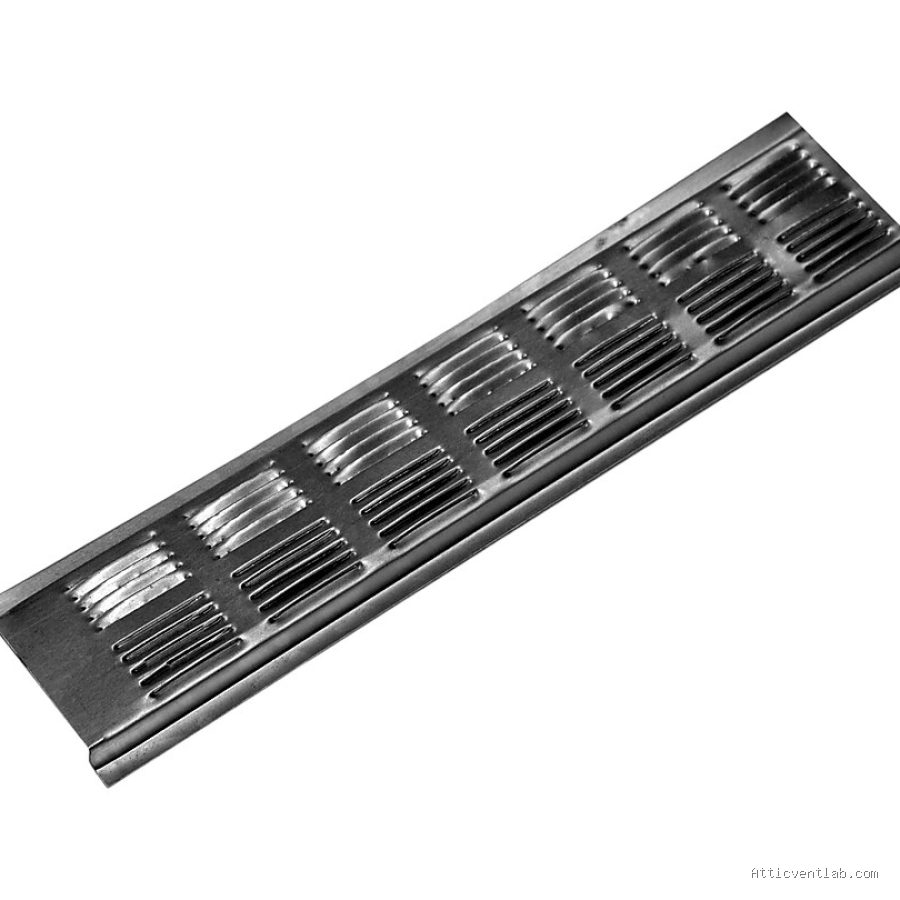
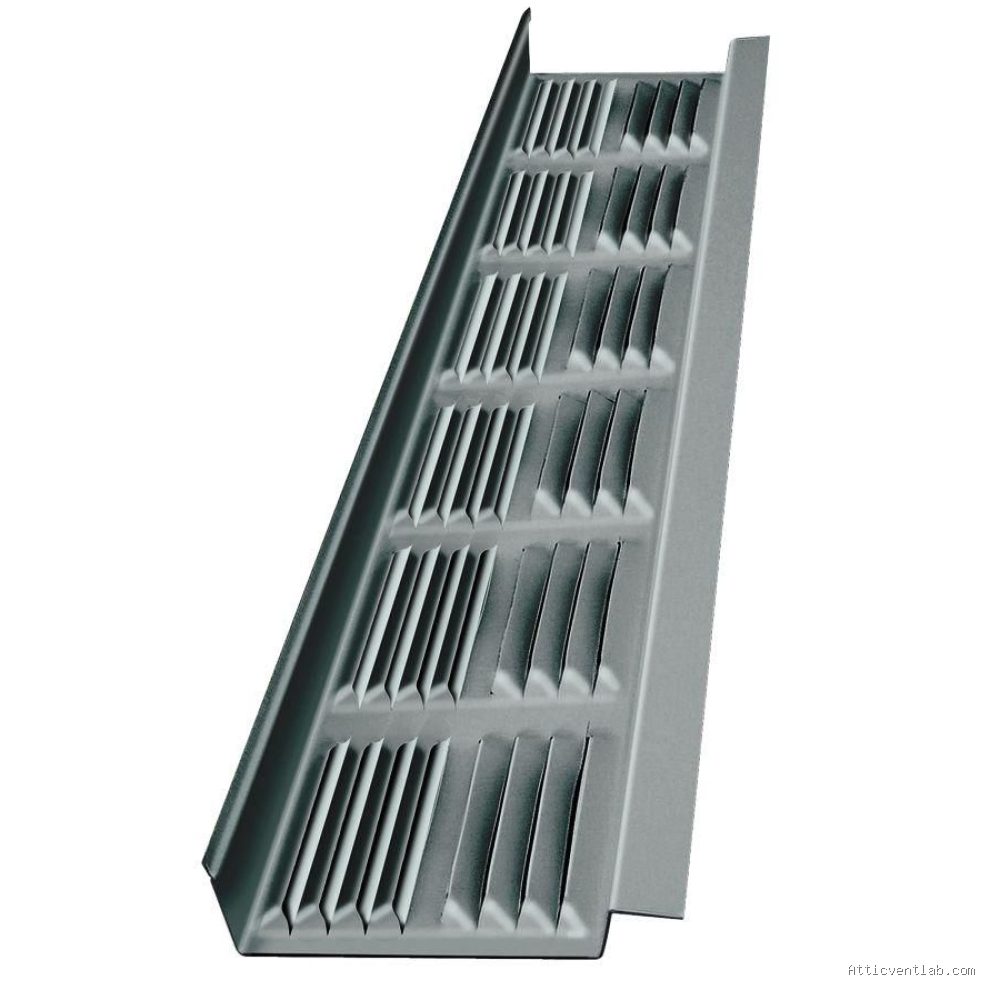
Before cutting into your eaves, you must verify the existing structure. Check if your eaves are open or closed. Open eaves mean the rafters are exposed, while closed eaves are boxed in with wood or metal. For long runs, continuous soffit venting—often sold in 8-foot or 12-foot strips—is superior to individual circular vents because it provides an uninterrupted intake surface. Always choose high-quality aluminum or vinyl vents that are designed to resist corrosion and insect infiltration.
Tools and Safety Requirements
To execute this installation, you will need a circular saw or a jigsaw, a drill with a hole saw attachment, a tape measure, a chalk line, safety goggles, and a dust mask. Working on a ladder for long stretches of eave can be dangerous, so ensure your ladder is on stable ground and consider using a stabilizer bar to protect the gutter system.
Step-by-Step Installation Process
- Measure the total length of the eave to calculate the total Net Free Area (NFA) required for your specific attic size.
- Snap a chalk line along the center of the soffit panel to ensure your cuts remain perfectly straight across the entire length of the building.
- Use a circular saw set to the depth of the soffit material to cut the opening, ensuring you do not cut into the fascia board or the rafter tails.
- Install rafter baffles from inside the attic before securing the vents to ensure that insulation does not push against the roof deck and block the new airflow.
- Position the continuous soffit vent strips over the opening and secure them using stainless steel or galvanized nails to prevent rust.
- Seal any gaps between the vent edges and the existing soffit material with high-grade exterior caulk to prevent air leaks.
Comparison of Venting Systems
Choosing the right vent style is critical for performance. The following table illustrates the differences between common soffit venting methods for long eave applications.
| Vent Type | Airflow Consistency | Ease of Installation | Best Use Case |
|---|---|---|---|
| Continuous Strips | Excellent | Moderate | Long, straight eaves |
| Individual Circular Vents | Poor | High | Small, irregular spaces |
| Perforated Soffit Panels | Optimal | Low | Full eave replacement |
Common Mistakes to Avoid
One of the most frequent errors is the “insulation dam.” Even if you install a high-performance continuous vent, if the insulation inside the attic is pushed all the way to the edge of the roof deck, the air has nowhere to go. Always install baffles (also known as wind washes or insulation deflectors) at every rafter bay. These act as a physical barrier, keeping the intake path wide open regardless of how much insulation is blown into the attic.
Read also: Why Shingle Valley Weave Methods Trap Debris Compared to Open Metal Cuts
Another common oversight is failing to account for the thickness of the soffit material. If you are retrofitting vents into thick plywood or composite soffits, ensure your fasteners are long enough to grip the sub-fascia but short enough to avoid protruding through the exterior fascia board. Aesthetic finish matters, but structural integrity is the priority.
Maintenance and Long-Term Performance
Once installed, continuous soffit vents require minimal maintenance. However, in regions with heavy pollen or high dust levels, the small perforations in the vent strips can become clogged over time. Inspect the vents from the ground using binoculars every spring. If you notice a buildup of debris, a gentle rinse with a garden hose—directed carefully to avoid forcing water into the attic—can restore proper airflow. Never paint over the vents, as this reduces the NFA and can effectively seal the intake closed.
📷 Photo by lowes.com
Risks of Improper Ventilation
When airflow is uneven across long eaves, you create “dead zones” in your attic. These pockets of stagnant air become hotspots for mold growth and wood rot. During winter, these dead zones are primary contributors to ice dams. Ice dams occur when heat escapes from the living space into the attic, melts the snow on the roof, and then refreezes at the cold eaves. By ensuring a uniform, continuous intake of cold air, you keep the roof deck temperature consistent, preventing the melt-freeze cycle that destroys shingles and causes interior water damage.
Q: How do I calculate the total amount of ventilation needed?
A: A general rule of thumb is the 1/300 rule, which suggests 1 square foot of net free area for every 300 square feet of attic floor space, split evenly between intake and exhaust.
📷 Photo by homedepot.ca
Q: Can I install continuous vents if my house has closed eaves?
A: Yes, but you must cut a continuous slot through the existing soffit material. Ensure you do not cut through the structural rafter tails or the fascia board.
Q: Is it necessary to remove old individual vents when installing continuous strips?
A: It is recommended to remove them and patch the holes to prevent air short-circuiting, which can disrupt the airflow pattern and reduce the efficiency of the new continuous system.
By following these guidelines, you ensure that your roof system functions as intended, protecting your home from moisture damage and extending the lifespan of your roofing materials. Proper installation of continuous soffit vents is a high-impact, low-cost improvement that pays dividends in energy efficiency and structural longevity.
📷 Photo by myroofhub.com








1 Comments
[…] Read AlsoHow to Install Continuous Soffit Vents on Long Eaves for Even Airflow […]