

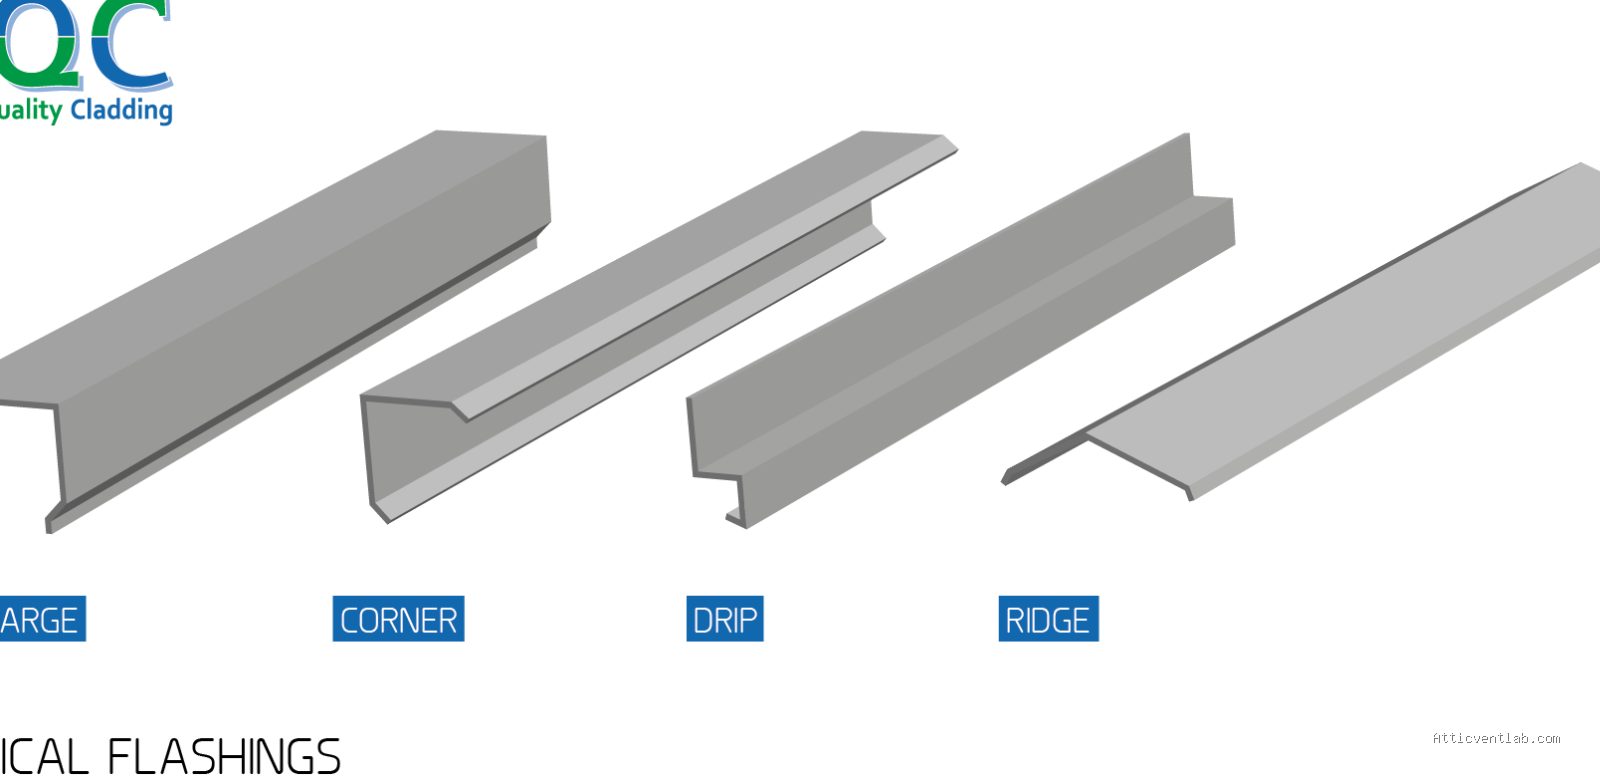
Atticventlab.com – Flashing a dead valley—where two rooflines meet a vertical wall—requires the installation of a continuous, watertight cricket or saddle system integrated with step flashing and counter-flashing to prevent water from pooling and penetrating the wall-roof junction.
Understanding the Dead Valley Challenge
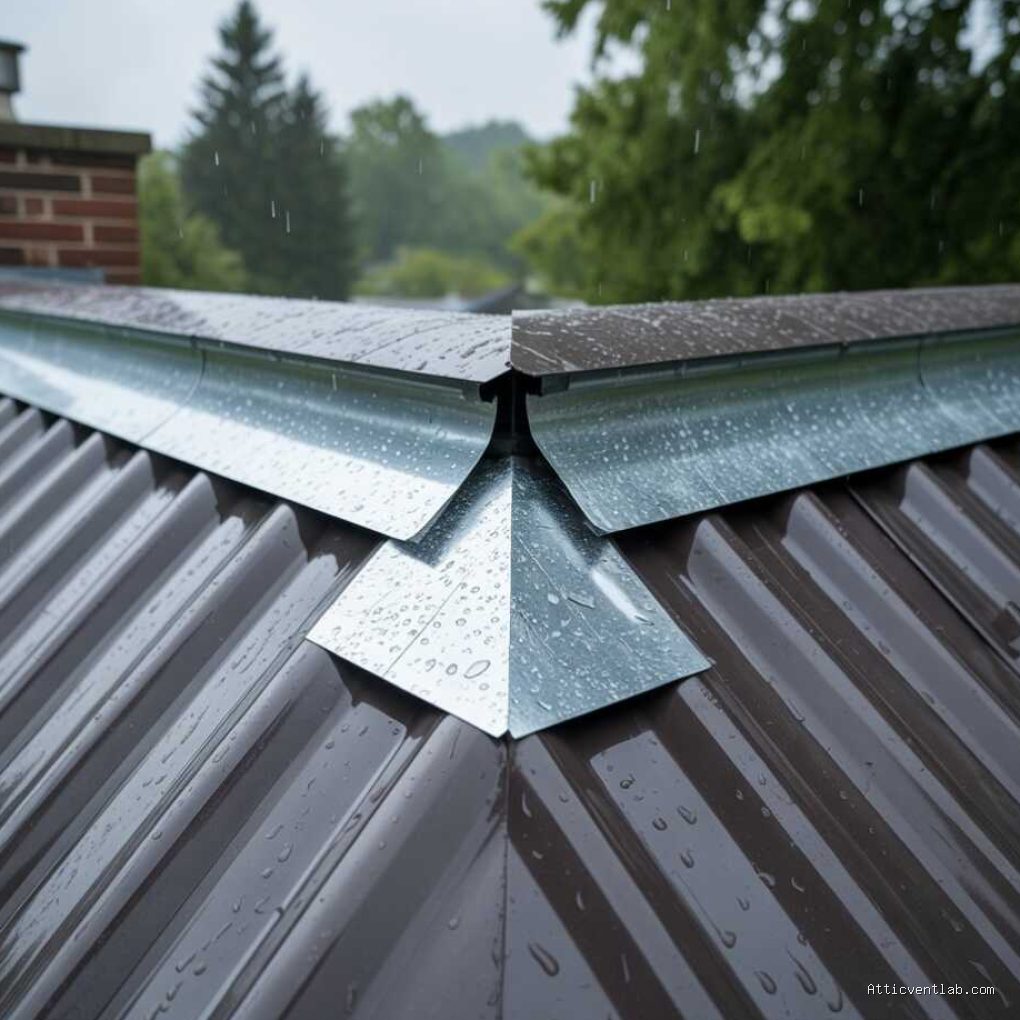
📷 Photo by homedecorfull.com
A dead valley occurs when two roof slopes converge at a lower point that terminates against a vertical wall rather than running off into a gutter or open eave. Because the water flow is essentially stopped dead in its tracks, this area acts as a collection point for debris, snow, and ice. If not flashed correctly, water will back up under the shingles, leading to severe rot in the wall sheathing and interior water damage.
The primary goal when flashing this intersection is to redirect water away from the wall and out onto the shingles. Relying on caulk or roofing cement as a primary barrier is a common mistake that leads to inevitable leaks as these materials degrade under UV exposure and thermal movement.
Essential Materials for a Watertight Installation
Before beginning, ensure you have the correct materials. Standard shingles are insufficient here; you need high-quality flashing components designed to handle high-volume water flow.
| Component | Function | Material Recommendation |
|---|---|---|
| Ice and Water Shield | Primary waterproof underlayment | Self-adhering modified bitumen |
| Step Flashing | Diverts water away from the wall | Galvanized steel or aluminum (pre-bent) |
| Cricket/Saddle | Slopes water toward the valley | Plywood base covered with membrane |
| Counter-flashing | Protects the top of wall flashing | Surface-mounted or reglet-mounted metal |
| Sealant | Secondary weatherproofing | Polyurethane-based roofing sealant |
Step-by-Step Installation Guide
Proper installation requires a layered approach, often called the “shingle fashion” technique, where each piece of flashing overlaps the one below it to ensure water is always directed downward and outward.
- Clear the roof area of all old shingles and debris down to the roof deck to inspect for rot or structural damage.
- Install a layer of self-adhering ice and water shield extending at least 18 to 24 inches up the vertical wall and 12 inches onto the roof deck.
- Construct a cricket (a small, triangular roof structure) if the valley is particularly wide, which helps force water to flow around the obstruction rather than pooling against the wall.
- Install step flashing for every course of shingles; each piece of flashing should be tucked under the siding or counter-flashing and overlap the shingle below it by at least 2 inches.
- Install the base flashing at the very bottom of the dead valley, ensuring it is long enough to divert water onto the lower roof section.
- Apply metal counter-flashing over the top edge of the step flashing, securing it to the wall and sealing the top edge with a high-grade polyurethane sealant.
- Complete the shingle installation, ensuring that shingles are cut cleanly to the flashing line and that no nails are driven through the flashing itself.
Common Mistakes to Avoid
One of the most frequent errors is “face-nailing” the flashing. Never drive a nail through the vertical portion of the flashing that is exposed to weather. If you must secure the flashing, do so through the horizontal flange that gets covered by the next course of shingles. When you penetrate the vertical surface, you create a direct path for water to enter your home.
Another mistake is the lack of proper counter-flashing. Many DIYers rely solely on a bead of caulk where the metal meets the wall. Over time, the house will expand and contract due to temperature changes, causing the caulk to crack. Always use a metal counter-flashing that physically overlaps the step flashing, providing a mechanical barrier that does not rely on adhesive alone.
The Importance of Cricket Slope
If the valley is deep, simply installing flashing might not be enough. If water stands more than an inch deep, it will eventually find a way past even the best flashing. Building a cricket—a small, sloped “tent” that sits in the valley—is essential. By creating a 30 to 45-degree slope away from the wall, you ensure that gravity does the work for you, pushing water toward the adjacent roof slopes rather than allowing it to stagnate against the vertical structure.
Maintenance and Inspection Tips
Even a perfectly flashed dead valley requires regular attention. Because these areas act as collection points, they are prone to trapping leaves, pine needles, and shingle granules. This debris acts like a sponge, holding moisture against the wall and flashing. Clear this area at least twice a year, especially after autumn, to ensure that the water paths remain unobstructed. During your inspection, check the counter-flashing for signs of pulling away from the wall and ensure the sealant at the top edge remains flexible.
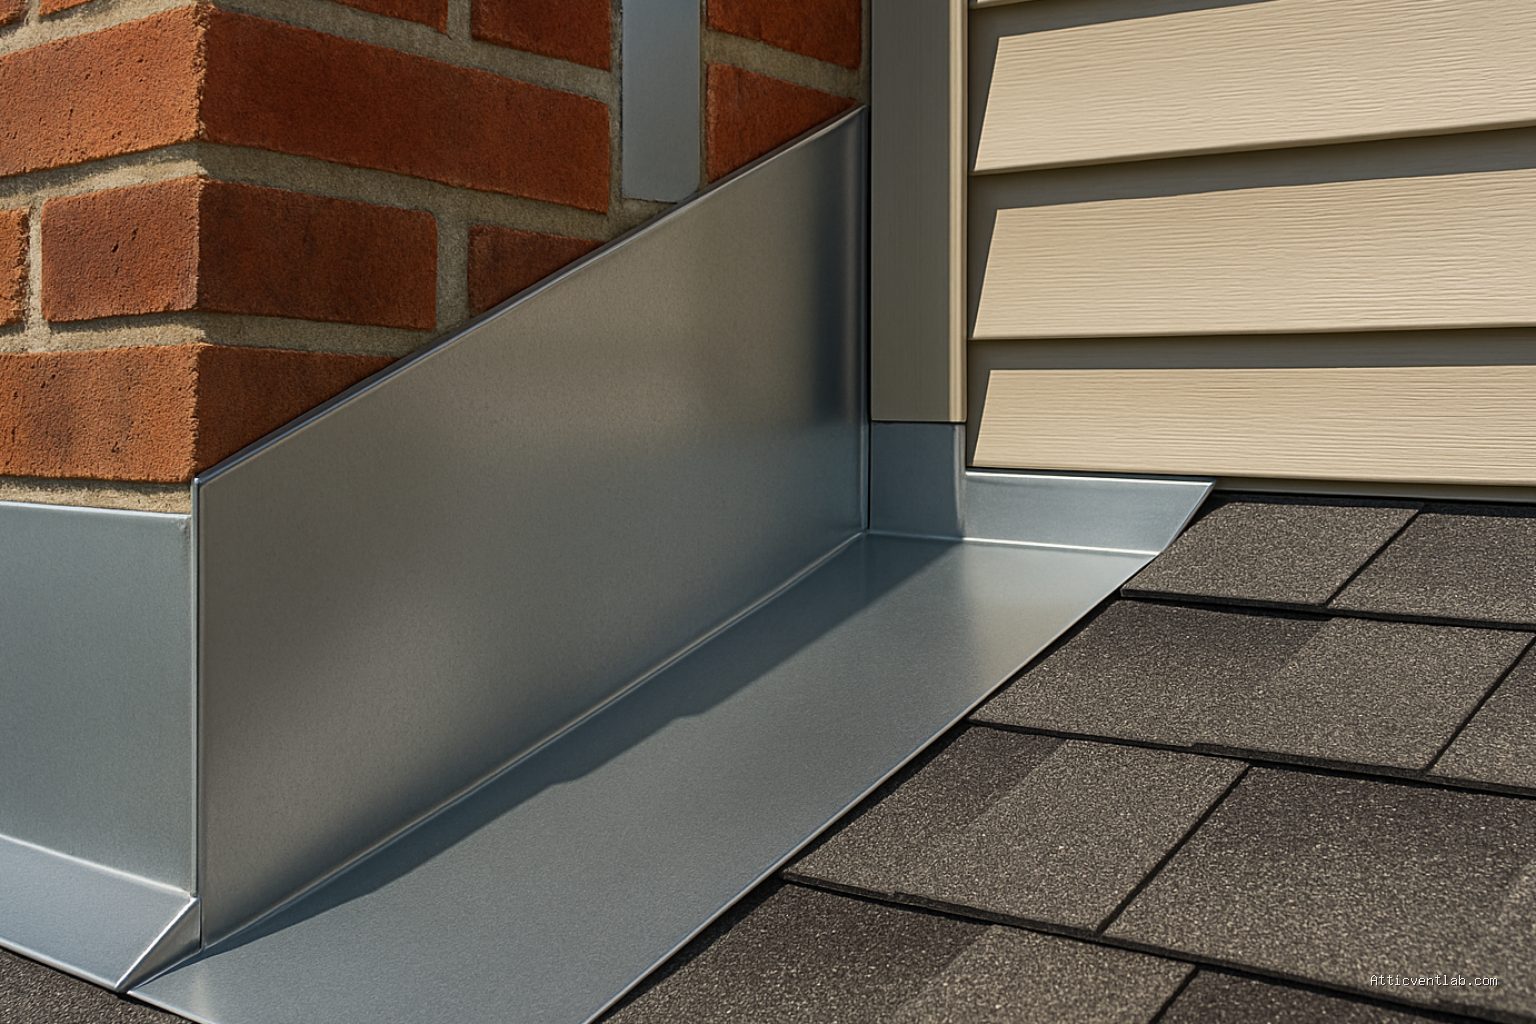
📷 Photo by americanqualityremodeling.com
Frequently Asked Questions
Q: Can I use asphalt shingles to flash a dead valley?
A: No, shingles are not designed to stop water at a dead-end. You must use metal flashing and a waterproof membrane to prevent leaks.
Q: How high should the ice and water shield go up the wall?
A: For a dead valley, it is recommended to bring the membrane up the wall at least 18 inches to provide a safety buffer against heavy rain or snow accumulation.
Q: Is it necessary to remove the siding to install flashing?
A: It is highly recommended. To get the best protection, the counter-flashing should be tucked behind the house wrap or building paper to ensure water flows over the flashing, not behind it.
By following these professional standards, you effectively eliminate the risk associated with dead valley junctions. Focus on the integration of the membrane, the slope of the cricket, and the mechanical overlap of the metal components to ensure the roof remains dry for decades to come.
Read also: Why Fasteners Snap on Standing Seam Metal Roofs During Winter Freezes
📷 Photo by storage.googleapis.com








Leave a Reply