

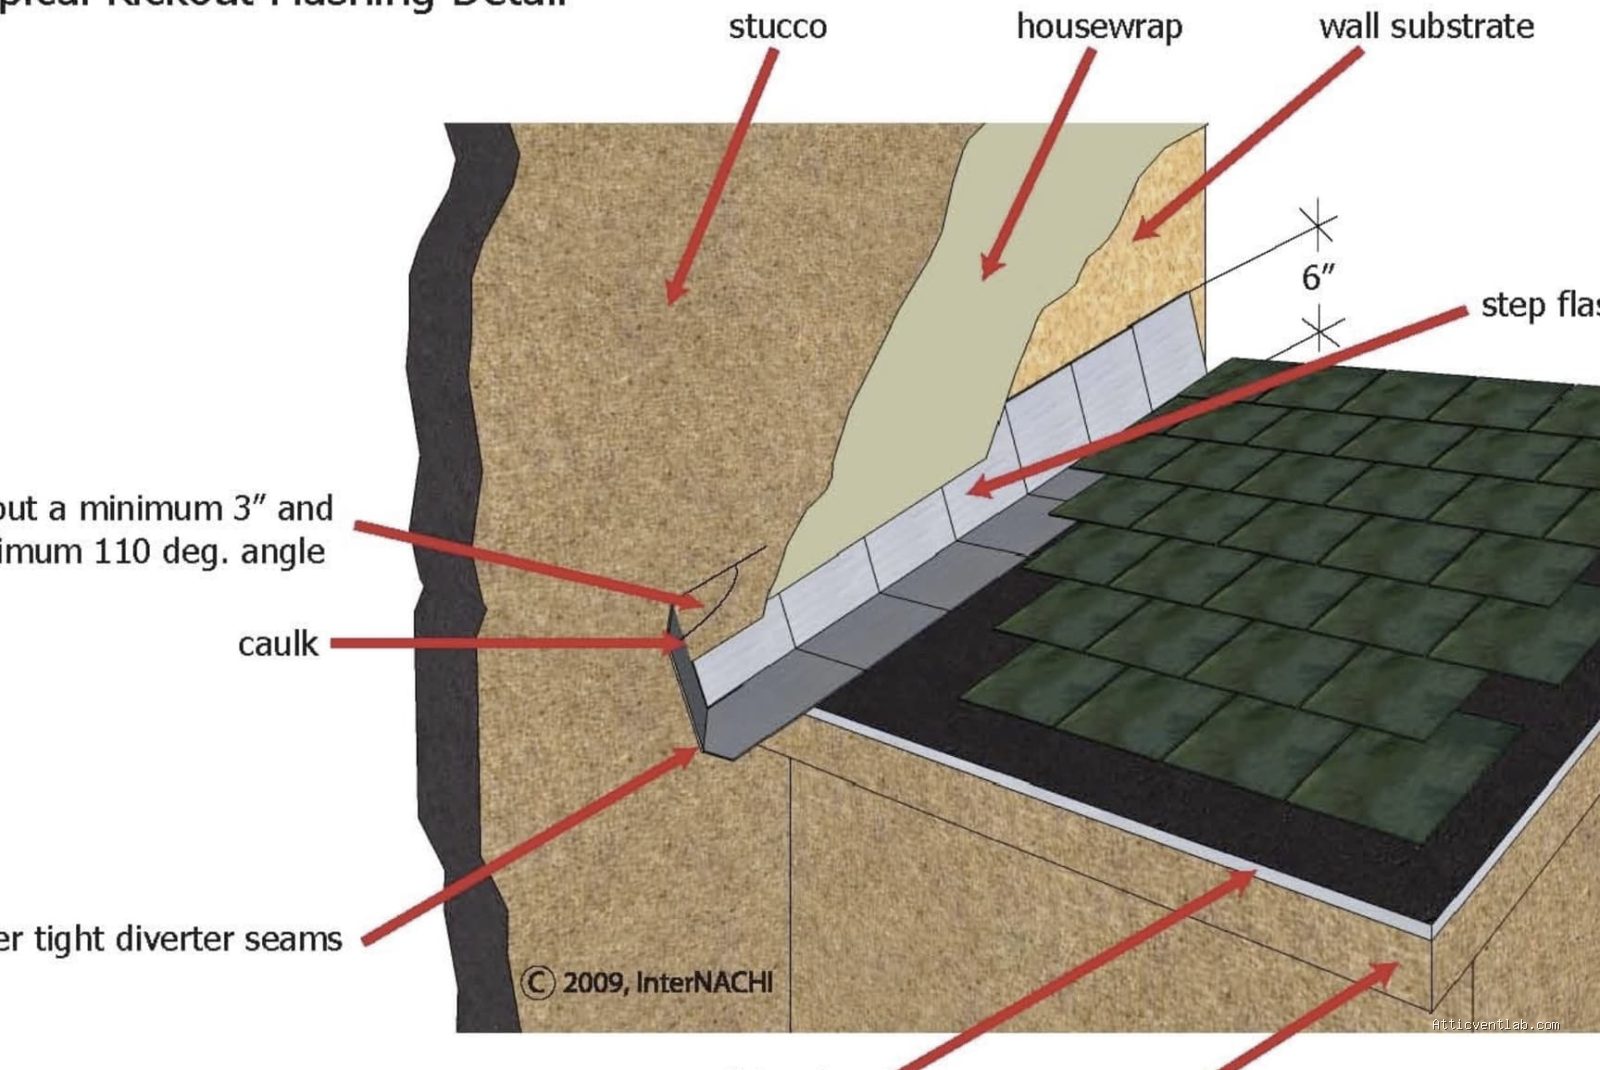
Atticventlab.com – Repairing leaking counter flashing on a stucco chimney requires cutting a new reglet joint into the masonry, inserting fresh metal flashing, and sealing it with high-grade polyurethane sealant to bridge the gap between the chimney and the roof. This process prevents water infiltration that causes structural rot and interior water damage by creating a watertight mechanical bond that accommodates thermal expansion.
Understanding the Reglet Flashing System
A reglet is a groove cut into the surface of a chimney, specifically designed to receive the top edge of the metal flashing. When dealing with stucco chimneys, the challenge lies in the brittle nature of the material. Over time, the bond between the flashing and the stucco fails due to the different expansion and contraction rates of metal and masonry. If the original installation relied solely on surface-mounted caulk, the seal eventually cracks, allowing moisture to seep behind the flashing and into the chimney structure.
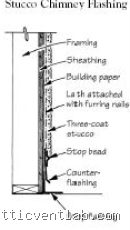
Using a reglet system is the gold standard for stucco chimneys. By embedding the flashing deep into the chimney wall, you move the primary water defense line away from the vulnerable surface joint. This method ensures that even if the sealant degrades, the metal itself acts as a physical barrier against gravity-fed water runoff.
Tools and Materials Required
Before beginning the repair, ensure you have the correct materials to handle the abrasive nature of stucco. Using the wrong sealant or improper metal thickness will lead to premature failure of the repair.
| Item | Specification/Recommendation |
|---|---|
| Sealant | Polyurethane-based (e.g., NP1 or similar) |
| Flashing Material | 26-gauge galvanized steel or aluminum |
| Cutting Tool | Angle grinder with a diamond masonry blade |
| Fasteners | Masonry screws or lead plugs |
| Safety Gear | N95 respirator, safety goggles, and thick gloves |
Step-by-Step Repair Process
Executing this repair requires precision to avoid damaging the structural integrity of the chimney. Follow these steps to ensure a long-lasting, watertight seal.
- Remove the existing failed flashing and any loose or crumbling stucco around the area. Clean the surface thoroughly with a wire brush to remove debris, dust, and old sealant residue.
- Measure the height of the flashing to be installed. Mark a straight line on the chimney wall roughly 6 to 8 inches above the roofline.
- Use an angle grinder equipped with a diamond blade to cut a reglet groove into the stucco and the chimney block. The groove should be approximately 1 inch deep and angled slightly downward to shed water away from the wall.
- Bend your metal flashing to fit the chimney profile, ensuring the top edge is bent to fit snugly into the newly cut reglet groove.
- Insert the top edge of the flashing into the groove. If the fit is loose, use lead wedges or masonry plugs to secure the metal in place.
- Apply a generous bead of high-quality polyurethane sealant into the reglet groove, covering the top edge of the flashing. Use a pointing tool to smooth the sealant, ensuring it creates a concave shape that promotes water runoff.
- Allow the sealant to cure fully according to the manufacturer’s instructions, typically 24 to 48 hours, before exposing it to heavy rain.
Common Mistakes to Avoid
Read also: Signs Your Metal Roof Screws Were Put in the Rib Valley Instead of the Flat
One of the most frequent errors in stucco chimney repair is the use of silicone-based sealants. While silicone is excellent for windows, it often fails to adhere well to porous masonry or stucco surfaces over the long term. Furthermore, silicone cannot be painted, which is often necessary when blending the repair into the existing chimney finish.
Another mistake is failing to account for thermal movement. Metal expands significantly in the sun. If you nail the flashing too tightly against the chimney without allowing for the metal to breathe or move within the reglet, the flashing will buckle or pull away from the sealant, creating new leaks. Always ensure the flashing is held by the sealant and the reglet rather than being pinned down by too many rigid fasteners.
Identifying Signs of Failure
📷 Photo by jlconline.com
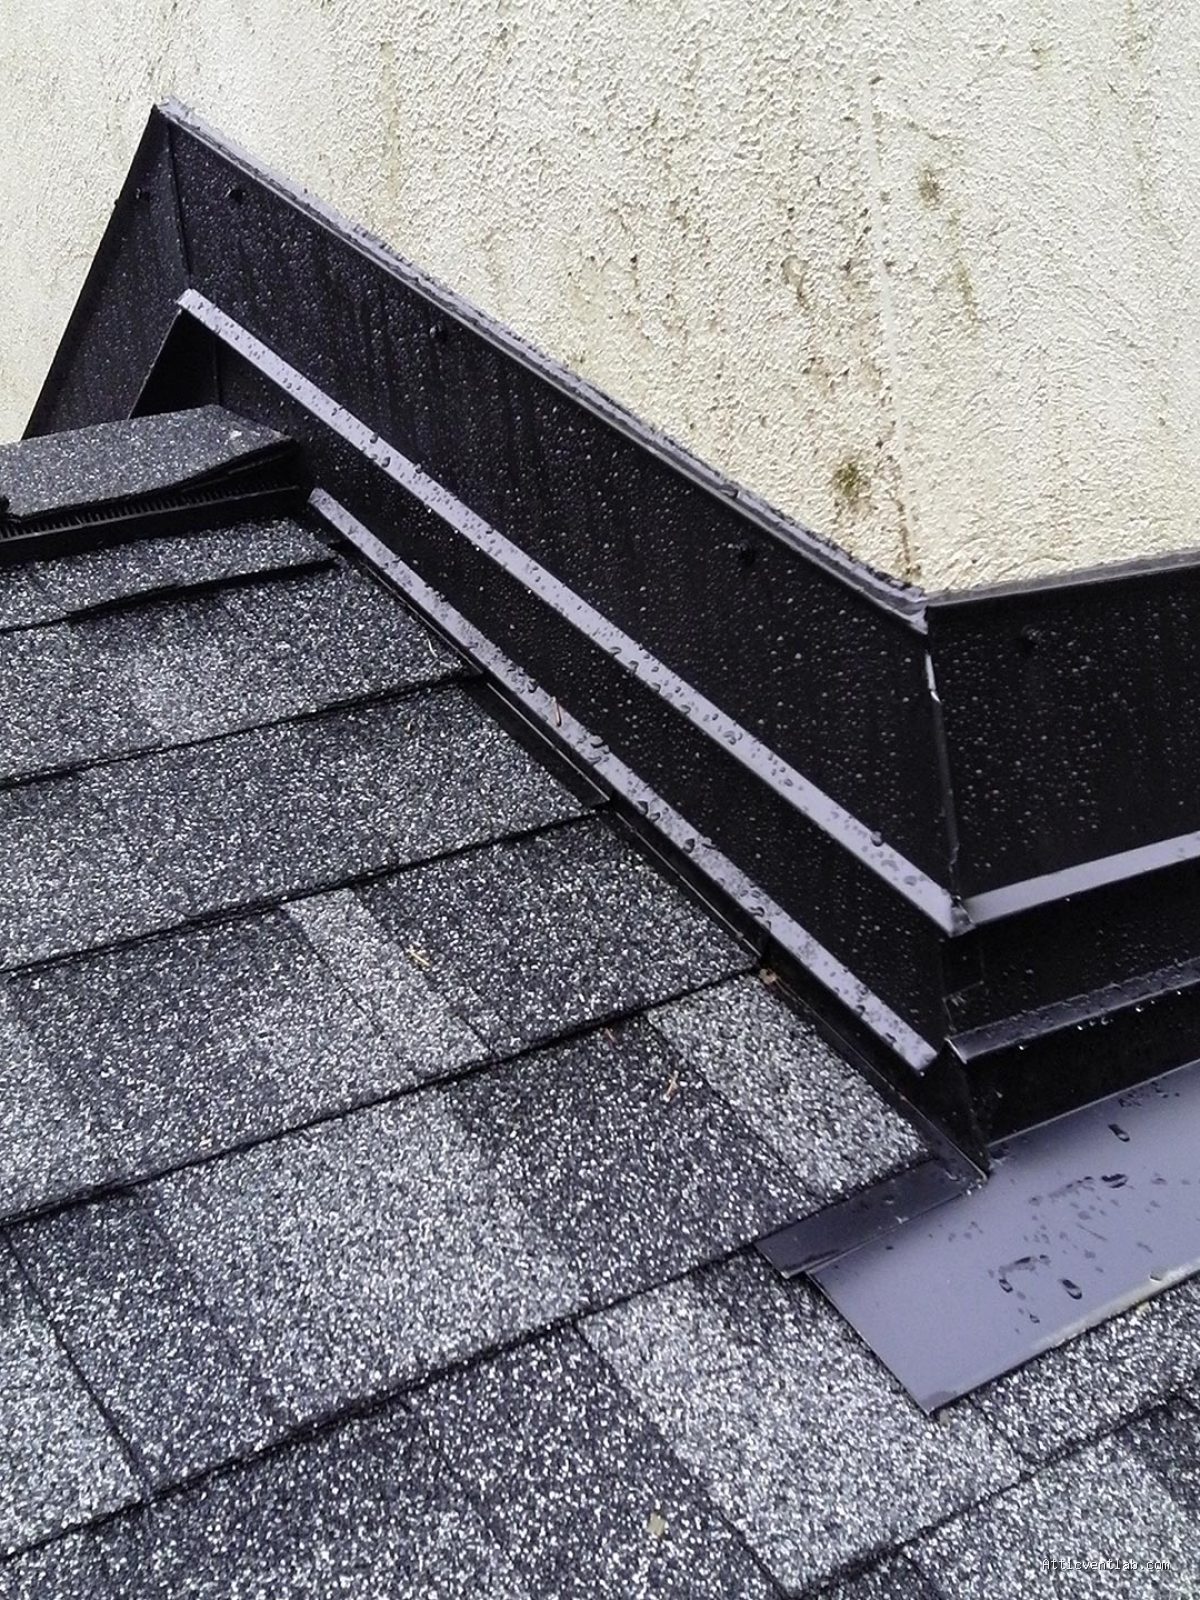
Water damage is often silent until it manifests as interior staining or mold. Regularly inspect your chimney flashing during dry weather. Look for gaps between the stucco and the metal, or areas where the sealant has pulled away from the wall. If you notice white, chalky deposits on the stucco near the roofline, this is a sign of efflorescence—minerals being pushed out of the masonry by water, indicating a chronic leak.
📷 Photo by canuckroofing.ca
FAQ: Chimney Flashing Maintenance
Q: Can I just use roof cement to patch a leaking stucco chimney?
A: While roof cement may provide a temporary fix, it is not a permanent solution for stucco chimneys. It lacks the elasticity needed for the thermal expansion of metal flashing and will likely crack within a single season, leading to further water penetration.
Q: How deep should the reglet cut be into the chimney?
A: The reglet should be cut at least 3/4 inch to 1 inch deep. This depth provides enough surface area for the sealant to anchor the flashing securely, preventing it from being pulled out by wind or building movement.
Q: Is it necessary to remove the old stucco around the flashing?
A: Yes, if the existing stucco is loose, cracked, or crumbling. Installing new flashing over failing stucco is counterproductive; the flashing will only be as secure as the substrate it is attached to. Always repair the underlying masonry before installing the new flashing.
Final Considerations for Longevity
To ensure your repair lasts for years, consider the finish. Once the polyurethane sealant has cured, you can apply a high-quality, elastomeric stucco patch or paint over the repair area to match the rest of the chimney. This provides an additional layer of protection against UV rays, which are the primary cause of sealant degradation. By combining a mechanical reglet attachment with proper sealant application, you effectively future-proof your chimney against one of the most common and damaging issues in residential roofing.
📷 Photo by forum.nachi.org








1 Comments
[…] Read also: How to Repair Leaking Counter Flashing on a Stucco Chimney with Reglet Metal […]