

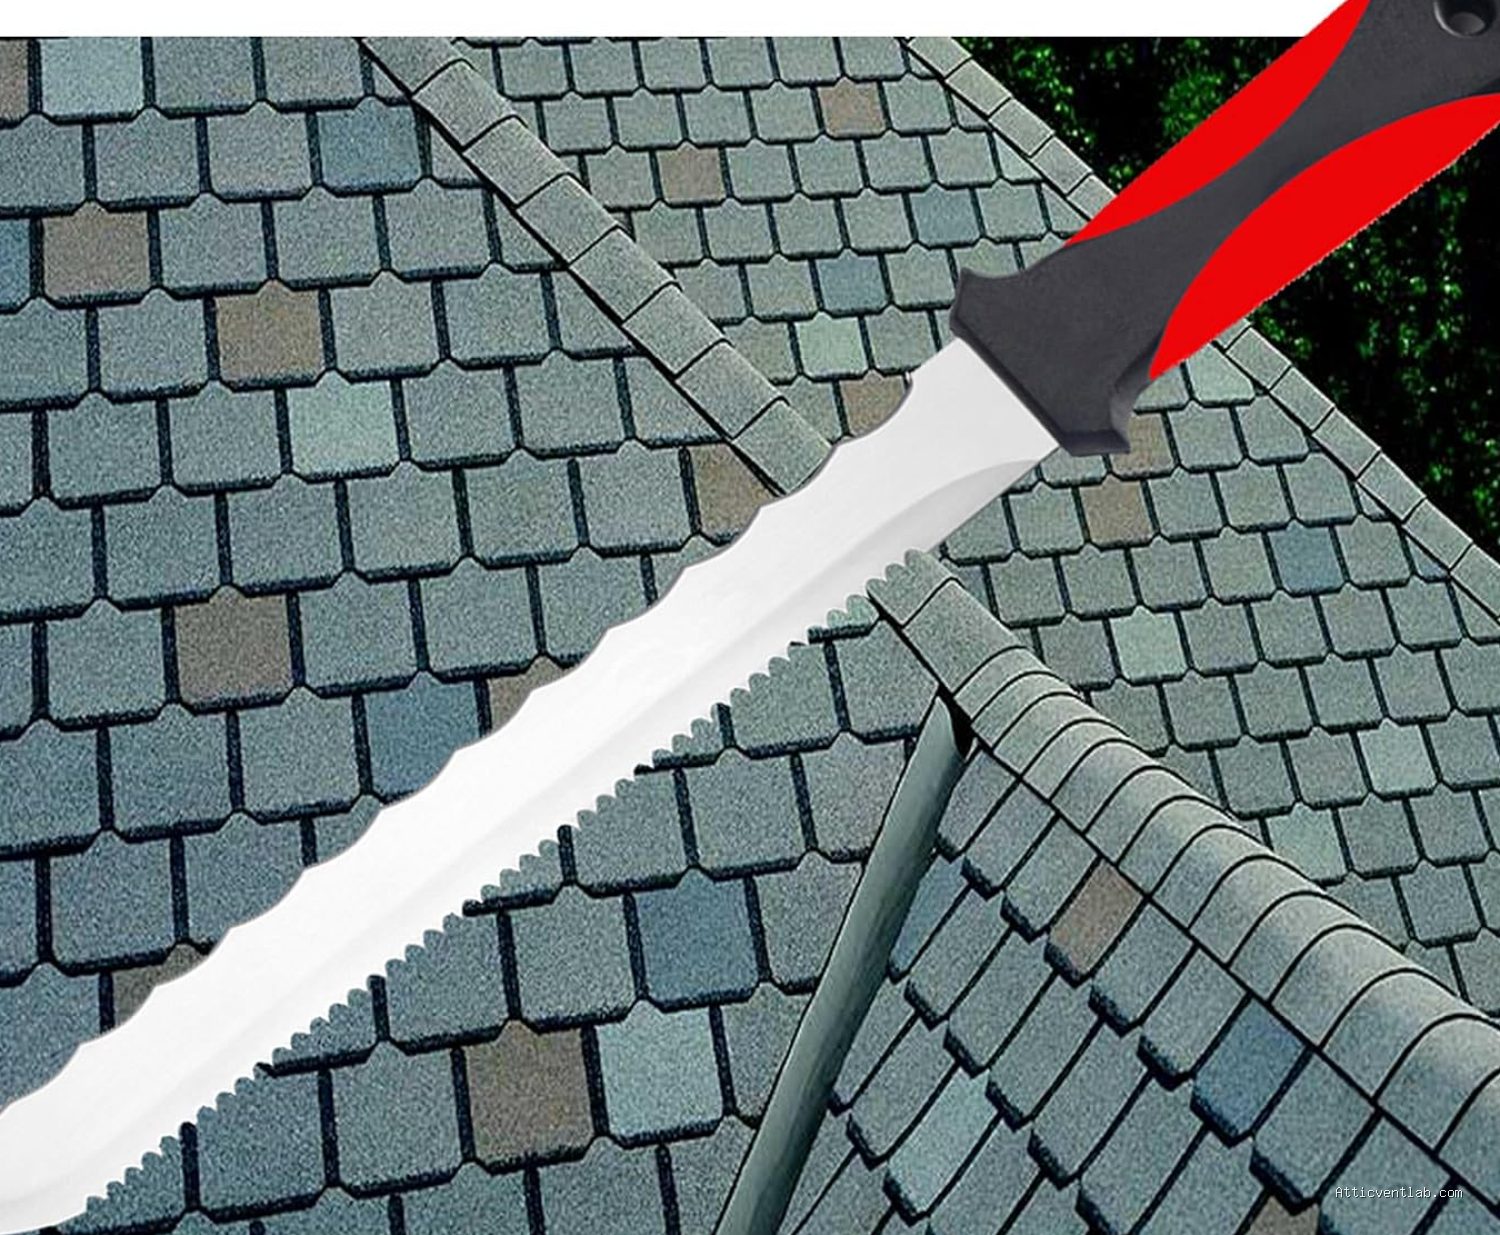
Atticventlab.com – Cutting shingles straight along a metal valley requires a precise chalk line layout, a sharp hook blade, and a steady hand to ensure the shingles overlap the metal flashing without obstructing water runoff. By using the metal valley flashing as a guide and applying consistent pressure during the cut, you achieve a clean, professional edge that prevents leaks and debris buildup.
Understanding the Importance of the Valley Cut
A metal valley is one of the most critical components of a roofing system because it serves as the primary drainage channel for two intersecting roof slopes. If shingles are cut poorly or too close to the center of the valley, water can wick underneath the edges, leading to premature rot of the roof deck. Cutting the shingles straight along this line ensures that the water flows freely over the metal surface rather than getting trapped behind jagged or uneven shingle edges.
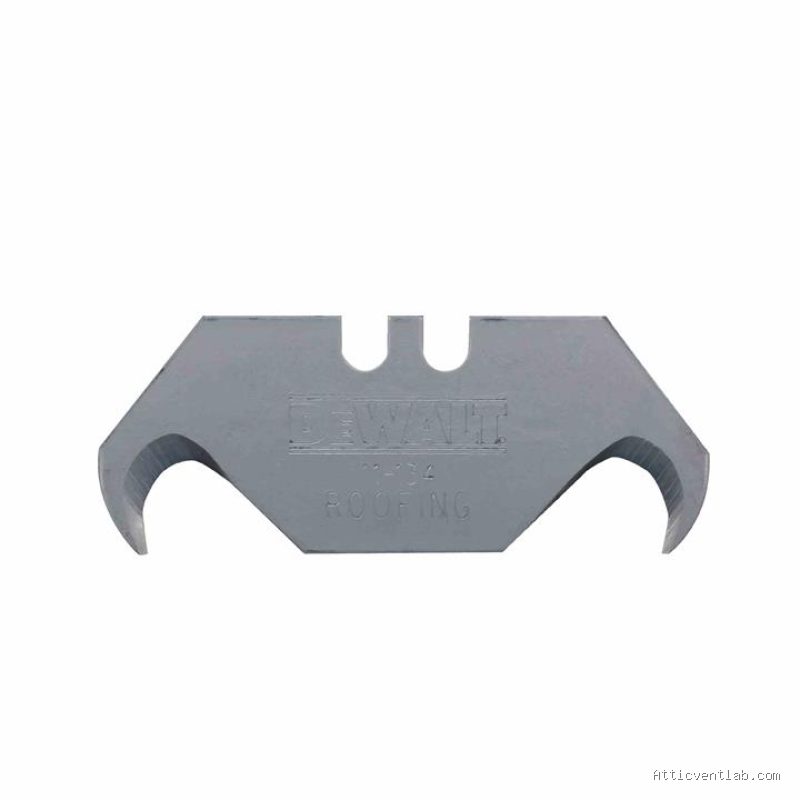
The hook blade is the preferred tool for this job because its curved shape is specifically designed to slice through the heavy asphalt and fiberglass composition of architectural shingles. Unlike a standard utility blade, which can easily slip or tear the shingle, a hook blade pulls through the material in a controlled manner, reducing the risk of cutting into the shingles beneath or scarring the metal flashing below.
Essential Tools and Preparation
Before you begin the cutting process, ensure you have the right equipment. A dull blade is a safety hazard and will result in ragged, uneven lines. Always carry a pack of replacement hook blades, as the abrasive nature of asphalt shingles will dull the edge quickly. You will also need a chalk line, a heavy-duty metal straight edge or a specialized roofing square, and a sturdy pair of work gloves.
Table: Comparison of Blade Types for Roofing
| Blade Type | Best Application | Pros | Cons |
|---|---|---|---|
| Standard Utility Blade | General cutting, light trim | Versatile, easy to find | Tends to slip; tears granules |
| Hook Blade | Valleys, hips, and starter strips | Clean, straight cuts; safer | Requires frequent changing |
| Carbide Tip Blade | Heavy-duty, long-term use | Stays sharp for hours | Expensive; brittle |
Step-by-Step Guide to Cutting the Valley Line
Achieving a straight line requires patience and a systematic approach. Follow these steps to ensure your valley cuts are both functional and visually appealing.
- Install your valley metal flashing first, ensuring it is nailed down tightly and lies flat against the roof deck.
- Run your shingles from both sides of the roof, allowing them to overlap the center of the valley by at least 12 inches.
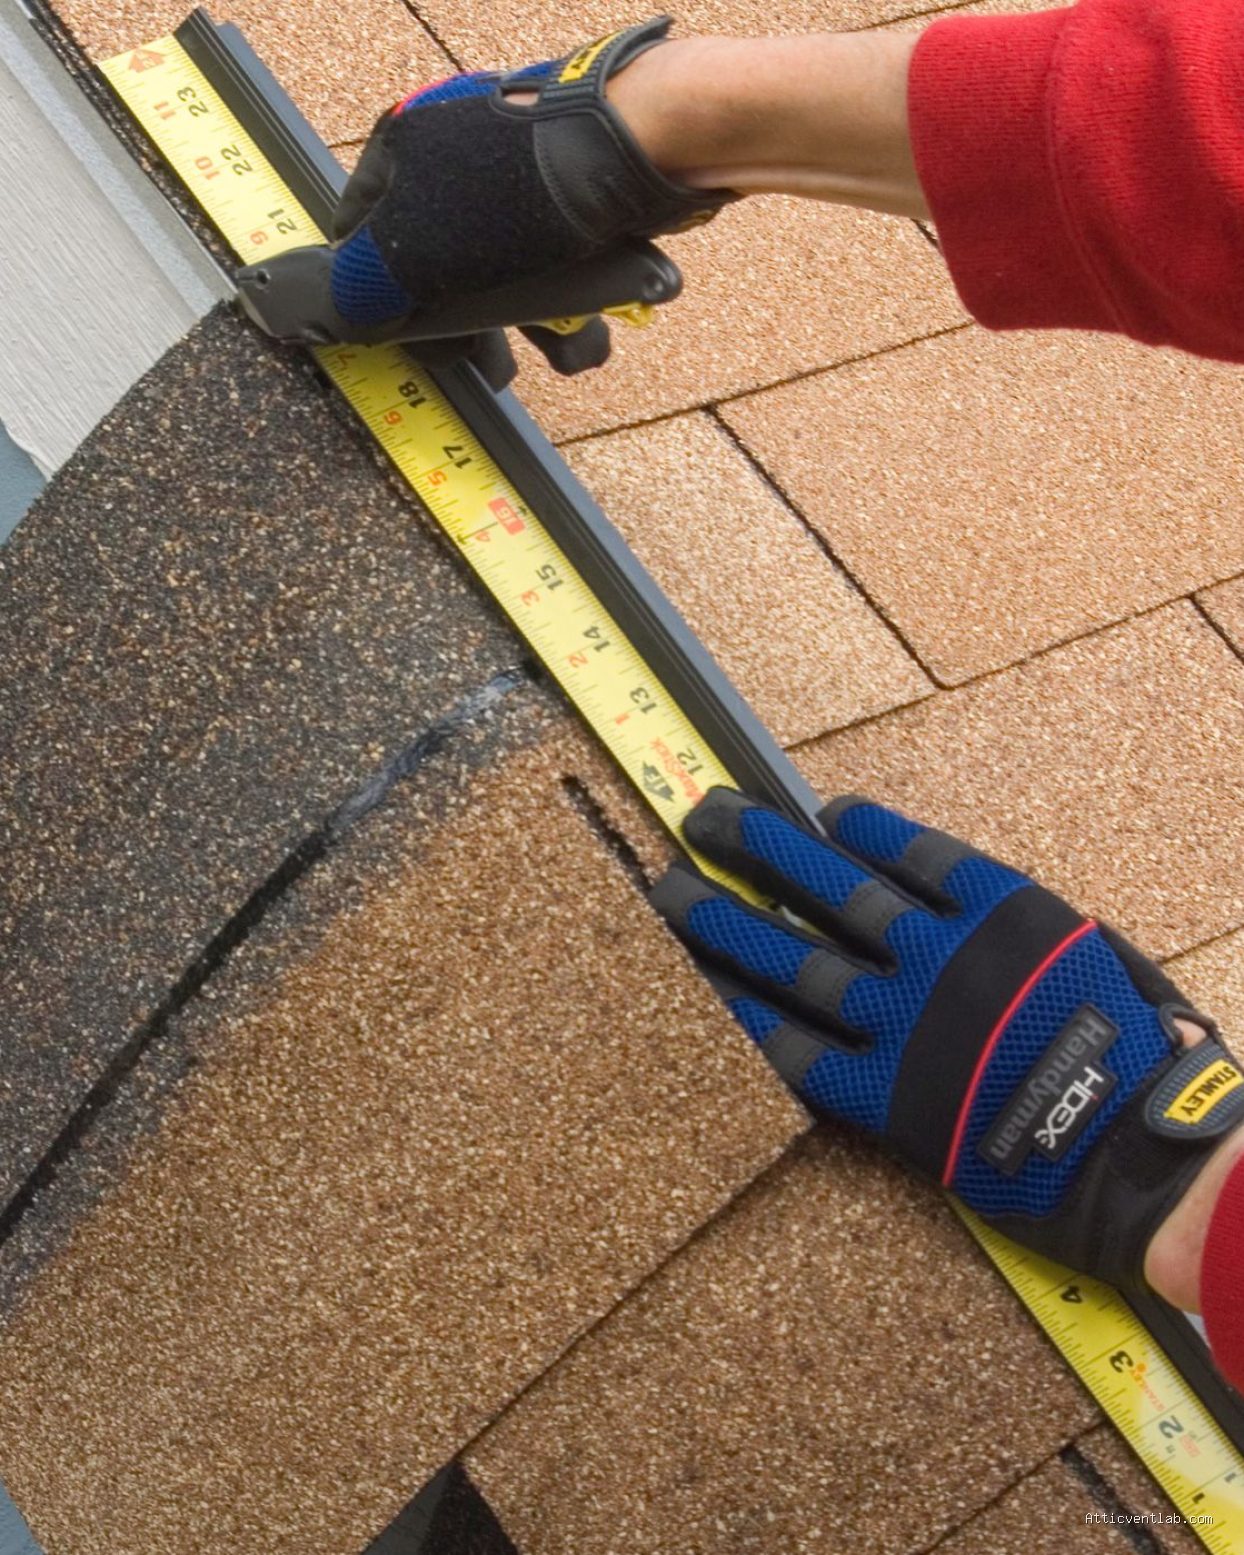
- Snap a chalk line two inches away from the center of the valley on the side you intend to cut.
- Place a piece of scrap metal or a heavy-duty flashing strip underneath the shingles where you plan to cut to protect the metal valley from accidental scratches.
- Use your hook blade to follow the chalk line, applying firm, downward pressure while keeping the blade perpendicular to the shingle surface.
- Clip the top corner of the shingle at a 45-degree angle, often called “canting,” to prevent water from catching on the edge as it flows down the valley.
- Apply a thin bead of roofing sealant beneath the cut edge of the shingle to ensure a watertight seal against the metal valley.
Common Mistakes and How to Avoid Them
One of the most frequent errors roofers make is cutting the shingles too close to the center of the valley. If you cut the shingles directly over the center, you leave the valley exposed to debris accumulation, which can eventually lead to damming and leaks. Always maintain a gap of at least two inches from the center seam to allow for expansion and contraction of the roof deck throughout the changing seasons.
Another common issue is “over-cutting.” This happens when the blade travels through the top layer and bites into the shingles underneath or the metal flashing itself. Scoring the metal flashing creates a rust point, which can compromise the integrity of the valley over time. Always use a metal shield or a scrap piece of metal as a buffer between your blade and the flashing.
Finally, avoid cutting shingles on a hot day if possible. High temperatures soften the asphalt, making it prone to “gumming up” the blade. If you must work in the heat, keep your blades clean by wiping them with a damp cloth or using a small amount of lubricant to prevent the asphalt from sticking to the metal.
Safety Considerations
Working in a valley is inherently dangerous due to the steep angle and the potential for slipping. Always utilize proper fall protection equipment, including a harness and a roof anchor, when working on slopes greater than a 4/12 pitch. Ensure your footing is secure before you commit to a long cut, as the hook blade requires a significant amount of force; if your hand slips, the blade can travel quickly toward your legs or feet.
Read also: Causes of Attic Truss Uplift Cracking Drywall Ceilings in Cold Weather
FAQ: Professional Roofing Tips
Q: Why does my hook blade keep tearing the shingle instead of cutting it?
A: This is almost always caused by a dull blade. Asphalt shingles are extremely abrasive and will turn a sharp blade dull in just a few feet of cutting. Change your blade at the first sign of resistance or jagged edges.
Q: Is it necessary to seal the edges of the shingles after cutting them in the valley?
📷 Photo by rsdale.com
A: Yes, applying a small amount of high-quality roofing cement or polyurethane sealant under the cut edge is a best practice. It prevents wind uplift and ensures that water cannot migrate under the shingle edge during heavy rain.
📷 Photo by bhg.com
Q: Can I use a circular saw for valley cuts?
A: While some contractors use circular saws with specialized blades, they are generally discouraged for valley work. A hook blade provides much better control and significantly reduces the risk of damaging the metal flashing hidden beneath the shingles.
By following these techniques, you ensure that your roof not only looks professional but also performs its primary duty: keeping the elements out. Consistency, sharp tools, and the right safety measures are the hallmarks of a high-quality roofing job.
📷 Photo by u-buy.com.au








1 Comments
[…] Read also: How to Cut Shingles Straight Along a Metal Valley Line Using a Hook Blade […]