

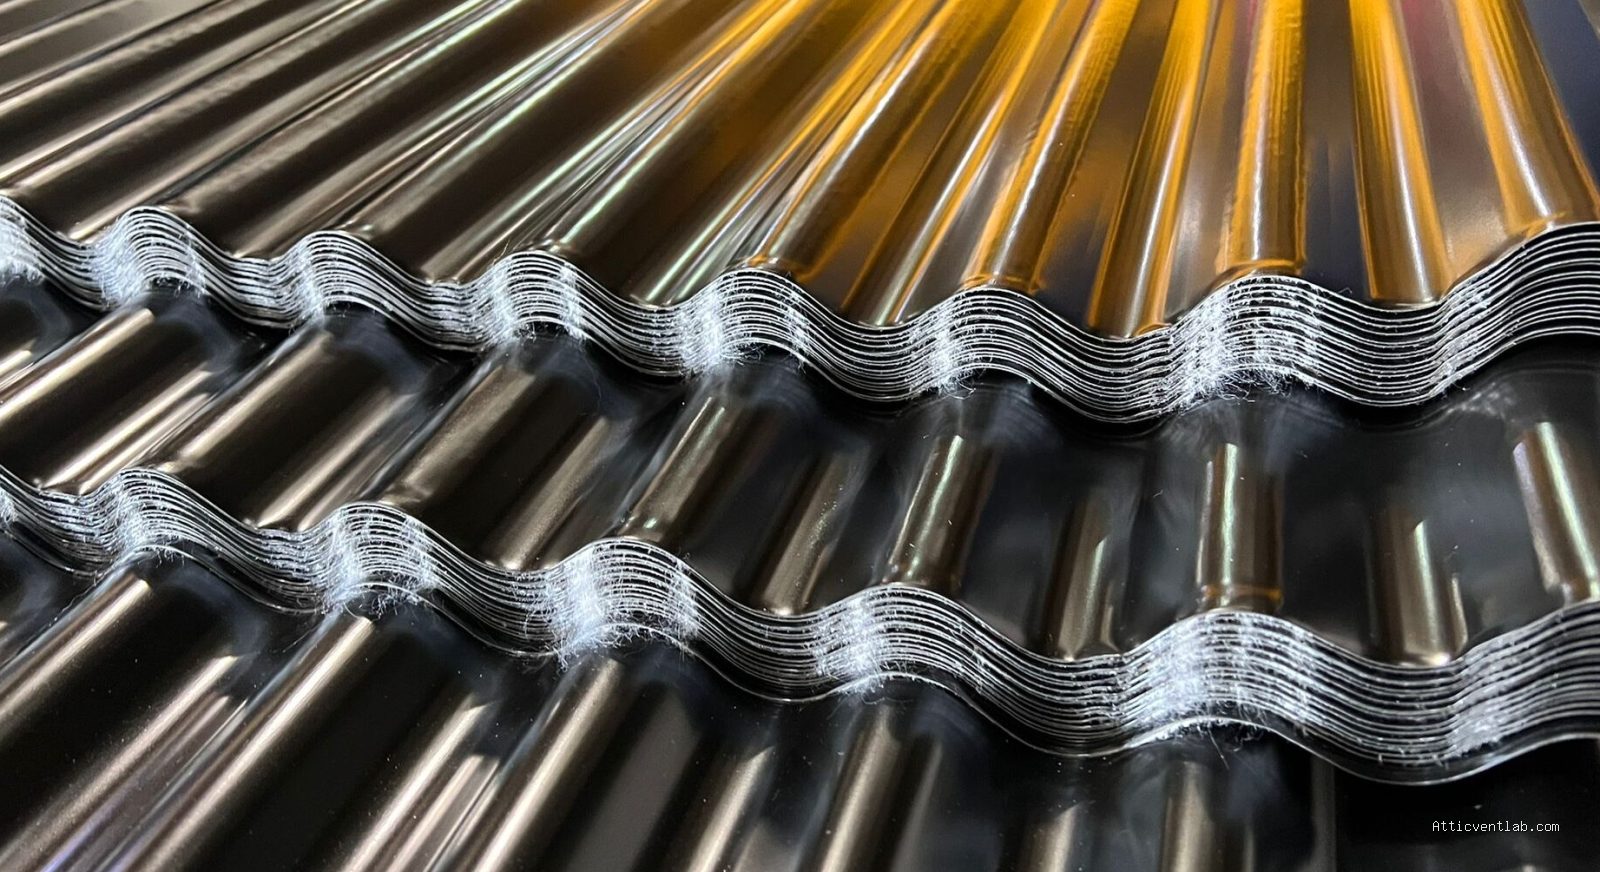
Atticventlab.com – To stop wind-driven rain from bypassing corrugated metal eave foam closures, you must install a secondary waterproofing membrane or a continuous rubberized eave flashing strip that creates a physical seal against the metal ribs. This prevents water from being forced under the foam strips by high-velocity wind pressure, which is the primary cause of interior moisture intrusion.
Understanding the Failure Point
Corrugated metal roofing is highly durable, but the eave area is a notorious weak spot. Foam closures are designed to fill the gaps between the metal panels and the roof deck. However, these closures are often made of open-cell or low-density foam that acts more like a filter than a seal. During heavy storms, wind-driven rain hits the vertical face of the metal panel, creates positive pressure, and forces water droplets through the microscopic pores of the foam.
Most homeowners assume that because they have foam closures, they are protected. In reality, these strips are primarily meant to keep out pests and debris, not standing water or wind-blown spray. When rain is pushed horizontally by gale-force winds, the foam becomes saturated, and the water eventually drips onto the fascia or into the attic space.
Assessing Your Current Eave Protection
Before attempting a repair, you must determine if the issue is a failure of the closure material or an installation error. Inspect the underside of the roof deck for water staining. If the moisture is concentrated only at the eaves, the foam closure is likely the culprit. If the moisture is further up the roof, you may have issues with your underlayment or panel overlaps.
| Closure Type | Water Resistance | Best Use Case |
|---|---|---|
| Standard Open-Cell Foam | Low | Debris/Pest exclusion only |
| Closed-Cell Polyethylene | Medium | General roofing, mild climates |
| Rubberized/Molded Eave Strips | High | High-wind/Hurricane-prone areas |
| Metal/Z-Flashing | Very High | Structural water deflection |
Step-by-Step Installation of an Improved Seal
If you are experiencing consistent leaks, replacing the foam with a more robust system is necessary. Follow these steps to ensure a watertight eave installation:
- Remove the existing metal panels at the eave line to expose the current foam closure and the roof deck edge.
- Clean the surface of the roof deck and the underside of the metal panels to remove debris, old adhesive, or oxidation.
- Apply a high-quality, self-adhering waterproof underlayment (peel-and-stick membrane) along the eave edge, extending it at least six inches up the roof deck.
- Install a continuous rubberized eave flashing or a metal Z-closure that matches the profile of your corrugated panels.
- Apply a bead of high-grade polyurethane sealant along the top edge of the new closure before re-securing the metal panels.
- Fasten the metal panels back into place, ensuring the fasteners are tightened to the manufacturer’s torque specifications to avoid crushing the new seal.
The Role of Sealants and Fasteners
A common mistake is over-tightening the screws that hold the metal panels down. When you over-tighten, you compress the seal unevenly, creating gaps where water can penetrate. Use a drill with an adjustable clutch to ensure the rubber washer on the screw is compressed just enough to create a seal without distorting the metal panel or the foam closure beneath it.
Additionally, do not rely on standard silicone caulk. Silicone often loses adhesion to metal over time due to the thermal expansion and contraction of the roof panels. Instead, use a high-performance polyether or polyurethane sealant that remains flexible in extreme temperature fluctuations.
Risks of Ignoring Wind-Driven Rain
Ignoring these leaks can lead to significant structural damage. Moisture trapped behind the eave closure promotes rot in the fascia board and the roof deck. Over time, this rot can compromise the structural integrity of the entire roof edge, making it easier for wind to lift the panels during a storm. Furthermore, moisture buildup creates a perfect environment for mold growth, which can migrate into your attic insulation and drywall.
Preventive Maintenance Tips
Perform a visual inspection of your eave closures every autumn. Look for signs of the foam deteriorating, crumbling, or shrinking away from the metal ribs. If you notice gaps where sunlight is visible through the closure, the material has lost its elasticity and should be replaced before the winter storm season begins. Keep the gutters clean, as overflowing gutters can force water back up under the eave, causing the exact same saturation issues as wind-driven rain.
Frequently Asked Questions
Q: Can I just apply more caulk over the foam closures?
A: No, simply applying caulk over the exterior of the foam is a temporary fix. It does not address the underlying saturation issue and will likely crack as the metal roof expands and contracts, eventually trapping more water behind the closure.
Q: Is closed-cell foam better than open-cell foam for eaves?
A: Yes, closed-cell foam is significantly better because it does not absorb water. However, even closed-cell foam is not a total barrier against high-pressure wind-driven rain, so it should always be used in conjunction with a proper underlayment or flashing system.
Q: How often should I replace the foam closures?
A: Most foam closures last 5 to 10 years, depending on the severity of the climate. If you live in an area with high UV exposure or frequent high winds, you should inspect them every 3 years and be prepared to replace them if you notice any signs of degradation.
By upgrading your eave protection from simple foam to a combination of rubberized flashing and high-performance sealants, you effectively eliminate the path for wind-driven rain. This investment protects the most vulnerable part of your roof and ensures the longevity of your entire metal roofing system.
📷 Photo by cardinalsteels.com








Leave a Reply