

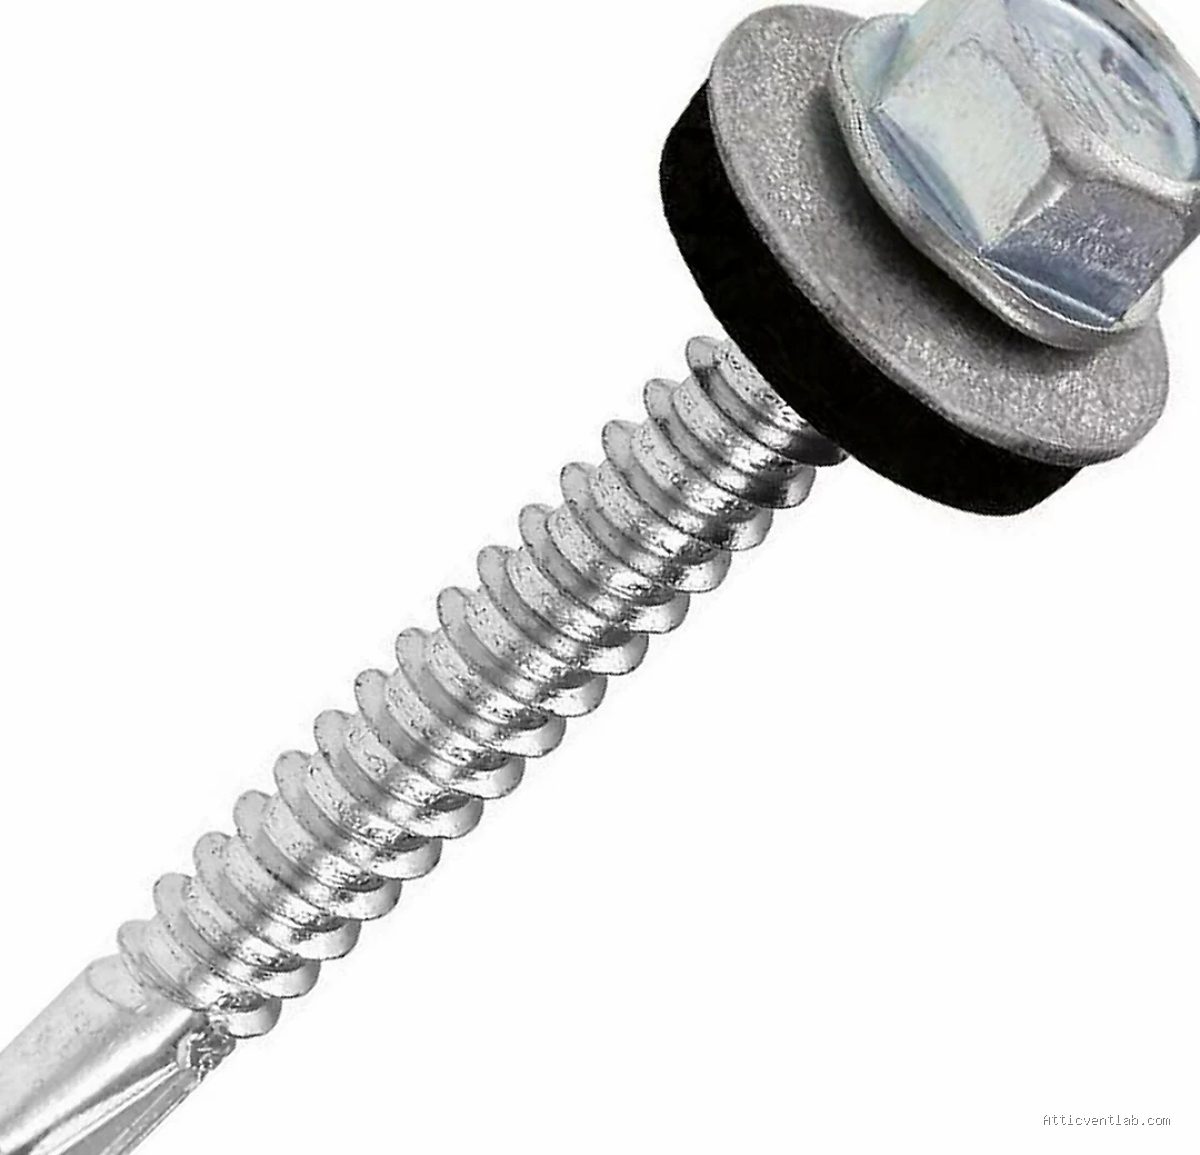
Atticventlab.com – Overtightening roofing screws causes neoprene washers to crack, deform, and lose their elasticity, creating direct pathways for water to penetrate the roof deck and trigger structural rot.
When installing metal roofing, the integrity of the seal depends entirely on the compression of the neoprene washer. Many contractors and DIY enthusiasts mistakenly believe that “tighter is better,” assuming that cranking the screw down as far as possible ensures a watertight fit. In reality, this excessive force is the most common cause of premature roof failure.
The Mechanics of Washer Failure
Neoprene is a synthetic rubber designed to be compressed to a specific degree. When a roofing screw is installed correctly, the washer should be compressed until it slightly bulges around the perimeter of the metal washer head. This creates a gasket seal against the roofing panel.
When you overtighten the screw, you exceed the elastic limit of the neoprene. This causes the rubber to split, tear, or squish out from under the metal head. Once the material is compromised, it loses its “memory”—the ability to expand and contract with the metal panel as temperatures change. A cracked or over-compressed washer creates a gap between the screw shank and the roofing material, effectively turning every fastener into a funnel for rainwater.
Common Mistakes and Their Consequences
📷 Photo by amazon.ca
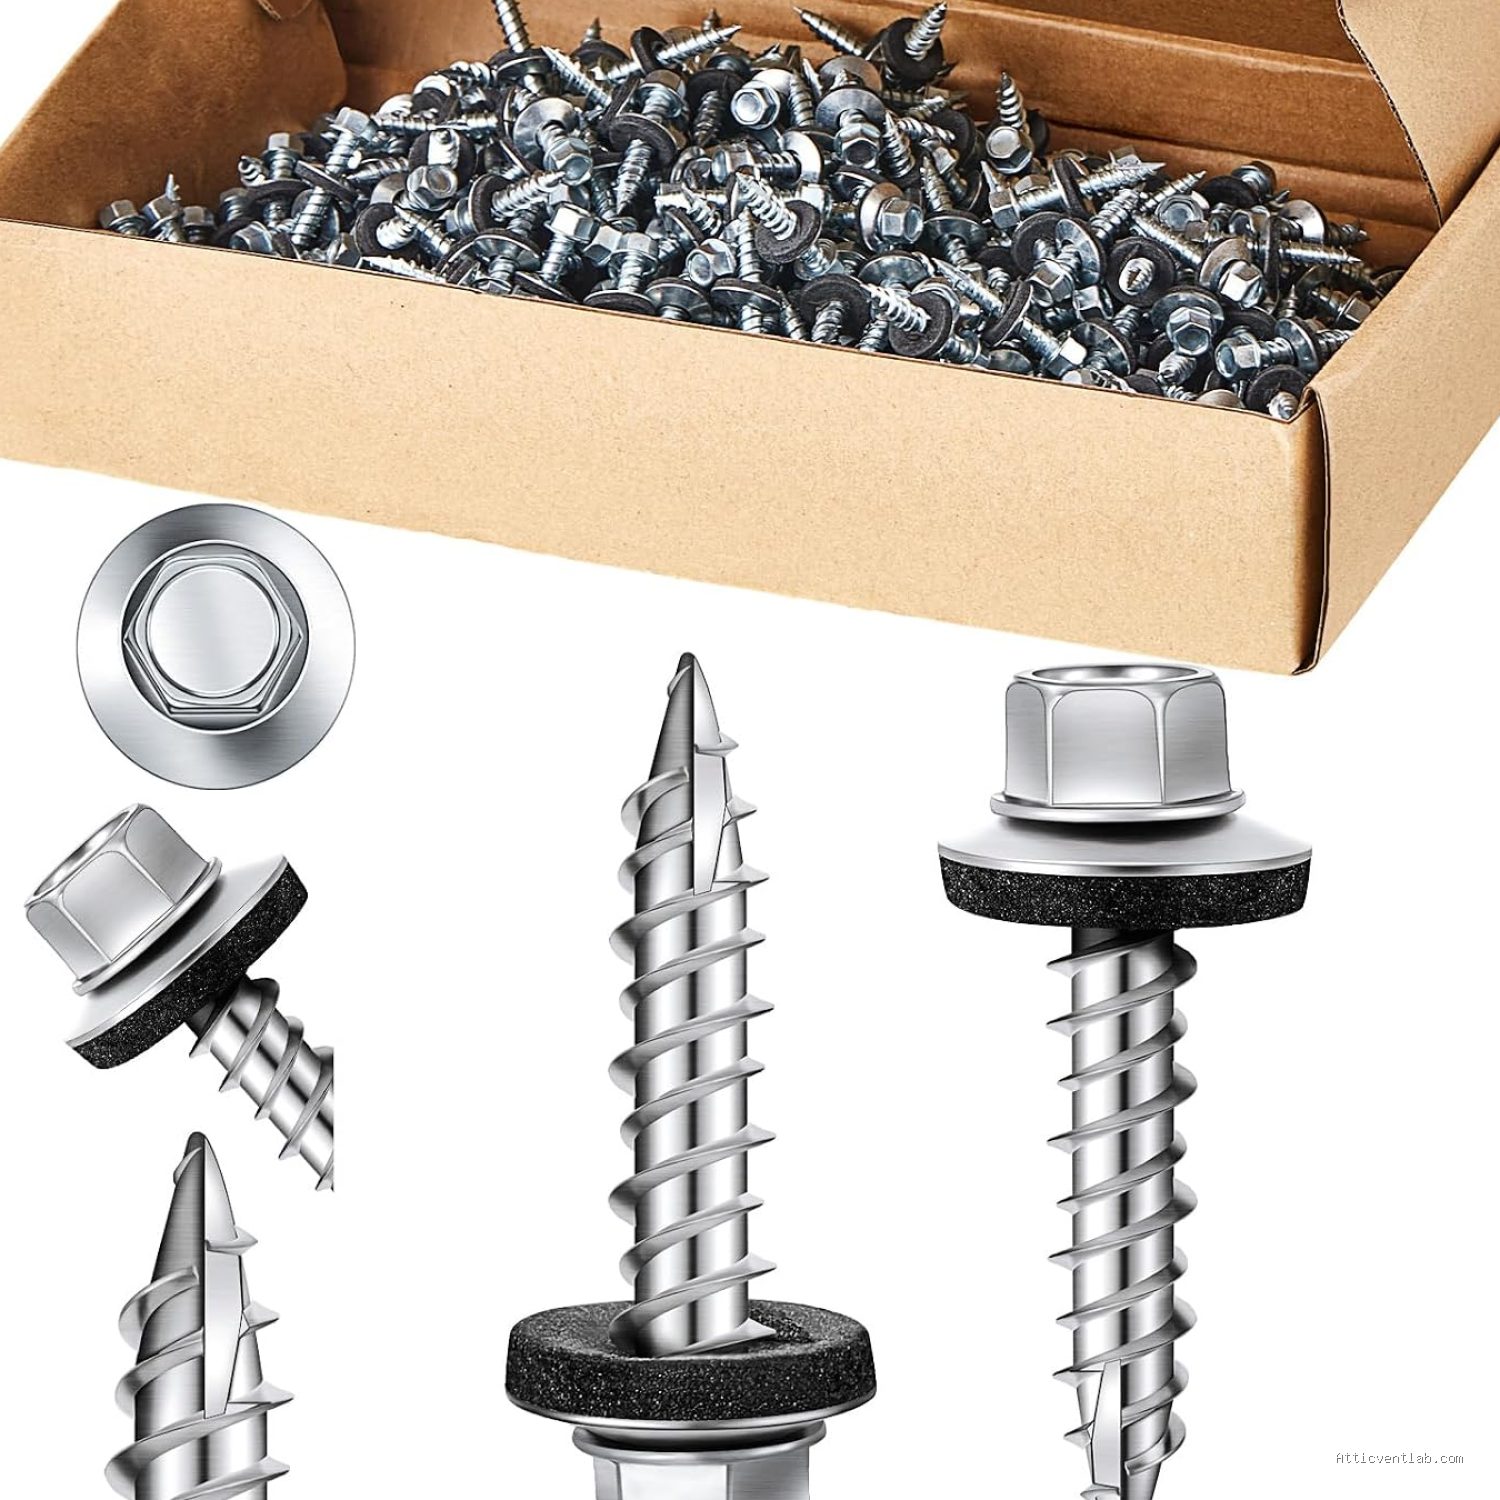
The primary driver of this issue is the use of high-torque impact drivers without depth control. Impact drivers are powerful tools, and they do not stop automatically when the washer is perfectly compressed. If the operator is not paying attention, the screw can bury itself deep into the metal panel, causing “dimpling.”
Dimpling is a secondary disaster. When the screw head creates a depression or a crater in the metal panel, water naturally pools around the screw head. Because the neoprene washer is likely destroyed from the overtightening, the pooled water has an open invitation to seep into the roof structure. Over time, this leads to rusted fasteners, stained insulation, and compromised roof decking.
Signs Your Roof Is Overtightened
📷 Photo by xdfastener.en.made-in-china.com
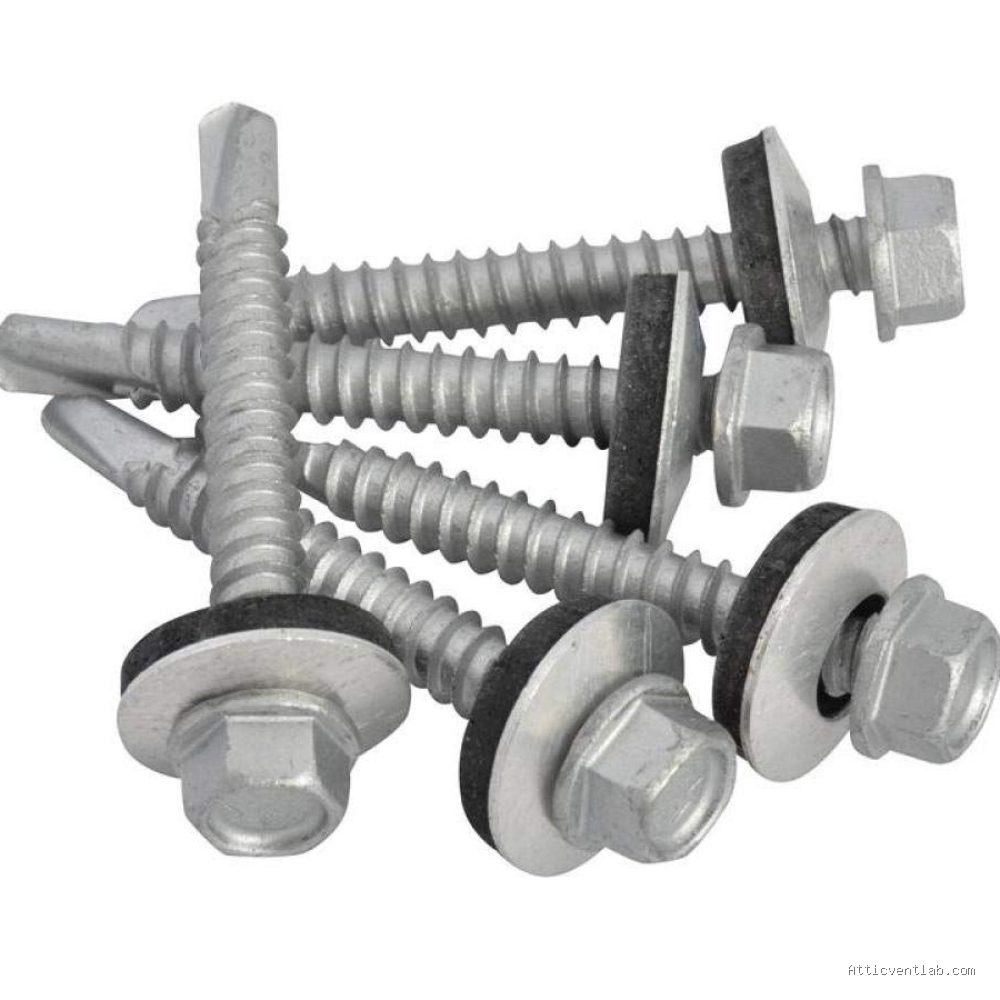
You can identify potential leaks before they happen by inspecting your roof fasteners. Look for the following signs:
- The neoprene washer is bulging significantly or has visible cracks along the edges.
- The metal roofing panel is deformed or “cupped” inward around the screw head.
- The screw head is flush with or beneath the surface of the metal panel rather than sitting on top of the washer.
- The washer is completely invisible or flattened to the point of being paper-thin.
Recommended Torque and Compression Guide
Understanding the visual cues of proper installation is more effective than relying on torque settings, which vary depending on the wood density of the purlins. Use the table below to distinguish between proper installation and failure states.
| Condition | Washer Appearance | Result |
|---|---|---|
| Correct | Uniform slight bulge, no cracks | Watertight seal |
| Overtightened | Cracked, split, or hidden edges | Water ingress and rot |
| Undertightened | Loose, no compression | Vibration and leaks |
Step-by-Step Guide to Proper Screw Installation
To ensure your roof remains watertight for years, follow this installation protocol to avoid the pitfalls of excessive torque.
- Select the appropriate screw length that allows for proper penetration into the purlin without requiring excessive force.
- Set your drill or impact driver to a low torque setting if the tool allows for adjustment.
- Drive the screw slowly as you approach the metal surface to maintain control.
- Stop immediately when you see the neoprene washer just beginning to expand to the edge of the screw head.
- Perform a visual inspection of the first few screws to calibrate your hand-eye coordination for the rest of the project.
- If you accidentally dimple the metal, remove the screw, seal the hole with an appropriate roofing sealant, and install a slightly larger diameter “oversized” replacement screw to regain the seal.
Preventing Long-Term Structural Damage
The risk of overtightening goes beyond simple leaks. Because metal roofing expands and contracts with daily thermal cycling, a healthy, elastic washer is required to move with the panel. An overtightened, dead-hardened washer acts as a rigid anchor. As the metal moves, the screw hole can become elongated, a process known as “walling out.”
Once the hole is elongated, no amount of sealant will fix the issue permanently. You are then forced to replace the entire panel or use oversized fasteners to plug the hole, which is both costly and aesthetically unappealing. Investing time in proper installation technique is significantly cheaper than the labor required to replace water-damaged decking or rusted panels.
Frequently Asked Questions
Q: Can I use silicone sealant to fix an overtightened screw?
A: While a high-quality polyurethane sealant can provide a temporary fix, it is not a permanent solution. The sealant will eventually degrade, and it does not fix the underlying structural damage caused by the dimpled metal panel.
Q: Is it better to be slightly loose than too tight?
A: Yes, but only slightly. A screw that is too loose will allow water to bypass the washer, but it does not cause the permanent deformation of the metal panel. It is much easier to tighten a loose screw than it is to fix a dimpled panel caused by an overtightened one.
Q: Should I use a manual screwdriver to avoid overtightening?
A: For smaller jobs, a manual screwdriver or a manual socket wrench is actually safer than an impact driver. It allows you to feel the resistance of the washer, making it nearly impossible to overtighten the fastener by accident.
By treating the neoprene washer as a precision component rather than just a spacer, you protect the longevity of your entire roofing system. Always prioritize the visual integrity of the rubber seal over the speed of your installation.
📷 Photo by diy.com








Leave a Reply