

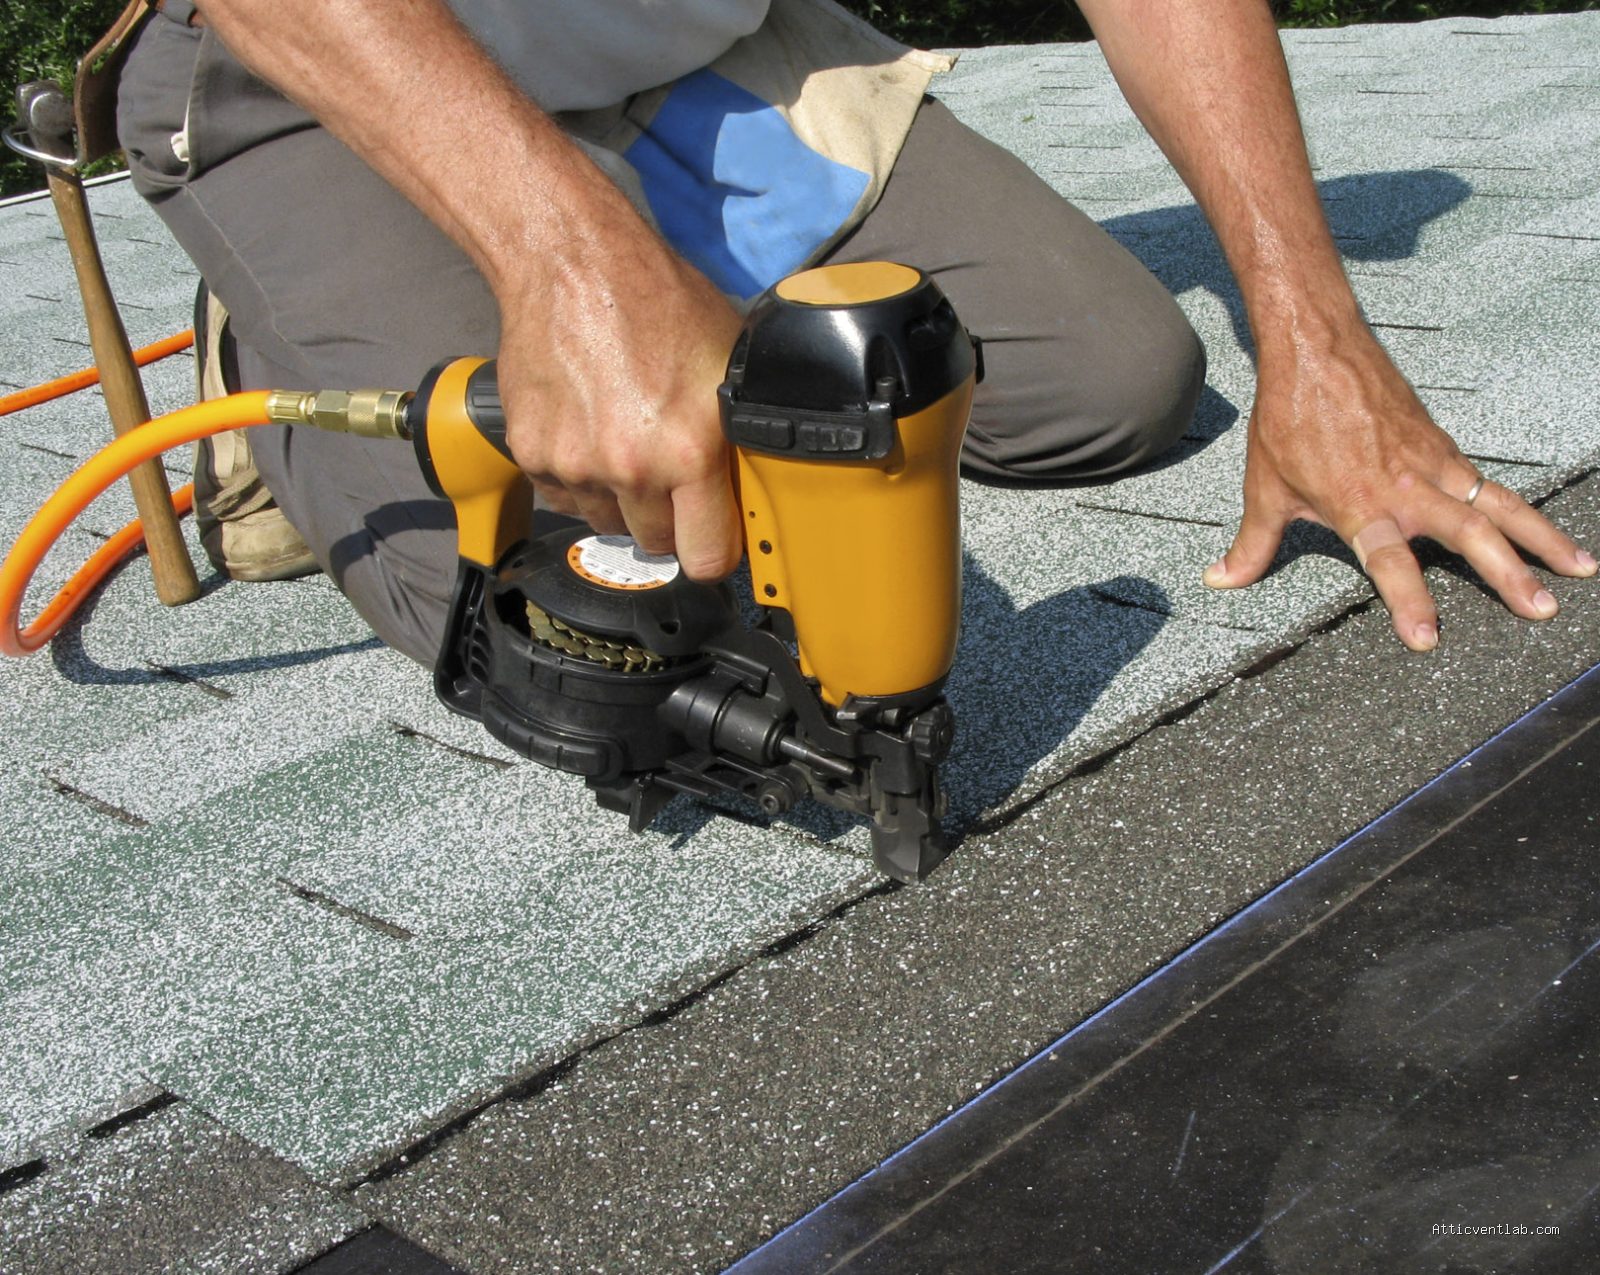
Atticventlab.com – To seal exposed nail heads on architectural shingles without creating unsightly smears, you must apply a small, precise dab of high-quality asphalt roofing cement directly onto the nail head and then lightly coat it with matching shingle granules to blend the repair seamlessly into the roof surface.
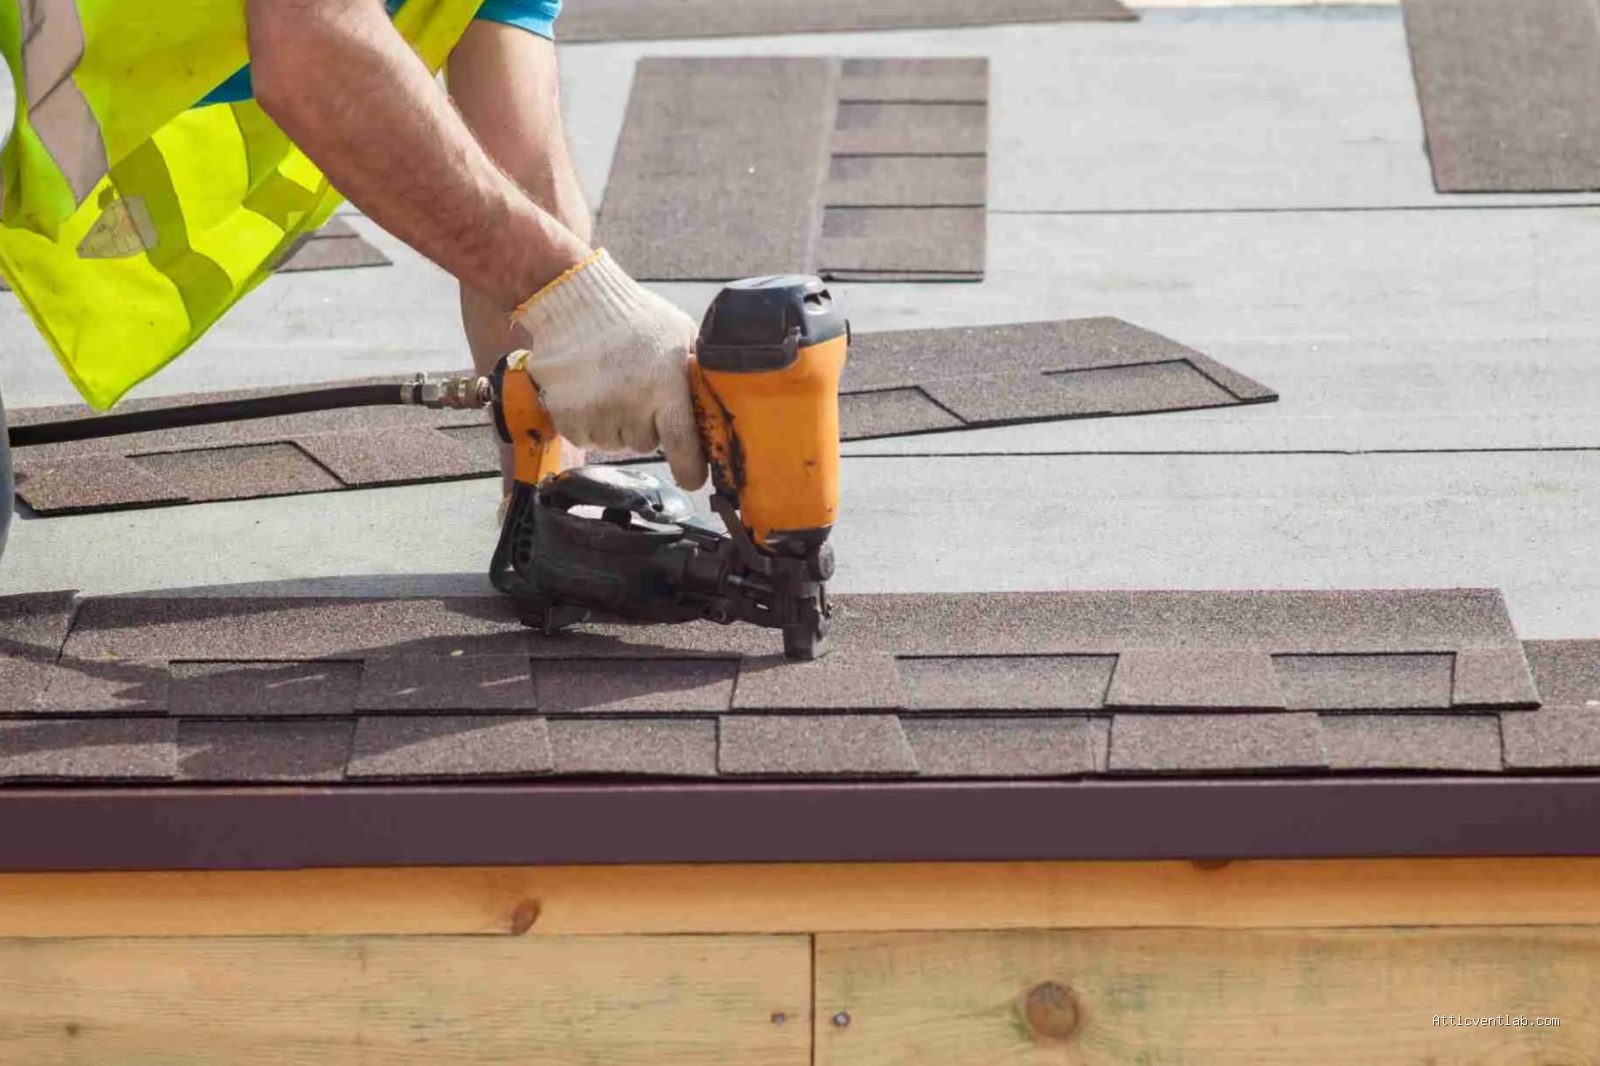
Understanding the Problem of Exposed Nails
Exposed nail heads are common vulnerabilities on architectural shingle roofs, often resulting from improper installation, thermal expansion, or wind uplift. When a nail is left exposed, it acts as a direct conduit for water to bypass the shingle layer and penetrate the roof deck. Over time, this leads to wood rot, interior water stains, and structural compromise.
Many DIYers attempt to fix these leaks by globbing large amounts of tar over the nail. This approach is not only aesthetically displeasing but also ineffective in the long run. Excess tar often cracks under UV exposure, traps moisture, and creates a “bird’s nest” of debris that can eventually cause even larger leaks. Achieving a professional finish requires patience and an understanding of how roofing materials interact with sealants.
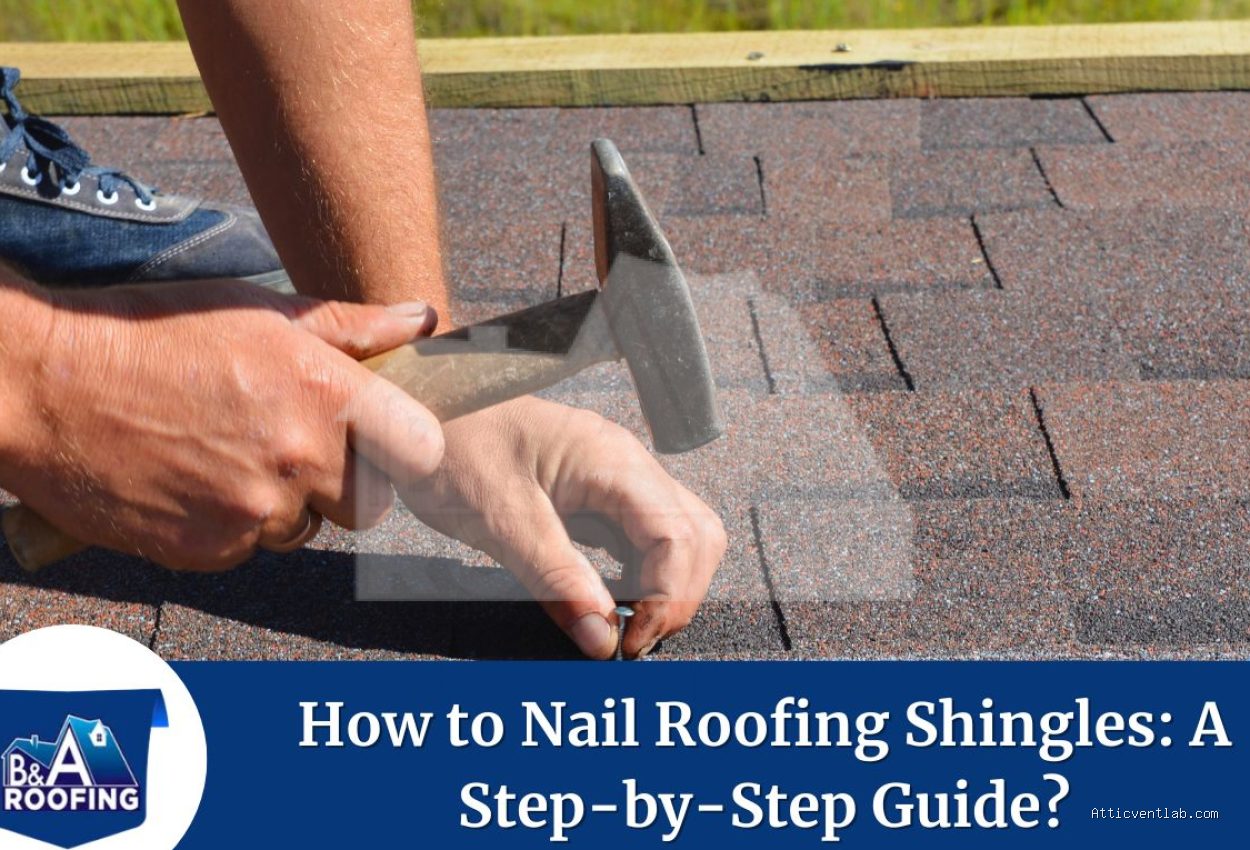
Tools and Materials Required
Before beginning the repair, ensure you have the correct supplies. Using the wrong type of sealant can cause the shingles to curl or dissolve. You will need:
- A tube of high-quality asphalt-based roofing cement (ensure it is compatible with asphalt shingles).
- A caulking gun.
- Spare shingle granules (can be collected from the gutter or by gently scrubbing a matching spare shingle).
- A putty knife or a small wooden applicator.
- A soft-bristled brush.
Step-by-Step Repair Process
Follow these steps to ensure a waterproof seal that remains invisible from the ground level.
- Clean the area thoroughly: Use a soft brush to remove any dirt, moss, or loose granules around the nail head. A clean surface is essential for the sealant to adhere properly.
- Apply the sealant precisely: Instead of using the caulking gun directly on the nail, squeeze a small amount of asphalt cement onto a putty knife. Apply a tiny dab—no larger than a dime—directly over the nail head.
- Level the sealant: Use the edge of the putty knife to flatten the cement. You want to cover the nail head completely while keeping the profile as low as possible to avoid a “bump” on the shingle.
- Apply the granules: While the cement is still wet, sprinkle the matching shingle granules over the patch. Press them gently into the cement with your thumb or the flat of the putty knife so they embed firmly.
- Remove excess material: If any sealant has smeared onto the surrounding shingle, wipe it away immediately with a dry cloth or use a small amount of mineral spirits, taking care not to disturb the existing granules on the shingle face.
Comparison of Sealant Application Methods
| Method | Aesthetic Outcome | Durability | Risk Level |
|---|---|---|---|
| Direct Caulking Gun | Poor (Large, messy globs) | Moderate | High (Likely to smear) |
| Putty Knife Application | Excellent (Flat, blended) | High | Low (Controlled) |
| Spray-on Sealant | Fair (Uniform appearance) | Low | High (Over-spray damage) |
Common Mistakes to Avoid
One of the most frequent errors is over-applying the sealant. Homeowners often believe that more tar equals better protection, but excess material creates a reservoir for water rather than a shield. Furthermore, never use silicone-based sealants on asphalt shingles. Silicone does not bond well with asphalt and can actually accelerate the degradation of the shingle’s protective coating.
Another common mistake is failing to match the granules. If your roof is aged, the original color of the shingles may have faded. Using brand-new granules from a fresh shingle might create a “polka-dot” effect. If possible, collect granules from a hidden area of the roof, such as behind a chimney or under an eave, to ensure a perfect color match.
When to Call a Professional
While sealing a single exposed nail is a manageable task, you must evaluate the extent of the issue. If you find dozens of exposed nails, this is a sign of a systemic installation failure, such as improper nailing patterns or the use of incorrect fasteners. In such cases, simply patching the holes is a temporary fix. You may need a professional roofer to inspect the installation to determine if the shingles need to be repositioned or if the entire section requires replacement.
Additionally, if you discover the nail heads are pulling through the shingles entirely, the integrity of the shingles is likely compromised. Patching will not restore the structural strength needed to hold the shingle in high winds. Always prioritize safety; if the roof pitch is steep or conditions are wet, do not attempt the repair yourself.
FAQ Section
Q: Can I use clear silicone to seal the nail instead of asphalt cement?
A: No, you should never use silicone on asphalt shingles. Silicone reacts poorly with the asphalt, causing the shingles to lose their protective granules and potentially leading to premature cracking or deterioration.
Q: How do I get matching granules if I don’t have spare shingles?
A: You can gently scrape the underside or the hidden tab areas of existing shingles to collect loose granules, or check your gutters where granules naturally accumulate over time.
Q: Will the patch eventually wash away?
A: If applied correctly using high-quality asphalt roofing cement and embedded with sufficient granules, the patch should last for several years, effectively protecting the nail head from oxidation and water entry.
📷 Photo by rescue-my-roof.com








Leave a Reply