

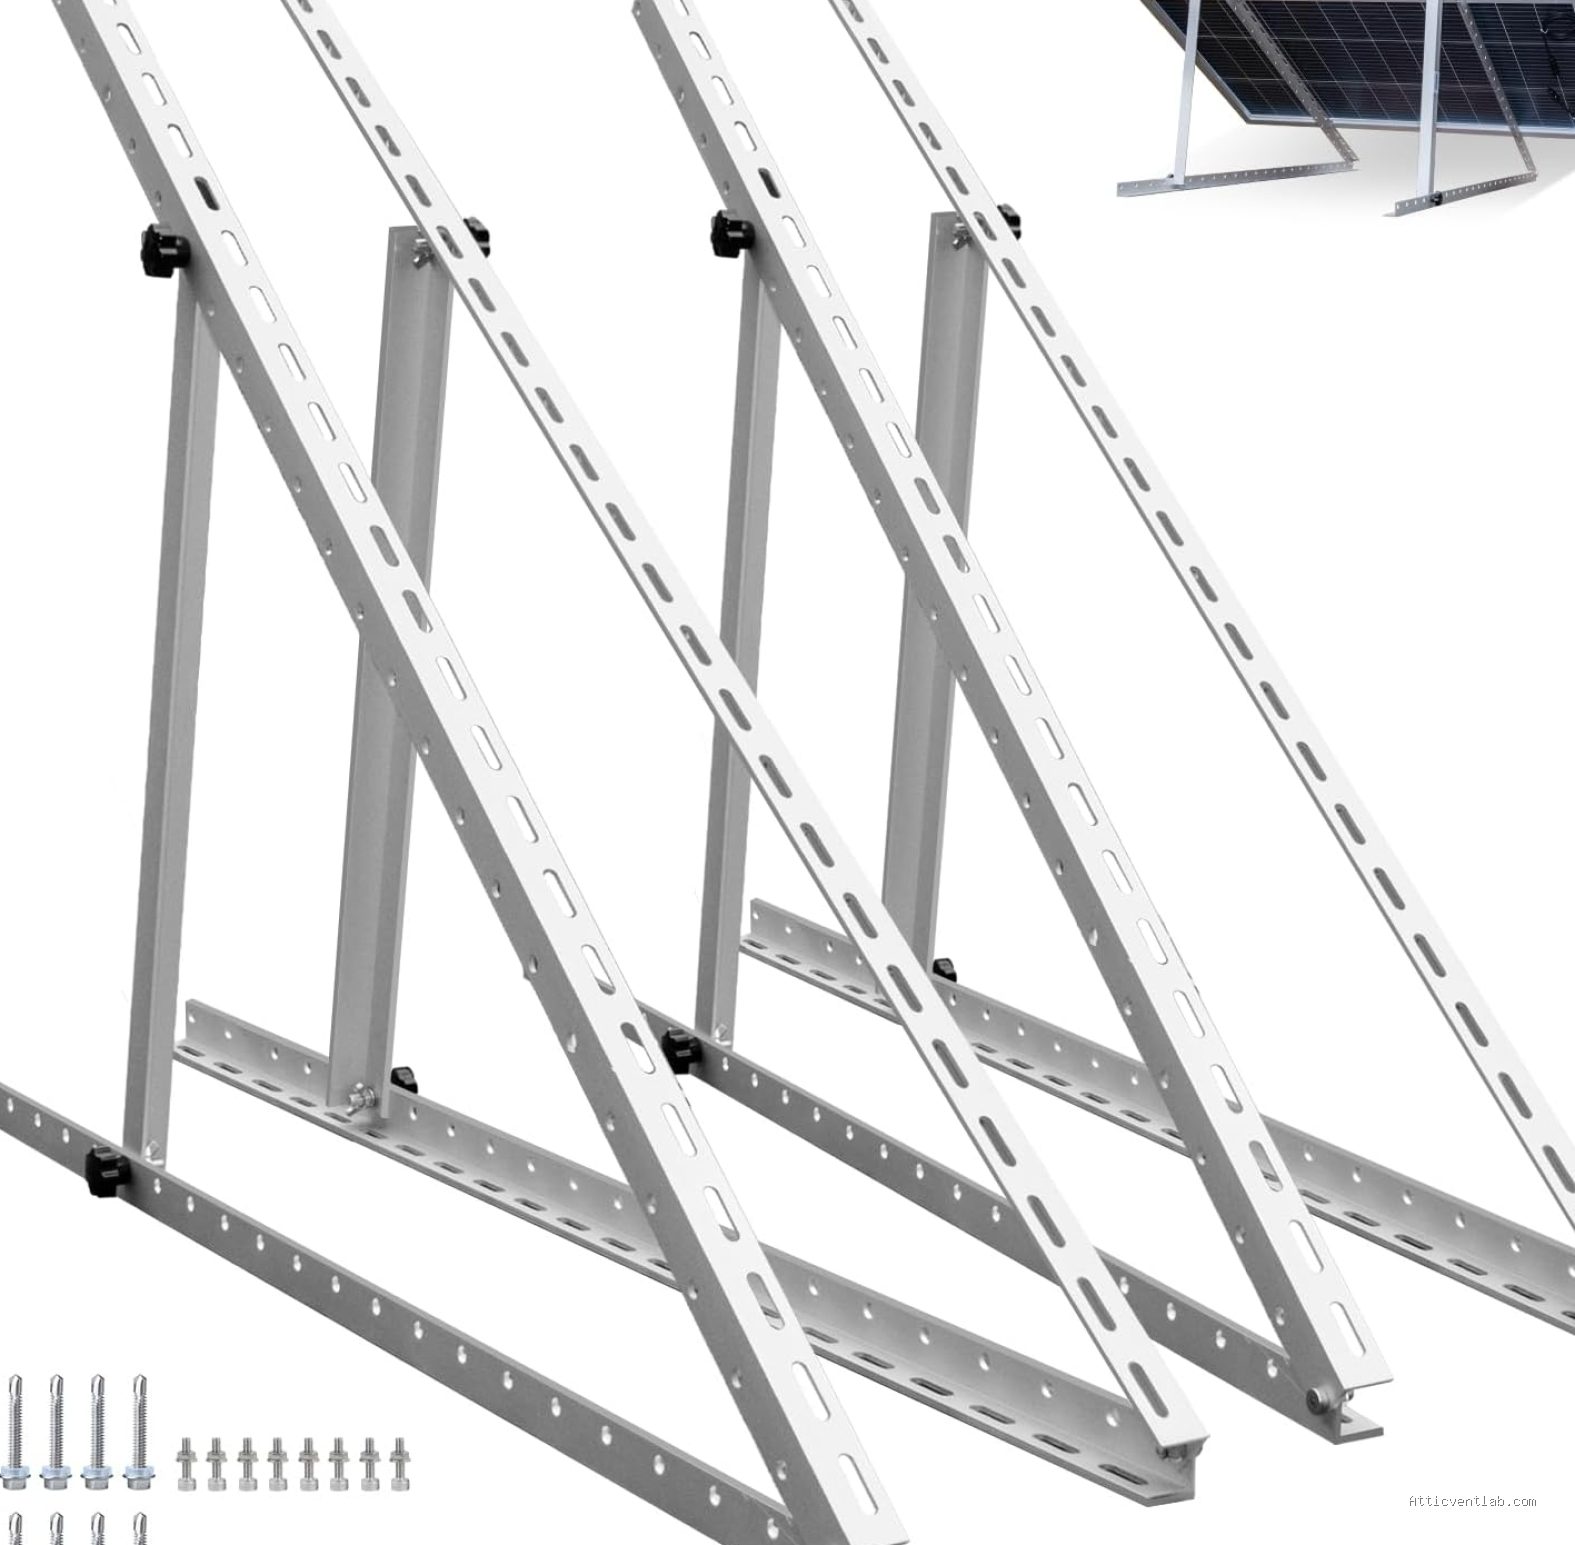
Atticventlab.com – Flashing around solar panel mounting brackets on a shingle roof requires installing a pre-manufactured metal flashing slide or a high-quality sealant-backed flashing plate underneath the existing shingles to create a watertight barrier that prevents roof leaks. This process ensures that every penetration point is protected by a secondary layer of defense, directing water flow over the bracket rather than into the roof deck.
Understanding the Importance of Proper Flashing
Solar mounting brackets are the primary connection points between your roof structure and the solar array. Because these brackets must penetrate the shingles, underlayment, and roof decking to reach the rafters, they become potential entry points for moisture. If these penetrations are not flashed correctly, water can wick into the holes, leading to wood rot, mold growth, and interior water damage over time.
Many DIY installers make the mistake of relying solely on roofing cement or silicone caulk to seal around the bolt. While sealants are a useful secondary measure, they are not a permanent solution for roof waterproofing. Sun exposure, temperature fluctuations, and thermal expansion cause sealants to crack and degrade within a few years. Proper mechanical flashing is the only way to ensure long-term roof integrity.
Required Tools and Materials
Before beginning the installation, ensure you have the correct materials compatible with your specific roofing system. Most modern solar mounting systems use “L-feet” combined with specialized flashing plates. Always verify that your flashing material—typically aluminum, galvanized steel, or stainless steel—is compatible with the metal of your mounting hardware to prevent galvanic corrosion.
| Component | Purpose | Recommended Specification |
|---|---|---|
| Flashing Plate | Water diversion | Aluminum or stainless steel with a rubber gasket |
| Lag Bolts | Structural attachment | Stainless steel, typically 5/16 inch diameter |
| Roofing Sealant | Secondary barrier | Polyurethane-based or MS polymer sealant |
| Flat Bar | Shingle manipulation | Steel pry bar or shingle ripper |
Step-by-Step Installation Process
Achieving a leak-proof installation requires careful attention to the shingle layer sequence. You must work from the bottom up to ensure that the shingles overlap the flashing correctly, allowing water to shed naturally down the slope of the roof.
- Locate the rafters: Use a stud finder or drill small pilot holes to identify the center of the rafter. Accuracy is critical, as the lag bolt must be centered in the wood to provide structural holding power.
- Clear the shingles: Carefully lift the shingle course above the installation site using a flat bar. Remove any nails that obstruct the placement of the flashing plate.
- Apply sealant: Apply a generous amount of high-quality roofing sealant to the underside of the flashing plate, specifically around the area where the lag bolt will penetrate. This creates a gasket seal against the roof deck.
- Secure the bracket: Place the flashing plate over the pilot hole. Drive the lag bolt through the flashing plate and into the rafter. Tighten the bolt until the flashing plate is compressed firmly against the roof surface, but avoid over-tightening, which can deform the flashing.
- Install the L-foot: Attach the L-foot mounting bracket to the flashing plate using the provided hardware. Ensure the L-foot is positioned correctly to receive the solar racking rails.
- Finish the shingle layer: Lower the shingles back into their original position. If the shingles were damaged during the process, apply a small amount of sealant under the shingle tabs to secure them back to the roof surface.
Common Mistakes and Best Practices
One of the most frequent errors is failing to remove nails that conflict with the flashing plate. If you force a flashing plate over an existing nail head, it will sit unevenly, creating a gap that allows water to enter. Always remove or cut back any nails that prevent the flashing from lying perfectly flat against the roof deck.
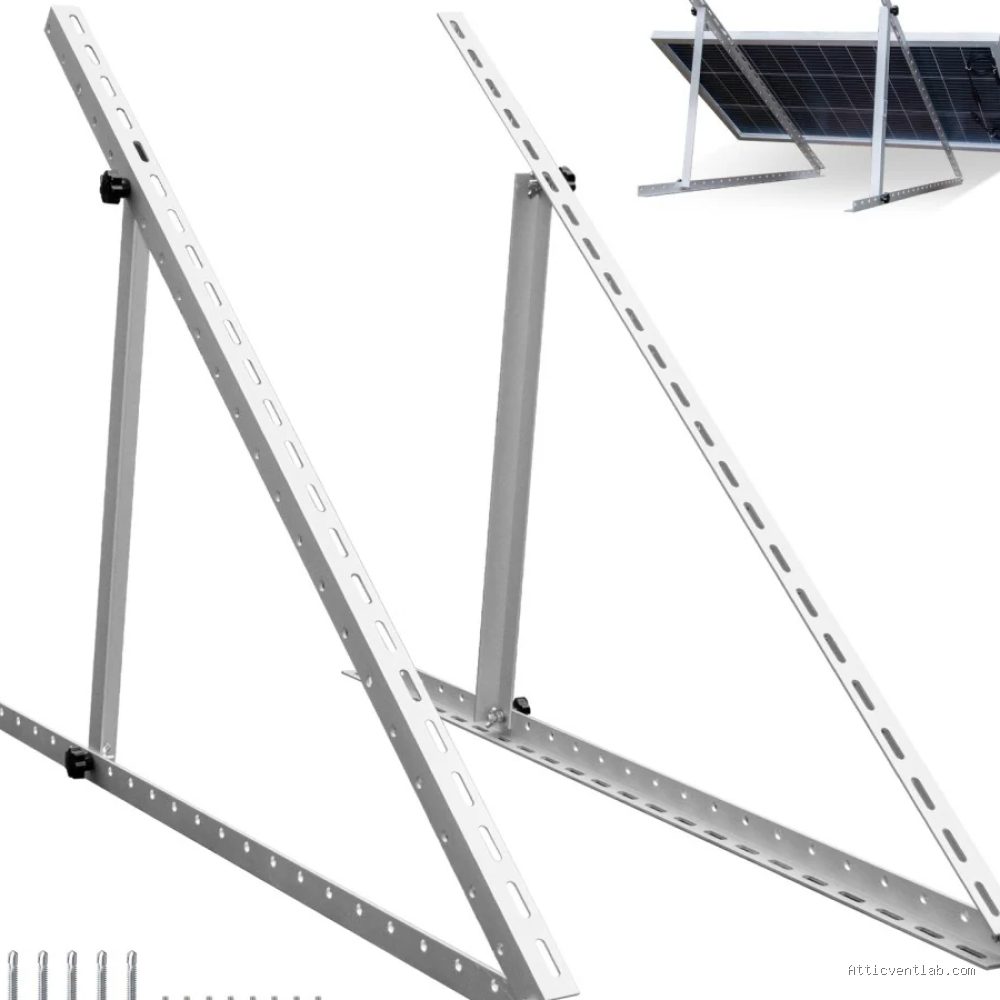
📷 Photo by eco-worthy.com
Another common issue is over-relying on sealant as the primary defense. Sealant should be viewed as a “belt and suspenders” approach. The primary defense must always be the physical metal flashing that sheds water away from the hole. If you find yourself using an entire tube of sealant for a single bracket, it is a sign that the flashing is not properly seated or the shingle layout is compromised.
Read also: Why Step Flashing Must Not Be Nailed to the Wall Surface Directly
Environmental factors also play a role in longevity. If you live in a region with heavy snow loads or high wind, ensure that your flashing plates are rated for those conditions. In high-wind areas, wind-driven rain can force moisture under shingles; in these cases, using additional flashing membranes or “ice and water shield” patches around the penetration can provide extra peace of mind.
Inspecting Your Work
After the mounting brackets are installed and the solar rails are in place, perform a final inspection. Look for any exposed sealant that may attract debris or collect water. Verify that no shingles are buckled or cracked. If you see any shingles that look “lifted” or do not lay flat, they may be prone to wind uplift, which can lead to leaks during severe storms. Address these by applying a small dab of roofing adhesive under the shingle tab to keep it secured to the flashing plate.
Frequently Asked Questions
Q: Can I use asphalt roof cement instead of specialized flashing?
A: No, asphalt cement is a temporary patch and will crack under the heat generated by solar panels. Always use a dedicated metal flashing system designed for solar mounts to ensure a permanent, waterproof seal.
Q: How do I know if I have hit the rafter correctly?
A: When driving the lag bolt, you should feel significant, consistent resistance. If the bolt turns easily or feels “spongy,” you have likely missed the rafter or hit a knot in the wood. You must relocate the hole and seal the abandoned penetration with a piece of flashing or professional-grade roof sealant.
Q: Is it necessary to remove shingles to install the flashing?
A: Generally, no. You should be able to slide the flashing plate under the existing shingles using a flat bar. However, if the shingles are brittle or old, they may crack when lifted. In such cases, extreme caution is required, and you may need to replace damaged shingles immediately to maintain the warranty and integrity of the roof.
📷 Photo by amazon.com








1 Comments
[…] Read also: How to Flash Around Solar Panel Mounting Brackets on Shingle Roofs […]