

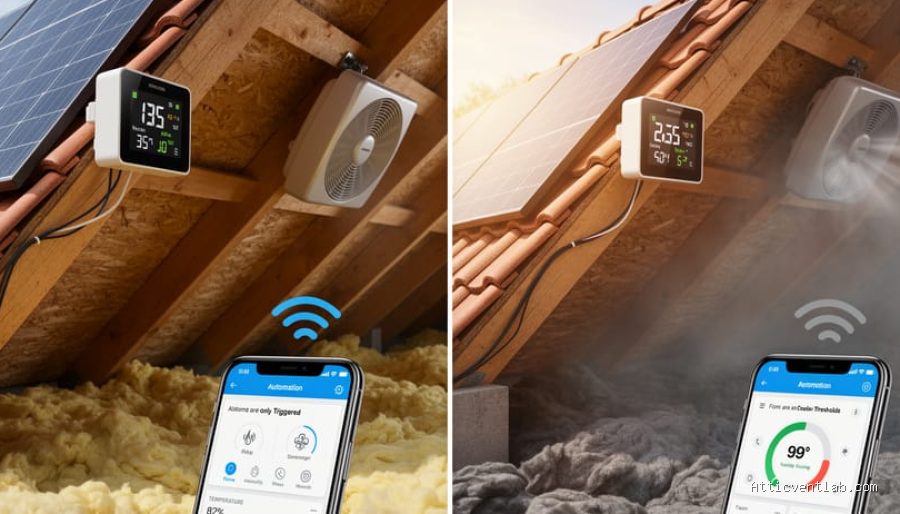
Atticventlab.com – Installing smart attic temperature sensors allows you to automate ventilation systems by triggering fans or intake vents precisely when heat thresholds are exceeded, preventing moisture buildup and structural damage. This integration optimizes energy efficiency while extending the lifespan of your roof shingles and insulation by maintaining an ideal thermal balance.
Understanding the Mechanics of Automated Attic Ventilation
Attics often become heat traps, reaching temperatures well over 140 degrees Fahrenheit during summer months. Without automated intervention, this heat radiates downward into your living spaces and accelerates the deterioration of roofing materials. Smart sensors act as the central nervous system of your attic, continuously monitoring ambient air temperature and humidity levels. When these metrics cross your pre-configured thresholds, the system sends a signal to your attic fans or motorized vents to activate, effectively purging the trapped hot air.
The primary advantage of a smart system over a traditional thermostat is granularity. Traditional bi-metal attic thermostats are often inaccurate and lack the ability to account for humidity. Smart sensors provide real-time data logs, allowing you to identify trends and adjust your triggers based on seasonal changes or specific weather patterns in your local area.
Selecting the Right Hardware
When choosing equipment, look for industrial-grade sensors that can withstand extreme temperature fluctuations. Consumer-grade indoor sensors may fail after a single season in an unconditioned attic space. Ensure your system supports a hub-based protocol like Zigbee or Z-Wave if you want to avoid relying solely on Wi-Fi, which can be unstable in areas with poor signal penetration through roof decking.
Comparison of Attic Sensor Integration Methods
| Feature | Standalone Smart Plug | Hardwired Smart Relay | Integrated Hub System |
|---|---|---|---|
| Installation Difficulty | Low | High | Medium |
| Reliability | Moderate | High | High |
| Data Granularity | Basic | Advanced | Advanced |
| Cost | $ | $$ | $$$ |
Step-by-Step Installation Guide
Implementing an automated system requires careful planning to ensure the sensor is placed where it can capture the most representative data. Avoid placing sensors directly next to intake vents or near exhaust fans, as this will lead to false readings.
Read also: Why Silicone Fails on Chimney Flashing Corners Subject to Thermal Shock
- Mount the smart sensor in the upper third of your attic, ideally near the peak or ridge, as this is where the hottest air collects.
- Connect the sensor to your smart home hub or dedicated mobile application to verify signal strength.
- Install a smart relay or a high-amperage smart plug compatible with your attic fan’s electrical requirements.
- Configure the automation logic in your software: set the fan to turn on when the temperature exceeds 95 degrees Fahrenheit and humidity drops below 70 percent.
- Perform a live test by using a heat gun or hair dryer (at a safe distance) to trigger the sensor and confirm the fan activates immediately.
- Set up push notifications to alert your smartphone if the attic temperature spikes above a critical threshold, which could indicate a ventilation failure.
Common Mistakes and Practical Tips
A frequent error homeowners make is setting the temperature threshold too low. If you set your trigger at 80 degrees, your fan will run constantly throughout the summer, leading to premature motor burnout and unnecessary electricity consumption. Aim for a threshold between 90 and 100 degrees for cooling, and consider adding a humidity trigger to prevent condensation during winter months.
Another critical mistake is failing to verify intake ventilation. If your exhaust fan pulls air, but you do not have sufficient intake vents (soffit vents), the fan will create negative pressure. This can pull conditioned air from your living space into the attic, significantly increasing your cooling costs. Always ensure the ratio of intake to exhaust is balanced before automating the system.
Regular maintenance is non-negotiable. Dust and debris can clog sensor ports, leading to inaccurate readings. Every six months, perform a visual inspection of your attic sensors and wipe them down with a dry, lint-free cloth. Additionally, verify that the smart relay or plug is not showing signs of overheating, as attic environments are harsh on electrical components.
Addressing Potential Risks
Automated venting is highly effective, but it is not a cure-all for poor insulation. If your attic floor lacks proper R-value insulation, the heat will eventually transfer into your home regardless of how effectively the attic is vented. Always prioritize air sealing your attic floor—closing gaps around plumbing pipes, electrical wires, and recessed lighting—before relying on active ventilation solutions.
Furthermore, ensure your fan motor is rated for continuous duty cycles. Many cheap, off-the-shelf attic fans are designed for intermittent use. Using an automated system on a fan not built for high-frequency cycling will lead to mechanical failure within a few years. When upgrading your fan, look for brushless DC motors, which are quieter and significantly more durable than traditional AC motors.
Frequently Asked Questions
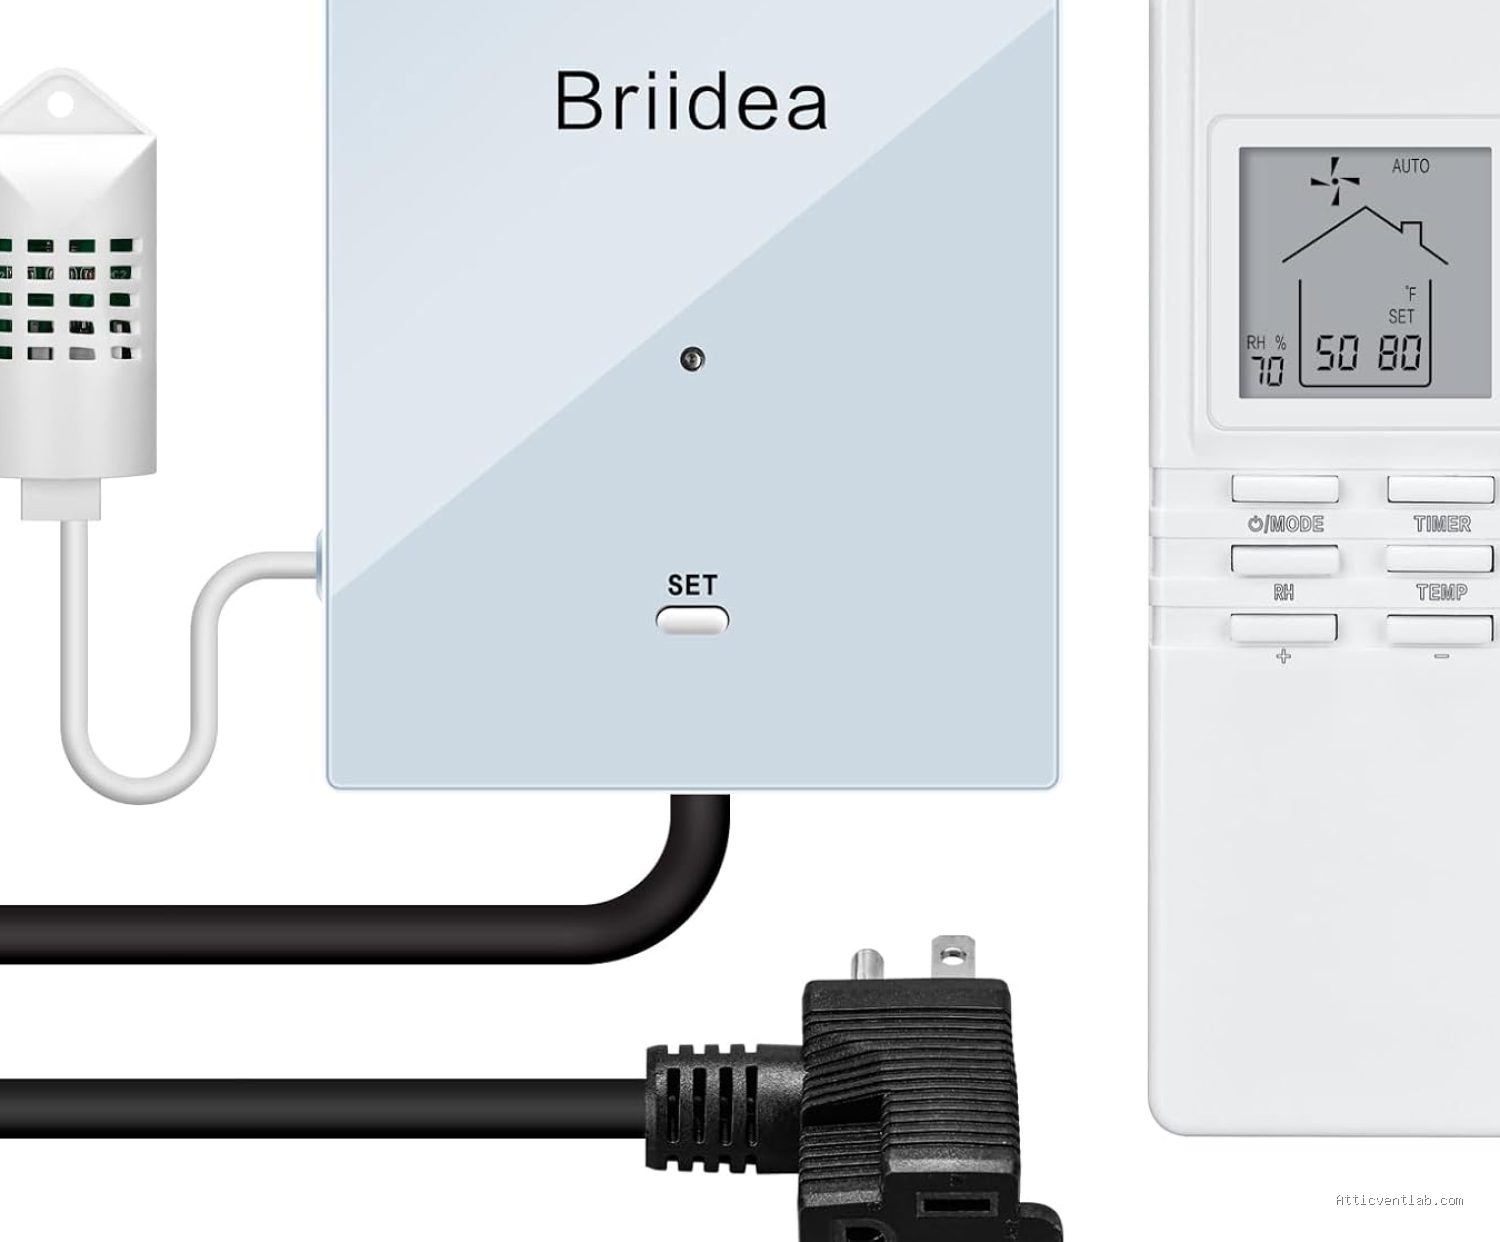
Q: Can I use a standard outdoor smart sensor for my attic?
📷 Photo by amazon.com
A: It is not recommended. Outdoor sensors are designed for air temperatures that rarely exceed 110 degrees, whereas attics frequently reach 150 degrees or more. Always use sensors rated for high-heat industrial environments.
Q: Will automating my attic fan save me money?
A: Yes, by preventing the heat soak of your ceiling insulation, your air conditioning system will run less frequently. However, the energy savings depend on the efficiency of your fan and the quality of your attic’s insulation.
Q: Does humidity control matter as much as temperature?
A: In many climates, humidity is more dangerous than heat. High humidity in an attic can lead to mold growth and wood rot, so integrating a humidity trigger is essential for long-term structural health.
📷 Photo by spheralsolar.com








1 Comments
[…] Read also: How to Fit Smart Attic Temperature Sensors to Trigger Automated Venting […]