

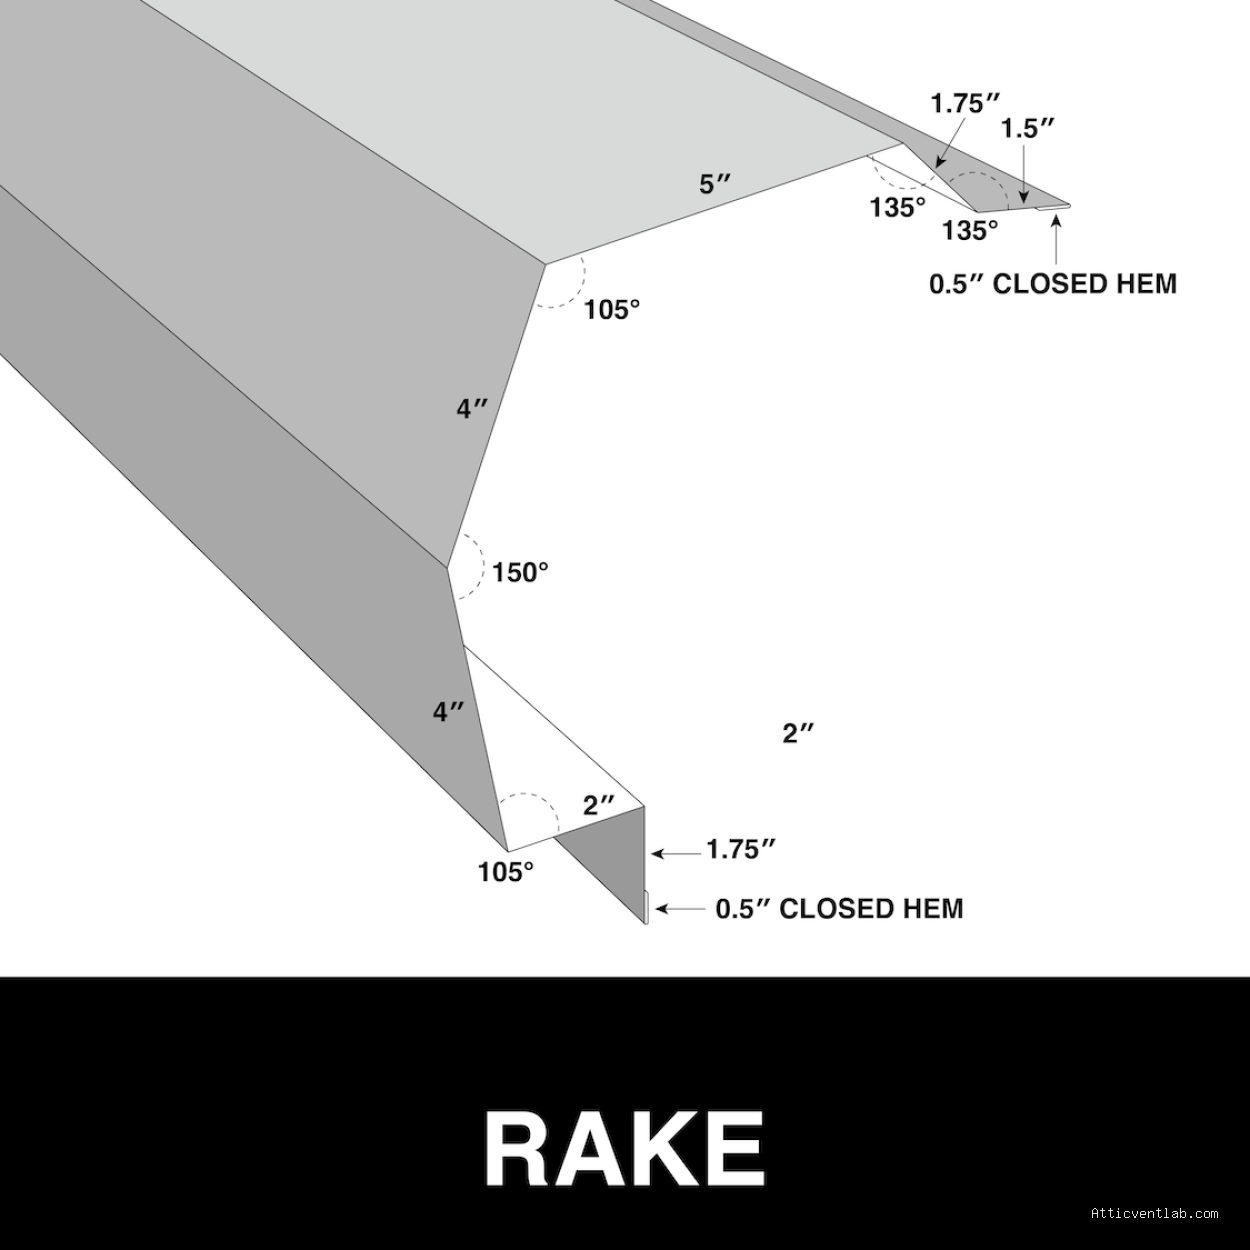
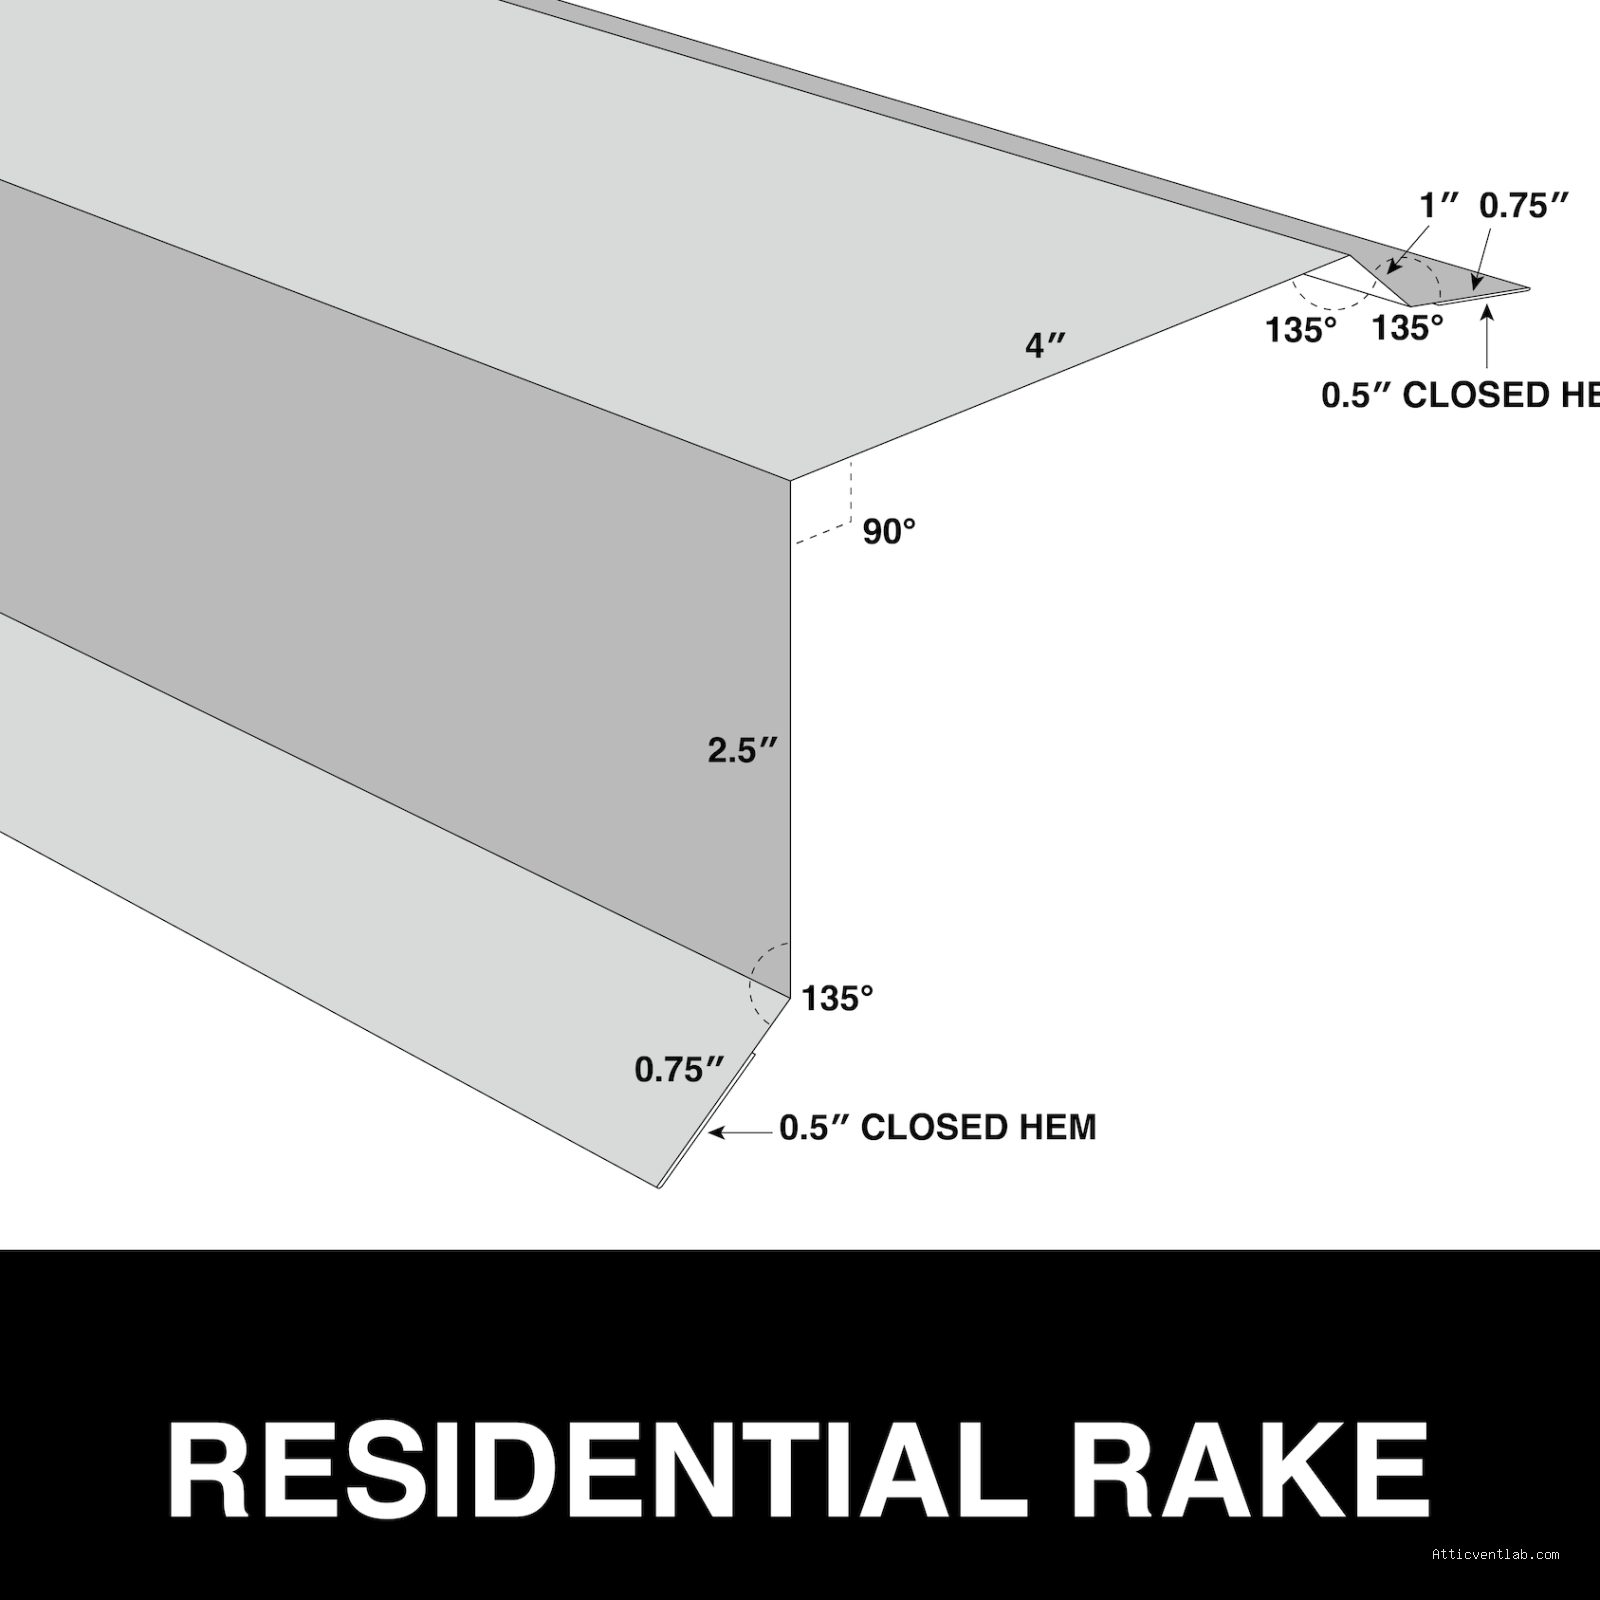
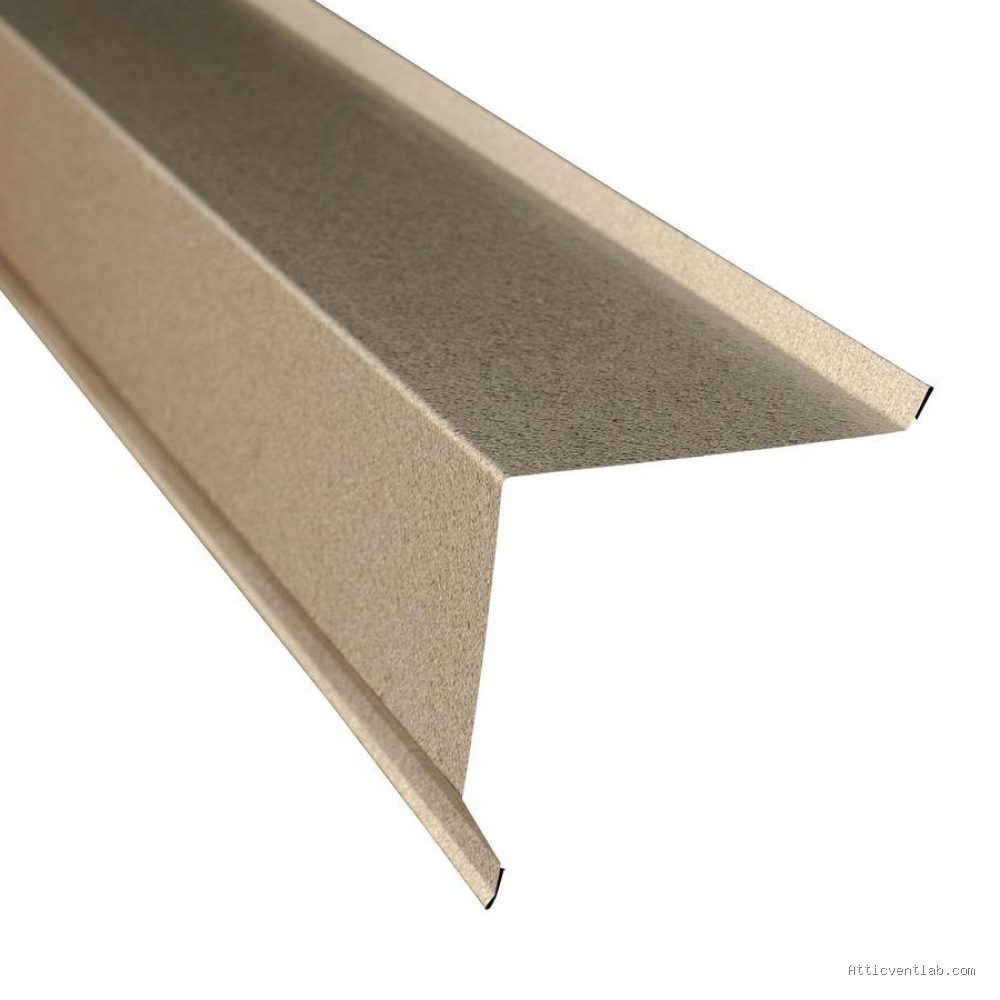
Atticventlab.com – Fastening metal rake trim without warping the face profile panel requires using pre-drilled holes, proper fastener spacing, and avoiding over-tightening to allow for natural thermal expansion. By applying these techniques, you ensure a clean, professional finish while maintaining the structural integrity of your roofing system.
The Mechanics of Metal Warping
Metal roofing panels are highly sensitive to thermal movement. When the sun hits your roof, the metal expands, and when the temperature drops, it contracts. If you fasten the rake trim too tightly against the face of the panel, or if you drive screws directly through the metal without allowing for movement, the material has nowhere to go. This creates “oil canning” or visible ripples along the trim, which ruins the aesthetic appeal of the roofline.
Most installers make the mistake of treating metal trim like wood trim. Unlike wood, which stays relatively static once installed, metal is a dynamic material. The goal is to secure the trim to the structure while allowing the panel itself to “float” slightly underneath the fastening points. Failing to account for this will result in unsightly waves that are difficult to correct once the fasteners have been driven.
Essential Tools and Preparation
Before you begin the installation, ensure you have the correct equipment. Using an impact driver with a high torque setting is the fastest way to ruin a professional finish. Instead, use a drill with a clutch setting or a manual screwdriver for the final tightening. Using a magnetic bit holder and high-quality hex-head screws with EPDM washers is non-negotiable for weatherproofing and preventing over-compression.
Step-by-Step Installation Guide
- Measure and Pre-drill: Measure the spacing for your fasteners accurately. Use a drill bit slightly larger than the shank of your screw to create an oversized hole in the trim. This gives the metal room to move as temperatures shift.
- Align the Trim: Position the rake trim so it sits flush against the face of the panel but is not under tension. Ensure the trim is square with the roof pitch before driving any fasteners.
- Install Fasteners with Precision: Start from the bottom of the rake and work your way up to the ridge. Drive the screws until the EPDM washer just begins to compress against the metal surface. Do not crush the washer, as this indicates you have over-tightened the screw.
- Check for Alignment: Periodically step back and view the trim from the ground level. If you see signs of distortion, immediately back the screw out a quarter turn to relieve the pressure on the panel face.
Recommended Fastener Specifications
| Feature | Recommended Setting | Reasoning |
|---|---|---|
| Fastener Spacing | 12 to 16 inches | Provides enough support to prevent flapping without over-fastening. |
| Drill Bit Size | 1/16 inch larger than shank | Allows for thermal expansion and contraction. |
| Clutch Setting | Low to Medium | Prevents over-driving and washer damage. |
| Screw Type | Hex-head with EPDM washer | Ensures a watertight seal without metal-on-metal friction. |
Common Mistakes to Avoid
Read also: Causes of Cold Drafts Dropping Down from Ceiling Light Fixtures in Winter
One of the most frequent errors is fastening through the flat section of a panel face where the metal is most prone to oil canning. If possible, try to place your fasteners near the ribs or in areas where the metal profile is naturally stiffer. This provides a rigid anchor point that is less likely to ripple under pressure.
Another common mistake is neglecting to account for the thickness of the underlayment or the drip edge. If your rake trim is forced over a thick drip edge without proper clearance, the trim will naturally bow outward. Ensure your substrate is level and that the trim transitions smoothly from the roof deck to the wall or fascia.
The Importance of Thermal Movement
Remember that metal roofing is designed to last for decades, but it requires room to breathe. If you have installed the rake trim and notice slight rippling immediately, do not panic. It is often caused by a screw being driven at an angle. A screw that enters at a slight tilt will pull the metal toward the hole, creating a dimple or a “pucker” in the face. Always ensure your drill is perfectly perpendicular to the surface of the trim when driving fasteners.
FAQ
Q: Should I use sealant behind the rake trim?
A: While a small bead of high-quality butyl tape can help with weatherproofing, avoid using too much silicone or construction adhesive. These materials can dry hard and actually prevent the metal from moving, leading to more warping over time.
📷 Photo by book.wastefreeholidays.com
Q: Can I fix a panel that has already warped?
A: If the warping is caused by over-tightened screws, you can often remove the screw, allow the metal to relax, and replace it with a slightly larger screw or a screw with a wider washer. If the metal has been permanently creased, however, the trim piece may need to be replaced entirely.
Q: Does the color of the metal trim affect how much it warps?
A: Yes, darker colors absorb more heat and will undergo more significant thermal expansion than lighter colors. If you are using dark-colored metal, pay extra attention to ensuring your oversized holes are sufficient to handle the increased movement.
By following these guidelines, you eliminate the stress points that lead to warping. Professional metal roofing is about precision and understanding material science. When you respect the expansion needs of the metal, you achieve a sleek, ripple-free installation that enhances the longevity and curb appeal of the structure.
📷 Photo by tour.classicjapcycles.com
📷 Photo by notifications.pshv-bremerhaven.de








1 Comments
[…] Read AlsoHow to Fasten Metal Rake Trim Without Warping the Face Profile Panel […]