

Atticventlab.com – Nails pop up along shingle valleys primarily due to the natural expansion and contraction of roof decking caused by thermal cycling, which eventually forces fasteners upward through the metal flashing and shingles. This movement is often exacerbated by improper installation techniques, such as over-driving nails or failing to use the correct length of fasteners for the valley structure.
The Mechanics of Thermal Expansion and Contraction
Roofing materials are constantly subjected to extreme temperature fluctuations. During the day, the sun heats the shingles, the metal flashing, and the plywood or OSB decking beneath. At night, these materials cool down significantly. Because metal flashing, asphalt shingles, and wood decking expand and contract at different rates, the entire assembly experiences constant microscopic movement.
When nails are installed in a valley, they are often driven through multiple layers of material. As the wood decking expands and contracts, the nail may lose its grip on the wood fibers. Over time, the repeated shifting pushes the nail shank upward. Because the nail head is trapped beneath the overlapping shingles or embedded in the metal flashing, it creates a localized pressure point that eventually ruptures the metal, leading to potential leaks.
Common Installation Errors That Trigger Nail Back-Out
The most significant contributor to popped nails is human error during the initial installation. One common mistake is the use of nails that are too short to penetrate the structural decking fully. If the nail only bites into the top layer of the plywood, it lacks the holding power required to withstand the tension of thermal movement. Conversely, over-driving the nail—where the head is driven too deep into the shingle—fractures the shingle’s protective mat and compromises the integrity of the valley seal.
Another frequent issue is the placement of fasteners too close to the center of the valley. According to standard roofing best practices, nails should be placed far enough from the valley centerline to avoid interfering with the flashing. When installers place nails directly through the metal flashing in the center of the valley, they create a hole that is guaranteed to fail as soon as the house settles or the temperature shifts.
The Role of Metal Flashing Integrity
Read also: How to Flash a Square Attic Cupola Base on an Asphalt Shingle Peak
Metal valleys are designed to channel water away from the roof deck. When a nail pops up and punctures this metal, it creates a direct conduit for water infiltration. Even if the nail head remains covered by a layer of shingle, the puncture in the metal allows moisture to bypass the flashing entirely and soak into the roof deck. This often goes unnoticed for months or years, leading to wood rot, mold growth, and structural damage to the rafters.
Checklist for Identifying Valley Nail Issues
| Indicator | Visual Sign | Risk Level |
|---|---|---|
| Raised Shingle Bumps | Visible humps or ridges along the valley line | High – Immediate inspection required |
| Exposed Nail Heads | Metal or shingle material worn away showing the fastener | Critical – Active leak risk |
| Rust Stains | Brownish streaks running down the valley metal | Moderate – Oxidation is compromising the seal |
| Soft Decking | Spongy feeling when walking near the valley | Severe – Structural damage likely |
Step-by-Step Guide to Repairing Popped Nails in a Valley
If you discover popped nails, it is vital to address them before the next rainstorm. Follow these steps to perform a professional-grade repair:
- Carefully lift the shingles surrounding the popped nail using a flat pry bar. Be gentle to avoid cracking the shingles, as they may be brittle.
- Extract the popped nail using a claw hammer or a specialized roofing puller. Do not simply hammer the nail back down, as it will likely pop again.
- Clean the area around the puncture hole in the metal flashing to ensure a good surface for sealant adhesion.
- Apply a small bead of high-quality, UV-resistant roofing cement or polyurethane sealant into the puncture hole.
- Drive a new, slightly thicker roofing nail into a solid section of the deck, ensuring it is positioned away from the original puncture hole.
- Apply a dab of roofing cement over the head of the new nail to prevent future rust and water entry.
- Press the shingles back into place, ensuring the adhesive strip creates a secure bond with the underlying layer.
Preventive Measures for Long-Term Roof Health
Prevention starts with choosing the right materials. Using ring-shank nails instead of smooth-shank nails significantly increases holding power, making it much harder for them to back out over time. Additionally, ensuring that the roof deck is properly ventilated prevents the attic temperature from becoming extreme, which in turn reduces the severity of thermal expansion and contraction.
Regular roof inspections are also non-negotiable. At least twice a year, perform a visual sweep of your valleys. Look for any signs of unevenness or protrusions in the shingles. Addressing a single popped nail is a minor maintenance task, but ignoring it can turn into a major roof replacement project once water has compromised the underlying plywood.
Frequently Asked Questions
Q: Can I just hammer the popped nail back down?
A: No. Hammering a popped nail back down is a temporary fix that does not address the loss of grip in the wood deck; the nail will almost certainly pop again, and the hole in the metal will likely have widened.
Q: Why do my nails pop only in the valleys and not on the flat sections of the roof?
A: Valleys are transition points where structural stress is concentrated. The combination of water runoff, debris accumulation, and the intersection of two different roof planes makes valleys more susceptible to movement than flat, open areas of the roof.
Q: Is it necessary to replace the entire valley flashing if one nail pops?
A: Usually, no. If the puncture is small and isolated, proper sealing with high-quality roofing cement is sufficient. However, if the metal is heavily corroded or has multiple punctures, a partial section replacement may be necessary.
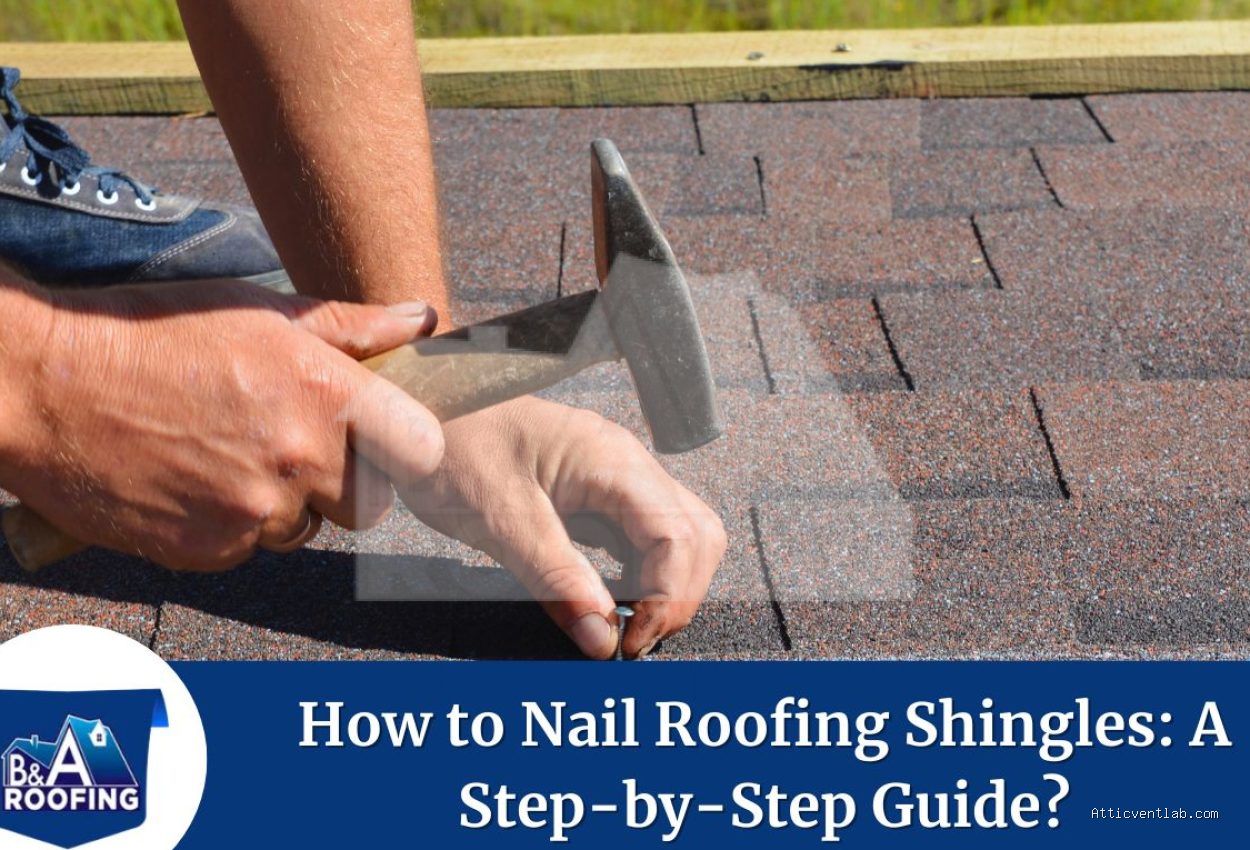
📷 Photo by baroofings.com








1 Comments
[…] Read also: Why Nails Pop Up Along Shingle Valleys and Puncture the Metal Underneath […]