

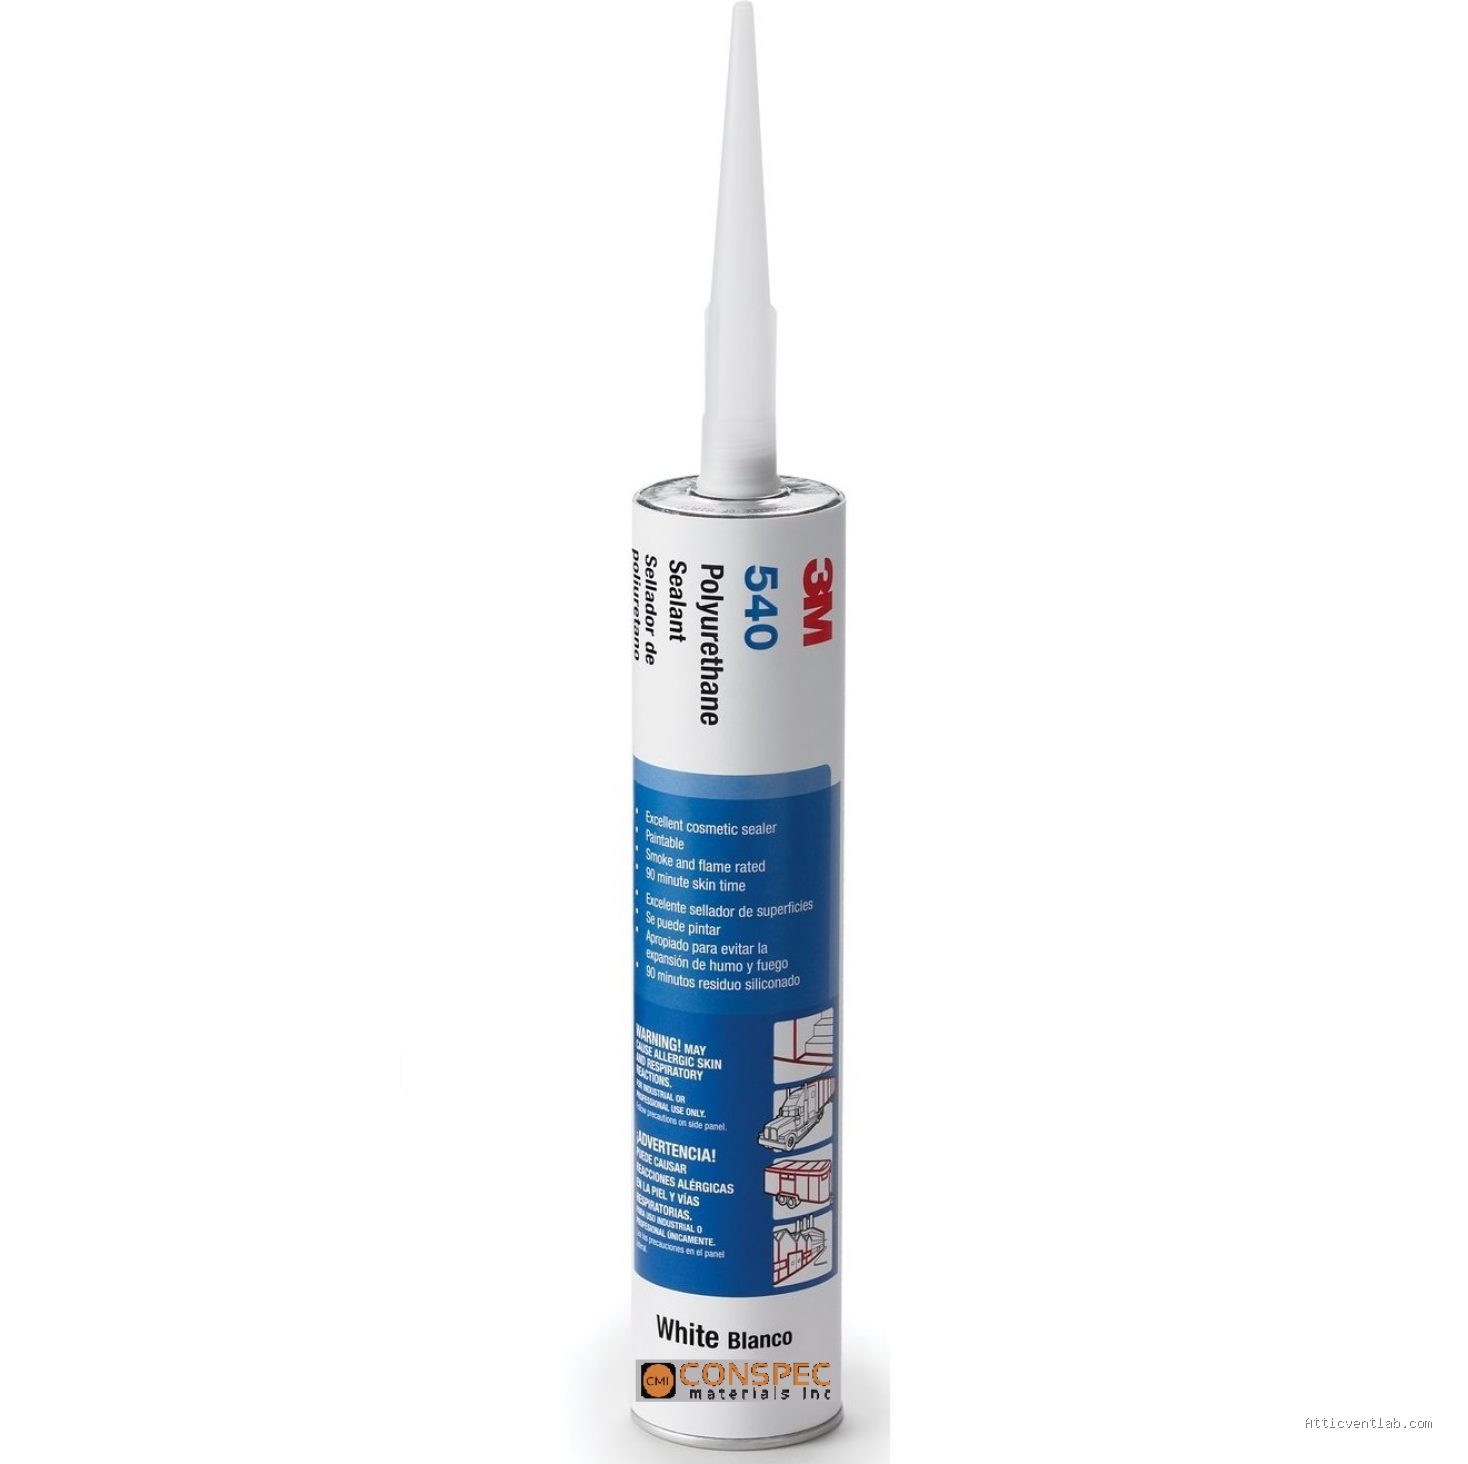
Atticventlab.com – Sealing counter flashing joints with urethane masonry joint sealant requires thorough cleaning of the gap followed by the application of a high-quality, paintable urethane caulk to create a flexible, watertight barrier against moisture infiltration. This process prevents water from seeping behind the flashing and causing structural damage to your masonry or interior walls.
Understanding the Role of Counter Flashing
Counter flashing is a critical component in building envelopes, typically found where a roof meets a vertical wall, such as chimneys or parapets. It overlaps the base flashing to ensure that water running down the wall is directed away from the joint. When the sealant at the top of this flashing fails, the entire system is compromised, allowing water to track behind the metal and penetrate the substrate.
Urethane sealants are the industry standard for this application because they offer superior adhesion to both metal and masonry. Unlike silicone, which can be difficult to paint over and may bleed oils into porous surfaces, urethane remains flexible enough to handle the thermal expansion and contraction cycles common in exterior environments.
Signs That Your Flashing Sealant Needs Replacement
Before beginning the repair, inspect the existing joint carefully. Cracks, gaps, or areas where the sealant has pulled away from the masonry are clear indicators of failure. If you notice efflorescence (a white, powdery residue) on the brickwork below the flashing, it is a sign that water has been trapped behind the joint for an extended period.
Brittle, crumbling, or peeling sealant is a safety hazard. If the material feels hard to the touch rather than rubbery, it has lost its elasticity and will no longer protect your home from wind-driven rain. Addressing these issues early prevents expensive masonry repair and interior water damage.
Tools and Materials Checklist
Preparation is the most important phase of this project. Having the right tools ensures a professional finish and a long-lasting seal.
| Item | Purpose |
|---|---|
| Urethane Masonry Sealant | Provides flexible, long-term adhesion. |
| Backer Rod | Controls depth and prevents three-sided adhesion. |
| Wire Brush | Removes loose debris and old sealant residue. |
| Caulking Gun | Ensures smooth and consistent application. |
| Mineral Spirits | Used for wiping surfaces clean before application. |
Step-by-Step Application Guide
Follow these steps to ensure a watertight seal that will stand the test of time. Never skip the cleaning phase, as dust is the primary cause of premature sealant failure.
- Remove all loose or failing old sealant using a putty knife or wire brush. Ensure the joint is free of dust, dirt, and loose mortar particles.
- Clean the surfaces thoroughly with a rag dampened in mineral spirits. Allow the surface to dry completely before proceeding to the next step.
- Measure the width of the joint and insert a closed-cell backer rod. The backer rod should be slightly larger than the joint width to ensure a snug fit, leaving enough depth for the sealant.
- Apply the urethane sealant using a steady, continuous motion. Hold the nozzle at a 45-degree angle to push the material deep into the joint, ensuring full contact with both the metal flashing and the masonry.
- Tool the sealant immediately after application. Use a gloved finger or a smoothing tool to press the sealant into the joint, creating a concave shape that sheds water efficiently.
- Allow the sealant to cure according to the manufacturer’s instructions before exposing it to heavy rain or painting.
Common Mistakes to Avoid
One of the most frequent errors is failing to use a backer rod. Without a backer rod, the sealant will bond to the back of the joint as well as the two sides. This is known as “three-sided adhesion,” which restricts the sealant’s ability to stretch, causing it to tear when the building naturally expands or contracts.
Another common mistake is applying sealant over damp surfaces. Urethane sealants react poorly to moisture during the curing process, which can lead to bubbling or poor adhesion. Always check the weather forecast to ensure at least 24 hours of dry conditions after your installation.
The Importance of Proper Tooling
Tooling is not just for aesthetics; it is a functional requirement. By pressing the sealant into the joint, you force out air bubbles and ensure the material makes a tight bond with the porous surface of the brick or stone. A flat or convex bead can collect water, whereas a concave bead directs water away from the joint, effectively shedding it down the face of the flashing.
Read also: Signs of Squirrels and Rodents Chewing Plastic Attic Exhaust Roof Caps
FAQ Section
Q: Can I use silicone instead of urethane for masonry joints?
A: It is generally discouraged. Silicone is harder to paint, and the oils in some silicone sealants can stain masonry surfaces permanently. Urethane is specifically formulated for the movement requirements of masonry and metal interfaces.
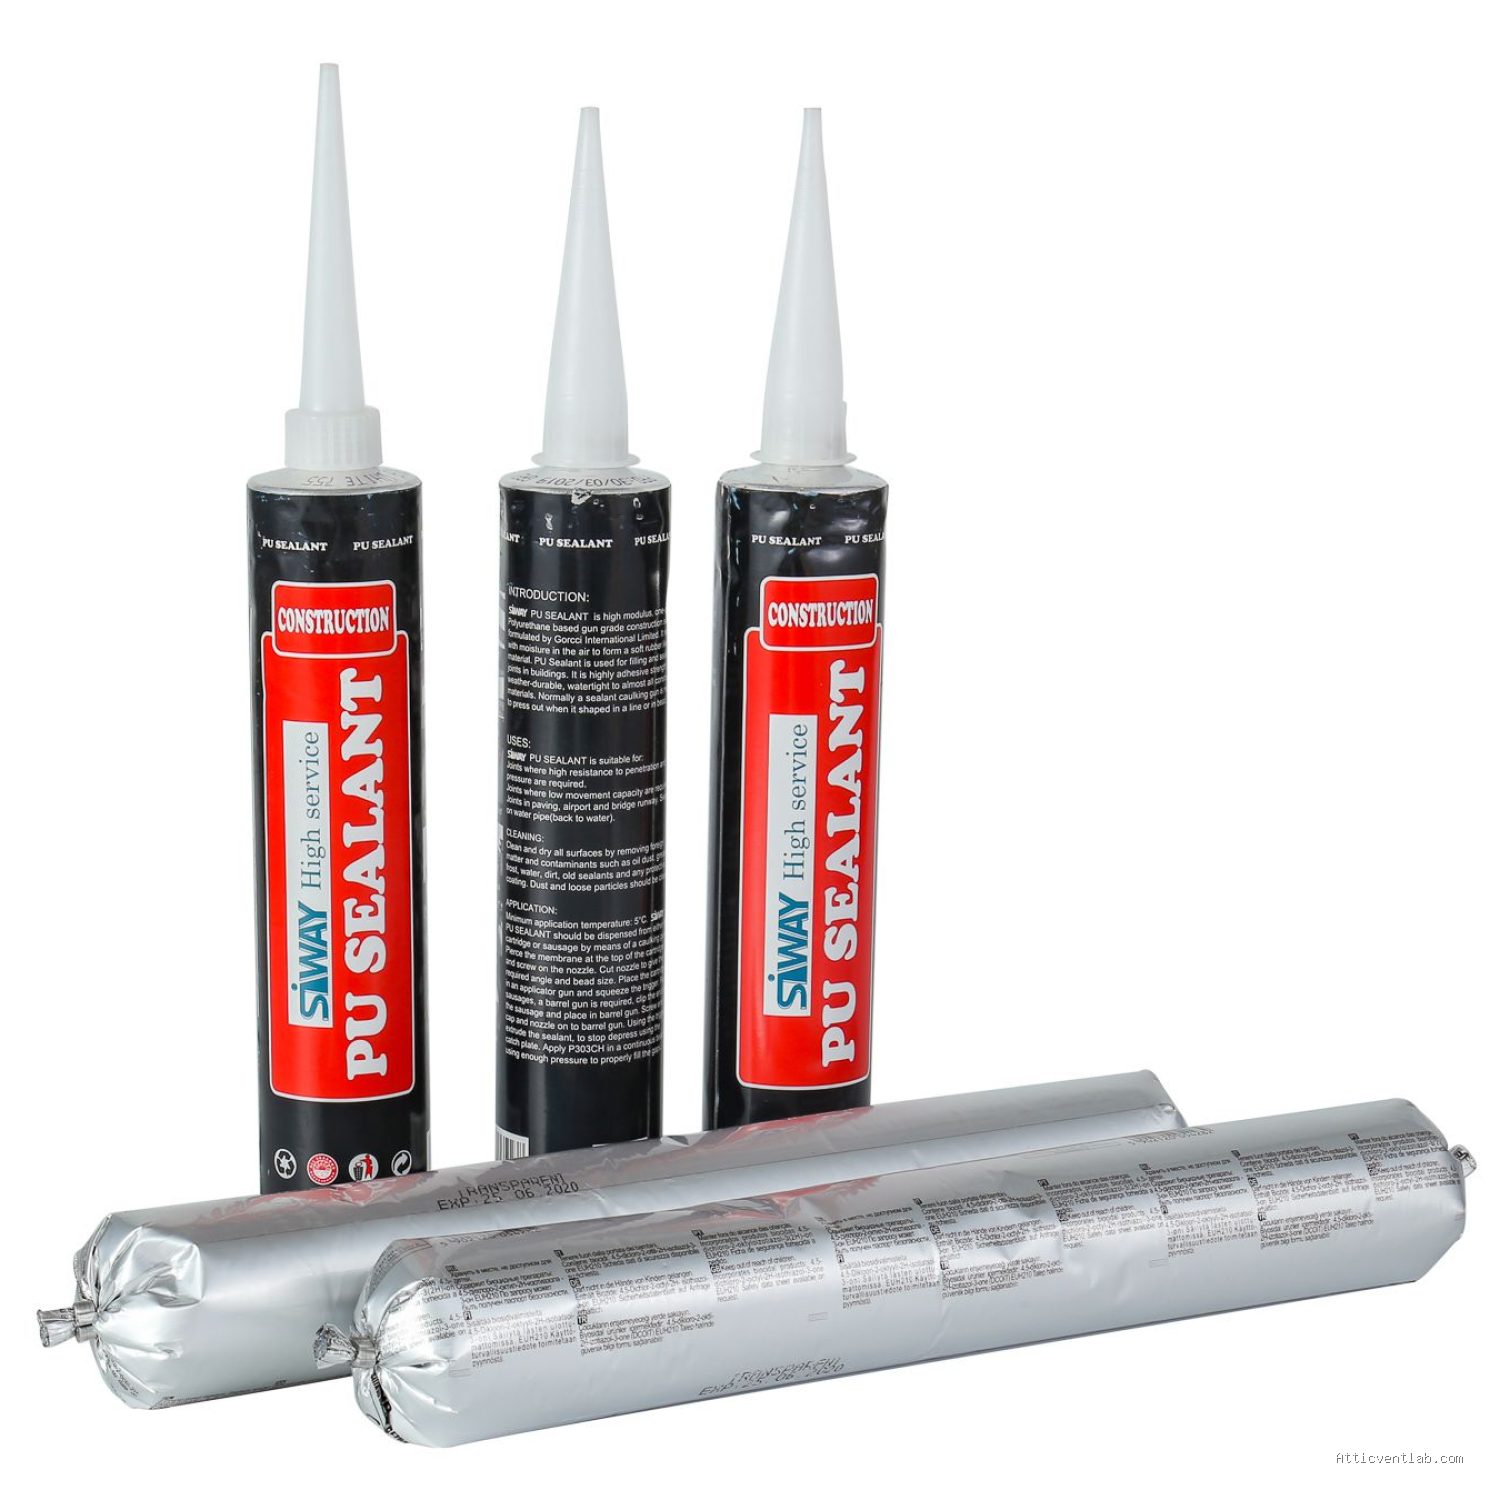
📷 Photo by thejacobsen.com
Q: How long does a urethane seal typically last on an exterior flashing?
A: When applied correctly on a clean surface, high-quality urethane masonry sealant can last between 10 to 15 years, depending on the climate and exposure to direct sunlight.
Q: Is it necessary to prime the masonry before applying the sealant?
A: Most urethane sealants are designed to adhere to clean, dry masonry without a primer. However, if the masonry is extremely porous, crumbly, or old, a manufacturer-recommended primer can significantly improve the longevity of the bond.
Final Maintenance Tips
Once the project is complete, perform a visual inspection of your flashing joints annually. Look for signs of separation, especially after extreme temperature fluctuations. If you see minor hairline cracks, you can often perform a “touch-up” by cleaning the surface and applying a thin layer of new sealant, provided the underlying bond remains sound. Keeping your flashing sealed is an inexpensive way to protect your home’s structural integrity against the most common enemy: water.
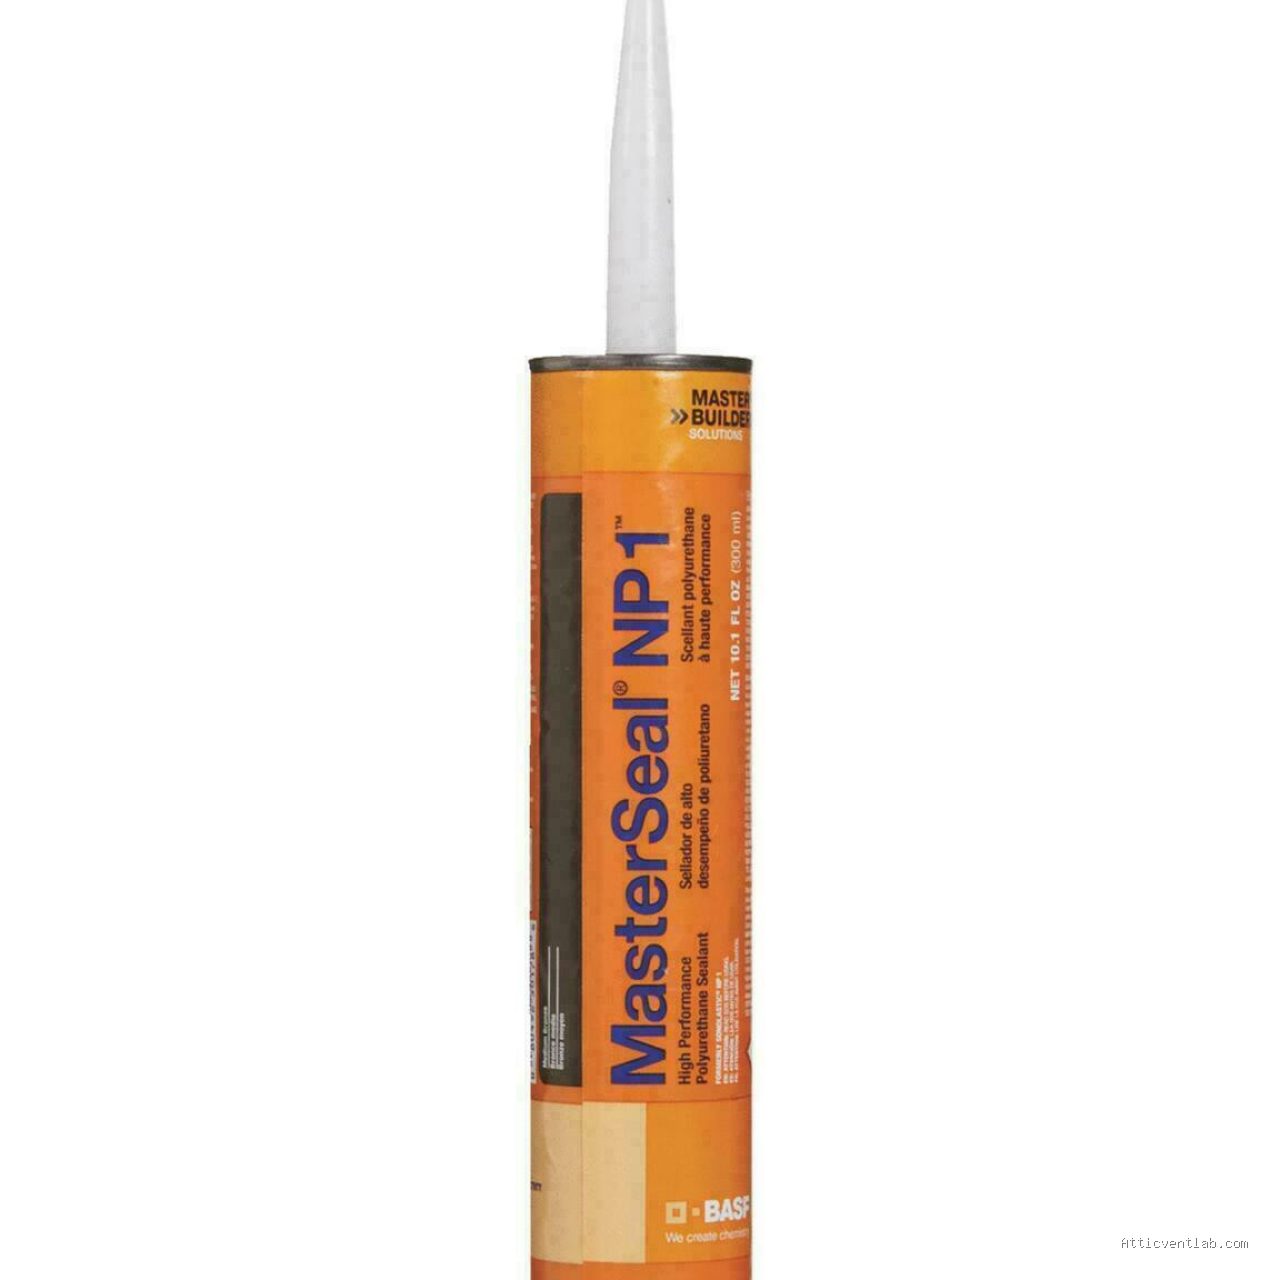
📷 Photo by shop.albanysteel.com
📷 Photo by conspecmaterials.com








1 Comments
[…] Read AlsoHow to Seal Counter Flashing Joints Using Urethane Masonry Joint Sealant […]