

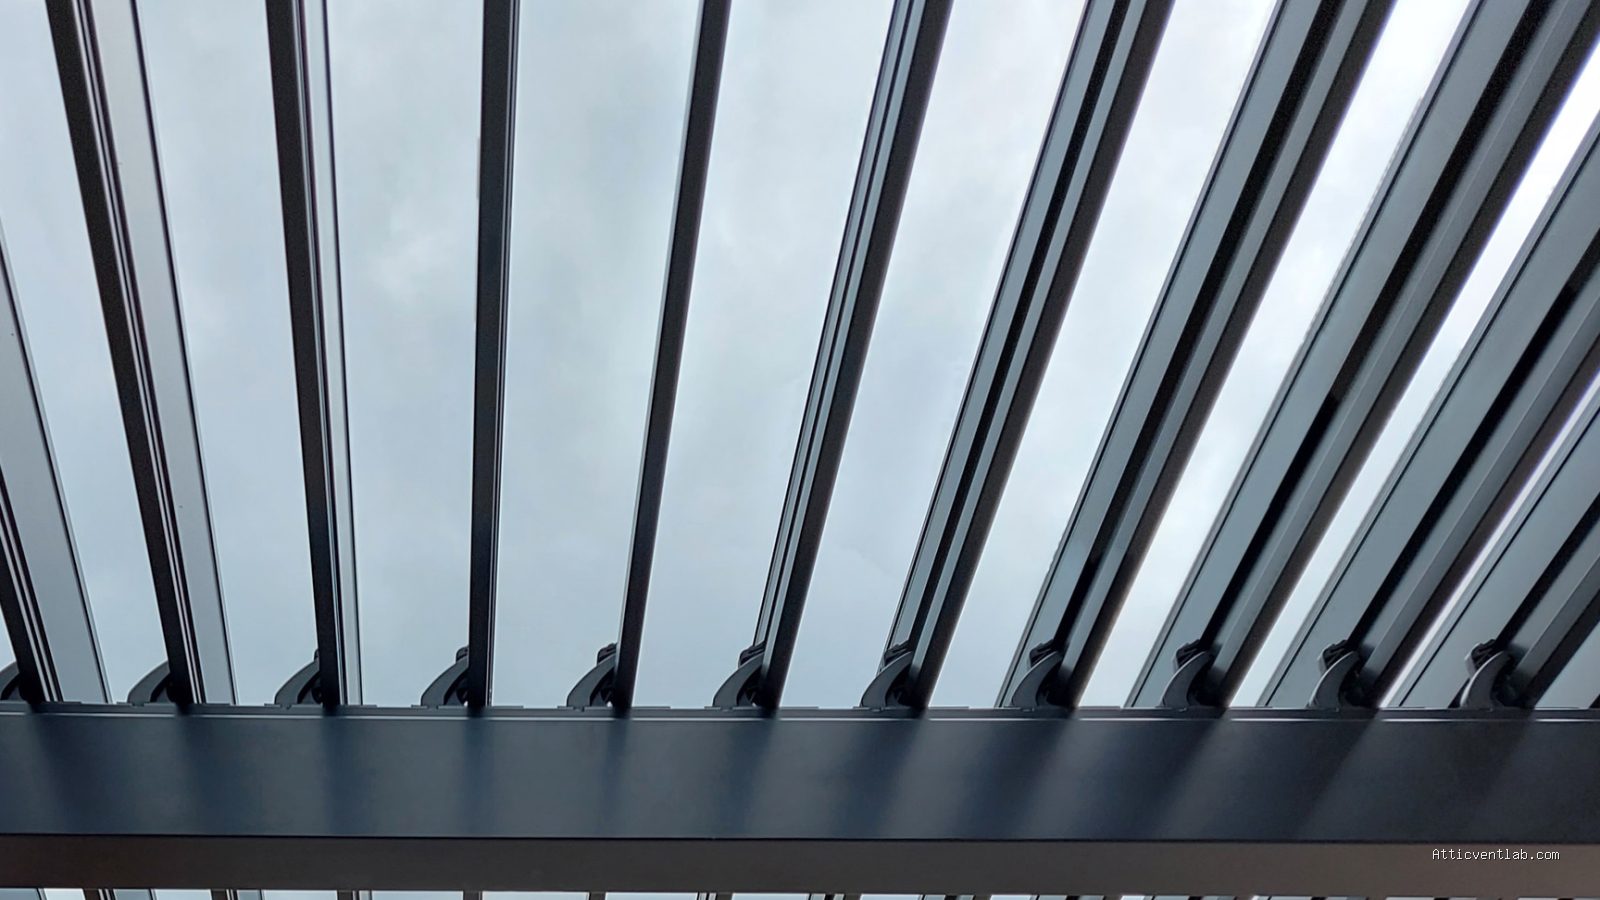
Atticventlab.com – Retrofitting smart roof louvers onto metal roof ribs requires using high-quality EPDM gaskets, structural sealant, and elevated mounting brackets to ensure a watertight seal that prevents water pooling and capillary action leaks.
Metal roofs are prized for their longevity and durability, but they present a unique challenge when it comes to ventilation. Because the surface is rigid and ribbed, cutting into it for a smart louver system can compromise the weather-tight integrity of your building envelope if not handled with precision. The primary goal is to isolate the penetration from the natural flow of rainwater while ensuring the smart louver mechanism remains protected from moisture ingress.
Understanding the Risk of Leaks
Most leaks occurring after a retrofit are not caused by the louver itself, but by poor flashing or improper fastener sealing. When you penetrate a metal roof rib, you create a potential pathway for water to travel downward through the fastener hole or the cutout itself. If the seal is not pressurized or if the flashing does not account for the thermal expansion and contraction of the metal panels, the seal will eventually fail.
Essential Preparation and Material Selection
Before you begin the installation, you must ensure you have the right materials. Never use standard silicone caulk, as it often lacks the UV resistance and long-term elasticity required for metal roofs. Instead, opt for a high-grade polyurethane sealant or a specialized butyl tape designed for roofing applications. You will also need a structural sub-frame or mounting curb that matches the profile of your specific roof ribs.
| Component | Function | Recommendation |
|---|---|---|
| Mounting Curb | Elevates the louver above the rib | Aluminum or galvanized steel |
| Sealant | Waterproofs the fastener points | Polyurethane-based roofing sealant |
| Gasket | Compresses between curb and roof | Closed-cell EPDM foam tape |
| Fasteners | Secures the assembly | Stainless steel with bonded EPDM washers |
Step-by-Step Retrofit Process
Following a methodical approach is the best way to ensure your installation remains leak-proof for years to come. Focus on creating a “water-shedding” geometry rather than relying solely on sealant to stop water.
- Locate the optimal position for the louver, ensuring it sits on the flat section of the metal panel rather than the peak of the rib if possible.
- Create a template for the cutout, ensuring it is at least one inch smaller than the louver housing to provide space for the mounting curb.
- Clean the metal surface thoroughly with a solvent to remove all oils, metal shavings, and debris that could prevent the sealant from bonding.
- Apply a thick bead of polyurethane sealant around the perimeter of the cutout area.
- Place the mounting curb over the sealant and secure it with stainless steel fasteners equipped with bonded EPDM washers.
- Install the smart louver unit onto the curb, ensuring the housing is leveled to prevent internal condensation from dripping off the mechanism.
- Apply a final layer of sealant over the screw heads and the edge where the curb meets the roof panel to create a secondary waterproof layer.
Common Mistakes to Avoid
One of the most frequent errors is over-tightening the fasteners. When you compress the EPDM washer too much, it can crack or deform, losing its ability to seal the hole. Tighten until the washer is snug against the metal, but not bulging excessively. Another common mistake is failing to account for the slope of the roof. If the louver is installed on a low-slope roof, you must use a cricket or a diverter on the high side to prevent water from damming up against the back of the louver unit.
The Importance of Thermal Movement
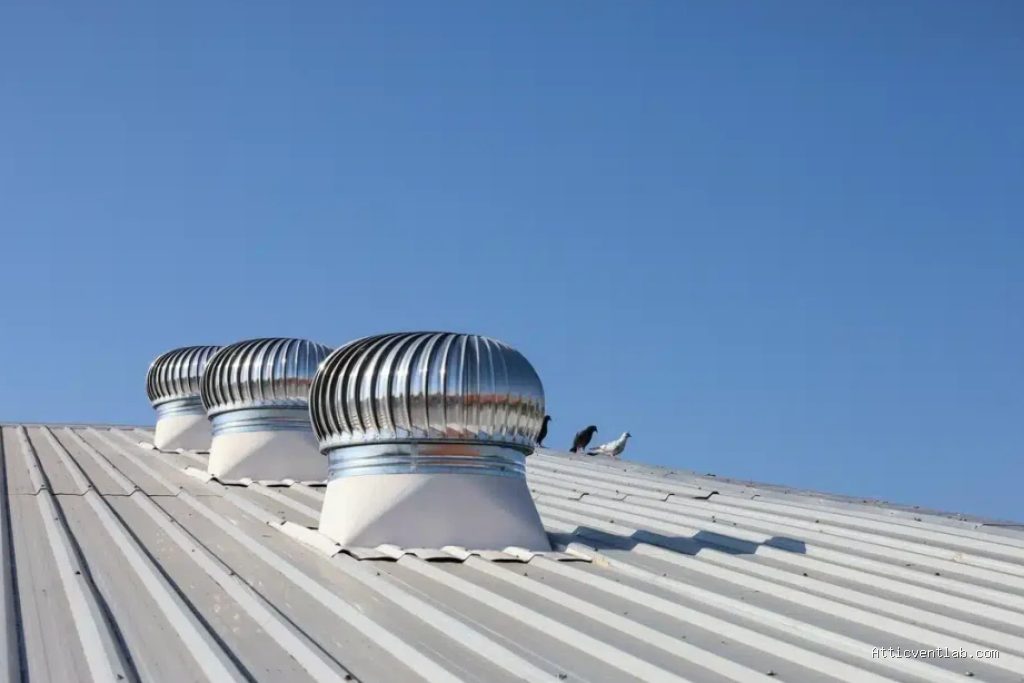
📷 Photo by telescopictube.com
Metal roofs expand and contract significantly with temperature changes. If your mounting assembly is too rigid, the movement of the roof panels will eventually pull the fasteners loose or tear the sealant. By using a flexible mounting curb and high-quality EPDM gaskets, you allow the roof to move slightly without breaking the seal. This is the secret to a long-lasting, leak-free retrofit.
Maintenance for Smart Louvers
Once the system is installed, maintenance is minimal but critical. Inspect the seals once a year, preferably before the rainy season. Check for any cracking in the exposed sealant and ensure that the smart louver’s electronic components remain dry. If you notice any debris accumulation around the base of the louver, clear it away immediately to allow water to flow freely down the ribs.
Frequently Asked Questions
Q: Can I install these louvers on a corrugated metal roof?
A: Yes, but you will need a custom-fabricated curb that matches the specific wave pattern of your corrugated panels to ensure a flush, watertight fit.
Q: Is it necessary to remove the metal panels to install the louvers?
A: No, a proper retrofit is designed to be installed from the exterior without removing the roofing panels, provided you have access to the underside to secure any necessary backing plates.
Q: Why is EPDM better than standard rubber for this project?
A: EPDM (Ethylene Propylene Diene Monomer) is highly resistant to ozone, UV radiation, and extreme temperature fluctuations, preventing it from becoming brittle over time like standard rubber seals.
By prioritizing the quality of your sealant and the structural integrity of your mounting curb, you can successfully integrate smart technology into your metal roofing system without sacrificing its most important feature: the ability to keep the interior dry.
📷 Photo by sunshieldglobal.com







Leave a Reply