

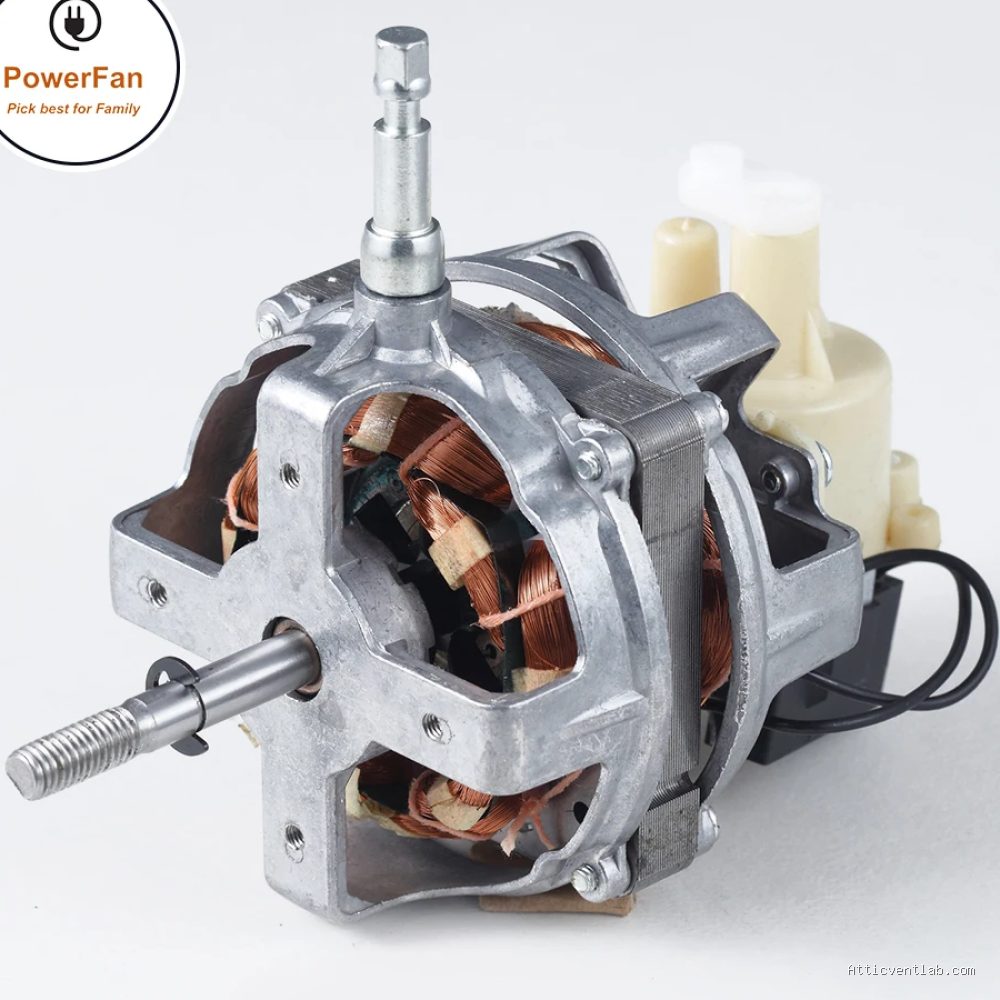
Atticventlab.com – Replacing a bad motor in a belt-driven whole house attic fan involves disconnecting the power, removing the belt and mounting hardware, and swapping the old motor with a compatible unit that matches the original horsepower, RPM, and frame size specifications.
A belt-driven whole house fan is a highly efficient cooling solution that relies on a motor connected to a fan blade assembly via a drive belt. Unlike direct-drive models, these systems are quieter and more durable, but the motor eventually wears out due to heat exposure, bearing failure, or electrical burnout. When the motor begins to hum loudly, fails to start, or emits a burning smell, it is time for a replacement.
Safety First and Preparation
Before touching any electrical components, you must turn off the power at the main circuit breaker panel. Using a voltage tester is a critical step to ensure that no electricity is flowing to the fan unit. Never rely on the wall switch alone, as it may be incorrectly wired or susceptible to accidental activation. Ensure you have a stable ladder and a helper nearby, as these motors can be heavy and awkward to maneuver in cramped attic spaces.
📷 Photo by electricmotorwarehouse.com
Identifying the Right Replacement Motor
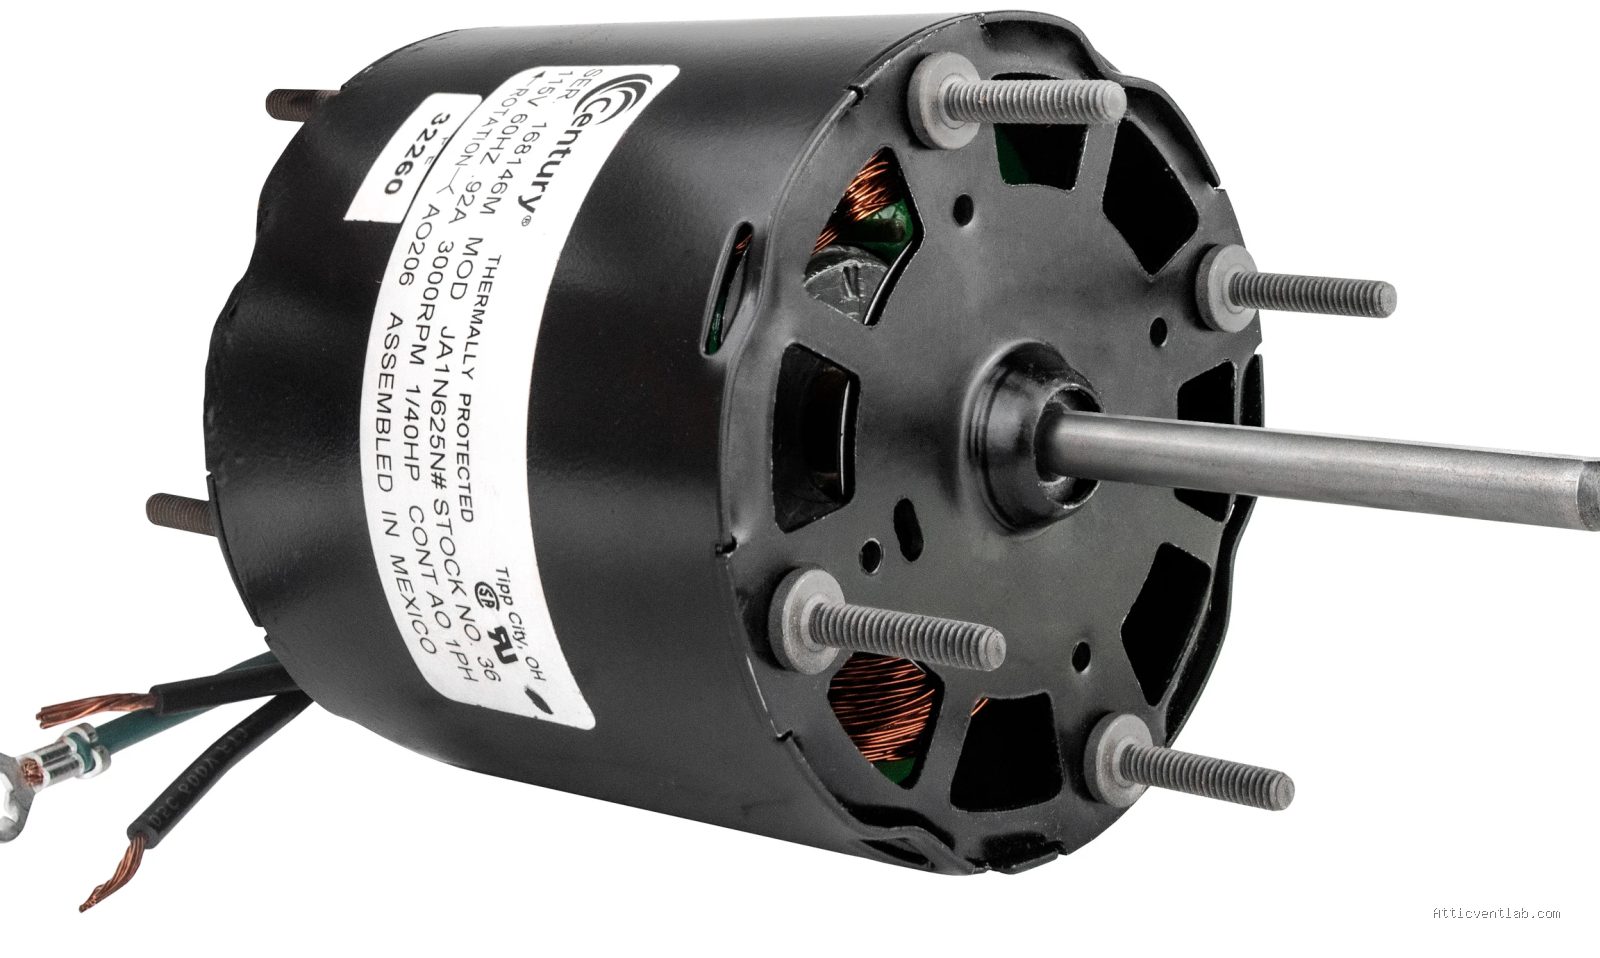
Not all motors are interchangeable. Before purchasing a new unit, you must examine the existing motor’s nameplate. Look for the frame size (e.g., 48 or 56), the horsepower rating, the RPM (typically 1725 for these fans), and whether it is a single-speed or two-speed motor. Using an incorrect motor can lead to belt slippage, motor overheating, or damage to the fan blades due to improper torque.
| Specification | Importance |
|---|---|
| Horsepower (HP) | Must match original to prevent blade imbalance or motor burnout. |
| RPM | Determines fan speed; must match to maintain airflow efficiency. |
| Frame Size | Ensures the motor fits the existing mounting bracket. |
| Voltage | Most residential units are 115V; verify before purchase. |
| Rotation | Check if the motor is CW (clockwise) or CCW (counter-clockwise). |
Step-by-Step Replacement Guide
Once you have acquired the correct replacement motor, follow these steps to perform the swap safely and effectively.
- Disconnect the drive belt from the motor pulley by loosening the tension adjustment bolt on the motor mount and sliding the motor toward the fan pulley.
- Label and disconnect the electrical wires attached to the motor, taking note of how the conduit or wire nuts are connected.
- Unscrew the mounting bolts that secure the motor to the base plate, ensuring you support the weight of the motor so it does not fall onto the housing.
- Carefully remove the pulley from the old motor shaft using a pulley puller or by loosening the set screw with an Allen wrench.
- Install the pulley onto the new motor shaft, ensuring it is perfectly aligned with the fan pulley to prevent belt wear.
- Mount the new motor onto the base plate, tighten the bolts, and reconnect the electrical wiring according to the manufacturer’s diagram.
- Reinstall the belt, adjust the tension so there is about one-half inch of “give” when pushed, and verify the alignment one last time.
Common Mistakes to Avoid
One of the most frequent errors during this process is failing to align the pulleys correctly. If the motor pulley and the fan pulley are not perfectly parallel, the belt will track poorly, causing excessive noise and premature belt failure. Additionally, some DIYers forget to lubricate the new motor if it is not a “permanently lubricated” model. Check the manual; if it has oil ports, add a few drops of non-detergent electric motor oil annually.
Another common oversight is ignoring the condition of the drive belt. If the old motor failed because of excessive load, the belt might be stretched, cracked, or hardened. It is almost always more cost-effective to replace the belt at the same time as the motor to ensure the entire drive system operates smoothly. A worn belt can put unnecessary strain on the new motor bearings, potentially shortening its lifespan.
Troubleshooting Post-Installation
After you have completed the installation and restored power, perform a test run. Listen for any unusual rattling or scraping sounds. If the fan vibrates significantly, the pulleys may be loose, or the belt tension might be set too high. If the motor runs but the fan does not turn, the set screw on the motor pulley may have slipped. Always keep your hands and tools clear of the fan blades while the unit is operating during testing.
Q: Can I upgrade to a more powerful motor to get more airflow?
A: No, you should stick to the manufacturer’s recommended horsepower. Increasing the power can overload the fan blades, cause the belt to snap, or even damage the structural housing of the fan unit.
Q: Why does my new motor smell like it is burning after the first few minutes?
A: It is common for new motors to have a slight “break-in” smell as factory-applied protective coatings or residues burn off. However, if the smell is strong, persistent, or accompanied by smoke, shut it off immediately and check for wiring errors or mechanical resistance.
Q: Do I need a professional to replace the motor?
📷 Photo by gqd.ayecha.org
A: If you are comfortable with basic electrical wiring and mechanical tools, it is a manageable DIY project. If you feel uncomfortable working with high-voltage electrical connections or if the fan is in a very difficult, hard-to-reach location, calling an HVAC technician is recommended.
Proper maintenance of your attic fan’s motor ensures your home remains cool during the hottest months of the year. By paying attention to the specific technical requirements of your unit and ensuring the alignment of the belt drive system, you can extend the life of your replacement motor and enjoy reliable operation for years to come.
📷 Photo by exonnbexj.blob.core.windows.net








Leave a Reply