

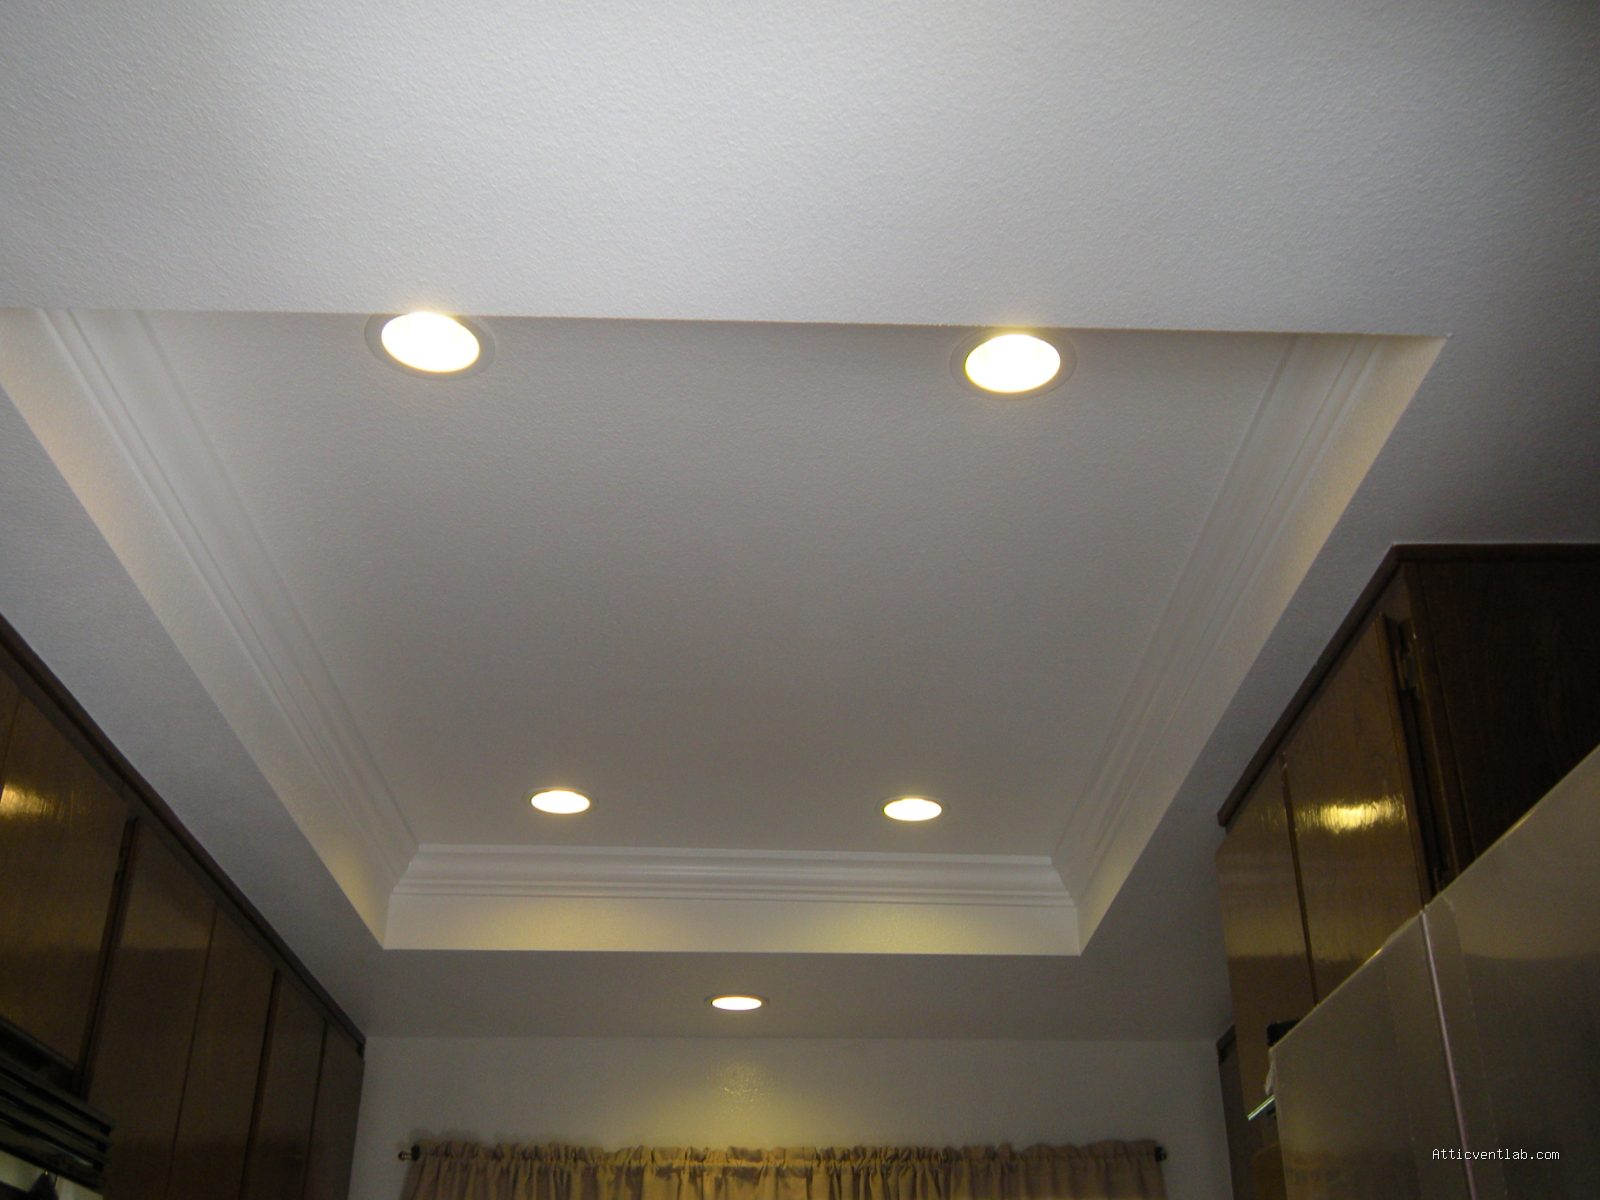
Atticventlab.com – Cold drafts coming from ceiling light fixtures during winter are primarily caused by air leaks in the attic floor that allow conditioned indoor air to escape while drawing freezing air from the attic cavity through the fixture housing. This phenomenon, known as the stack effect, creates a pressure imbalance that forces cold air into your living space whenever your heating system is active.
Understanding the Stack Effect
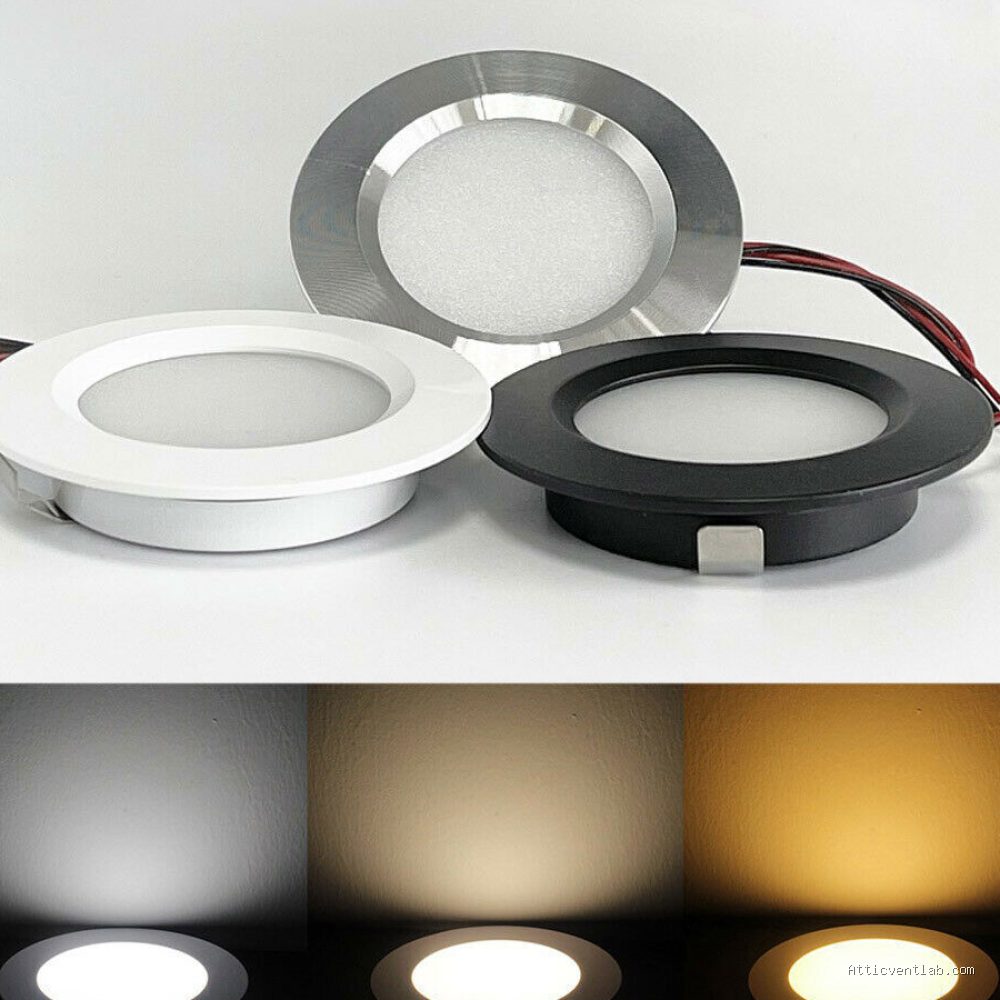
📷 Photo by shellysavonlea.net
The stack effect is the fundamental driver of these uncomfortable drafts. During winter, warm air inside your home rises, naturally seeking the highest point in your house. As this warm air reaches the ceiling, it creates positive pressure that pushes outward through any available gap. Simultaneously, the attic acts as a cold reservoir. As warm air escapes into the attic, a vacuum is created, pulling frigid air from the soffit vents or roof gaps down into your living space through unsealed light fixtures, recessed cans, and electrical boxes.
Common Culprits and Structural Vulnerabilities
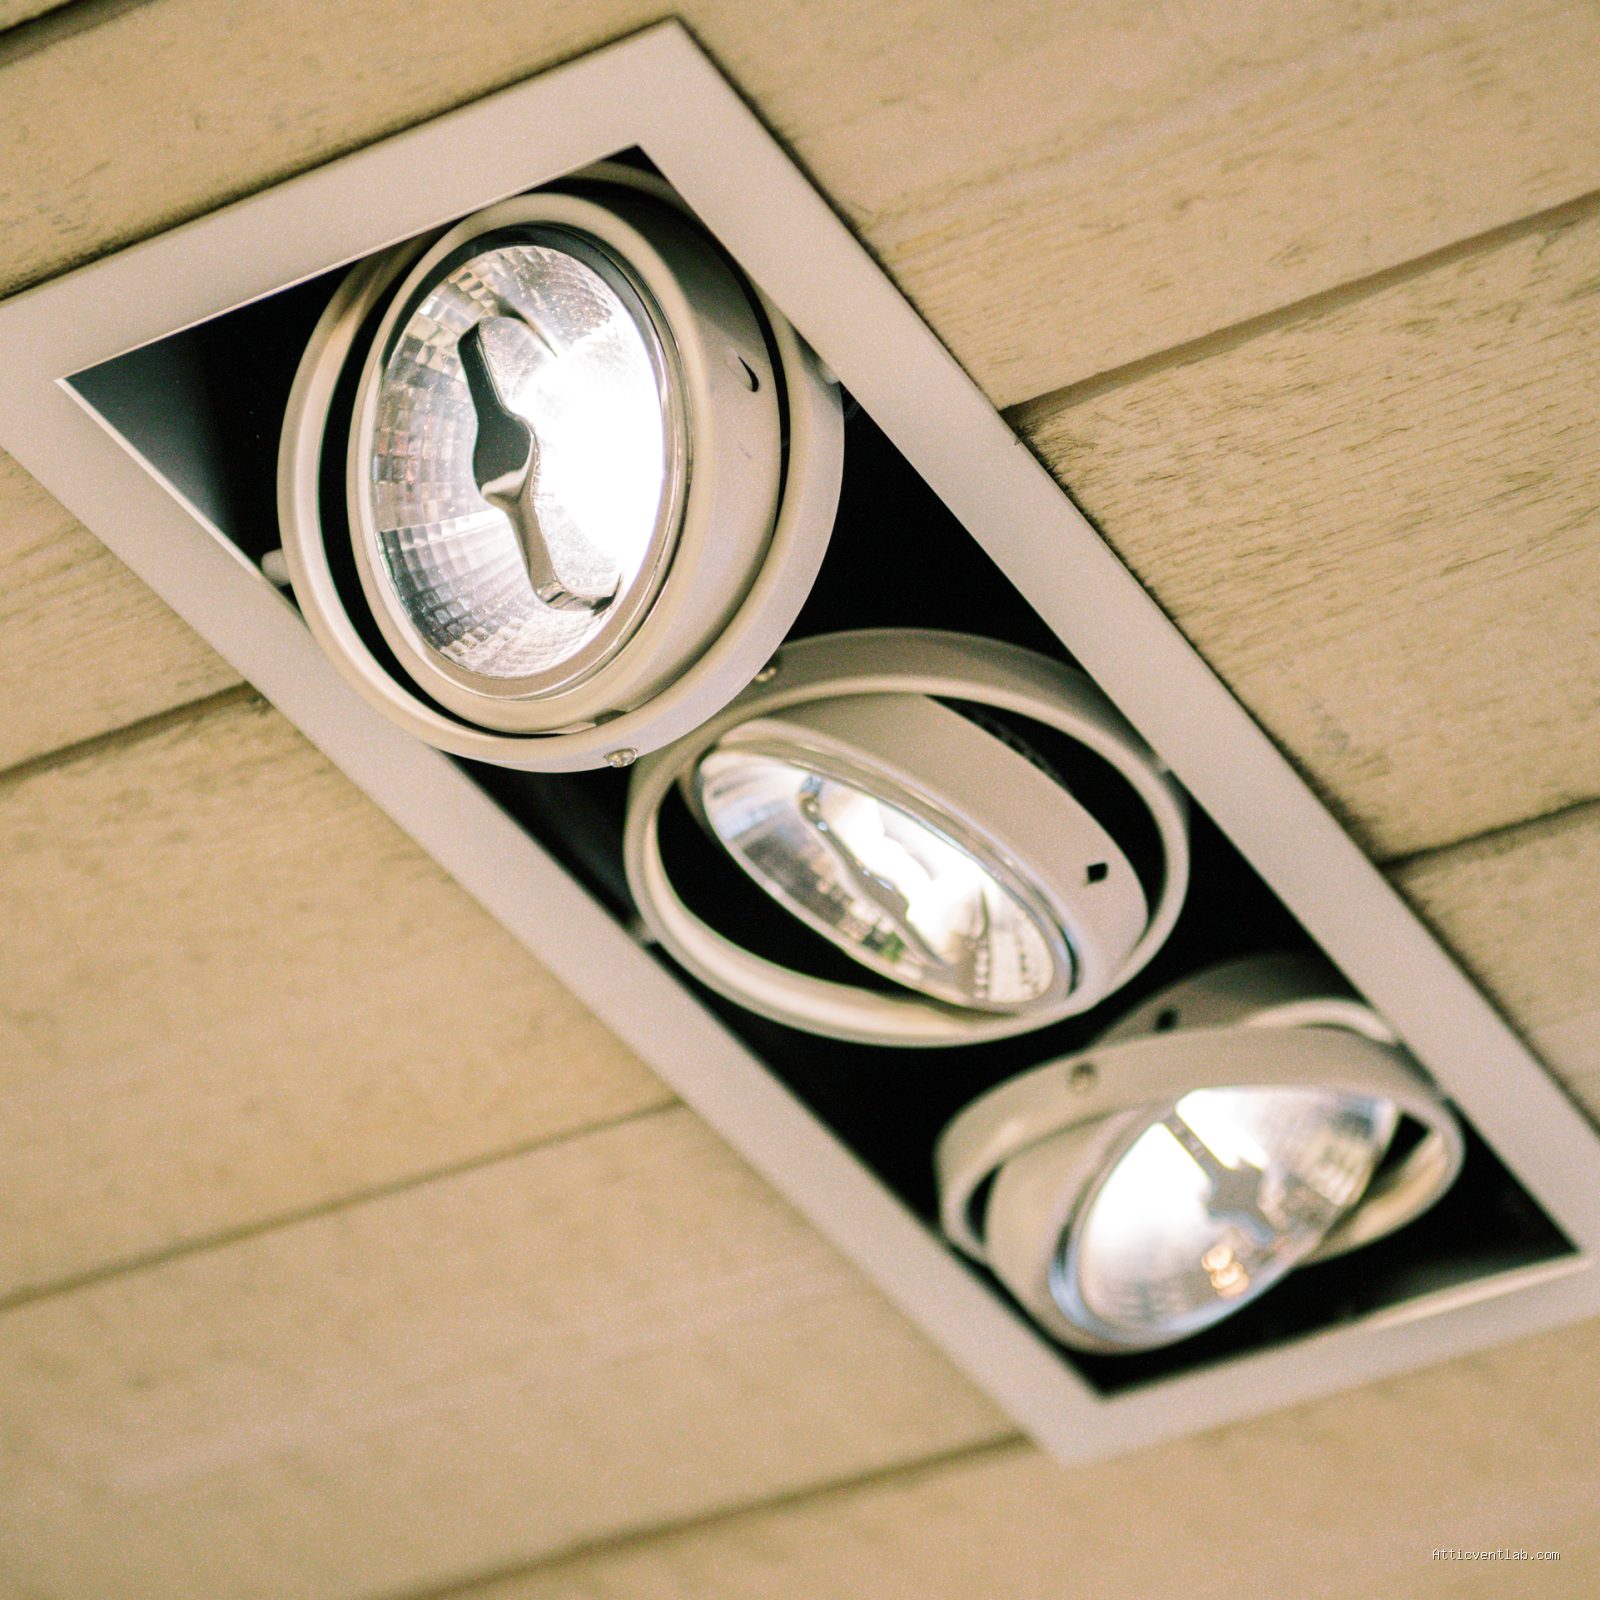
📷 Photo by homewardstyle.com
Recessed lighting, often referred to as “can lights,” is the most frequent offender. Older models, in particular, are rarely airtight. They are designed to dissipate heat, which means they are essentially open holes in your thermal envelope. Even if you have installed modern LED bulbs, the housing itself remains a conduit for air movement unless it is specifically rated as IC-AT (Insulation Contact-Airtight).
Read also: How to Install a Low-Pitch Valley Membrane Under Open Metal Roll Valleys
Electrical junction boxes are another common site for air infiltration. When builders install ceiling lights, they cut holes in the drywall that are often slightly larger than the fixture base. If the gap between the drywall and the fixture is not sealed, it acts as a chimney for cold air. Furthermore, if your attic insulation has been disturbed or is sparse around these fixtures, the temperature differential between the attic and the room below becomes more extreme, making the draft feel significantly sharper.
The Hidden Risks of Ignoring Drafts
Ignoring these drafts does more than just make you feel chilly. The primary risk is moisture accumulation. When warm, humid air from your home meets the freezing cold surface of the attic air or the cold metal of the fixture, condensation occurs. This moisture can lead to mold growth on the drywall surrounding the light, rust on the internal wiring, and the degradation of attic insulation. Over time, this can lead to expensive structural repairs and potential electrical hazards if water drips onto the wiring.
Comparison of Fixture Types and Their Air Leakage Potential
| Fixture Type | Leakage Potential | Recommended Action |
|---|---|---|
| Standard Recessed Can | High | Install airtight trim or replace with LED retrofit |
| Pendant Light (Surface) | Low | Seal canopy base with silicone or foam gasket |
| Flush Mount Fixture | Moderate | Apply adhesive foam weatherstripping |
| IC-Rated Airtight Can | Very Low | Ensure proper insulation coverage |
Steps to Eliminate Cold Drafts from Light Fixtures
You can effectively stop these drafts by systematically sealing the pathways between your attic and your living space. Follow this procedure to secure your ceiling fixtures:
- Turn off the power to the specific light circuit at your main breaker panel to ensure safety.
- Remove the light fixture or the trim of the recessed can to expose the gap between the fixture and the ceiling drywall.
- Inspect the area for any large gaps. Use high-temperature rated caulk or a fire-rated expanding foam to seal the perimeter where the electrical box meets the ceiling material.
- For recessed lights, install an airtight trim kit if the current housing is not airtight, or use a specialized recessed light cover (often called an attic tent or draft cover) from the attic side.
- Ensure your attic insulation is properly placed. If you are working from the attic side, build a fire-rated box around the fixture if it is not IC-rated to prevent insulation from touching the hot housing while still blocking airflow.
- Replace the fixture or trim, ensuring a snug fit against the ceiling surface.
- Restore power at the breaker and test the light to ensure proper operation.
Mistakes to Avoid During Sealing
A common error is using standard, non-fire-rated spray foam inside a ceiling cavity. Light fixtures generate heat, and using flammable materials can create a significant fire hazard. Always ensure that any sealant or cover used is rated for contact with electrical components. Another mistake is over-insulating in a way that traps heat within the fixture. If you have older incandescent bulbs, they require airflow to remain cool; if you seal them too tightly, you risk melting the internal wiring or triggering thermal overload switches that cause your lights to flicker or turn off unexpectedly.
The Role of Insulation
While sealing air leaks is the priority, insulation acts as the thermal buffer. Even if the air is sealed, a thin area of drywall around a light fixture will be colder than the surrounding insulated ceiling. By ensuring that insulation is properly mounded over and around the exterior of the fixture housing (using a protective barrier), you reduce the temperature gradient that causes the “cold spot” sensation. This dual approach of air sealing and thermal insulation is the only permanent way to solve the problem.
FAQ
Q: Can I just use duct tape to seal the gaps around my ceiling lights?
A: No. Duct tape is not fire-rated, can degrade quickly due to heat, and does not provide an airtight seal over time. Use fire-rated caulk or dedicated foam gaskets designed for electrical fixtures.
Q: Will sealing these lights cause my house to have poor air quality?
A: Sealing uncontrolled leaks is beneficial. Your home should have controlled ventilation (such as bathroom fans or an HRV system) rather than relying on random gaps in the ceiling for air exchange. Controlling your home’s air intake is essential for both comfort and energy efficiency.
Q: How do I know if my recessed lights are IC-rated?
A: You must remove the trim and look inside the housing for a manufacturer label. If it is IC-rated, it will explicitly state “Insulation Contact.” If there is no label or it says “Non-IC,” you must keep insulation at least three inches away from the housing to prevent fire risks.
📷 Photo by app.hepatitis-kinder.de








1 Comments
[…] Read also: Causes of Cold Drafts Dropping Down from Ceiling Light Fixtures in Winter […]