

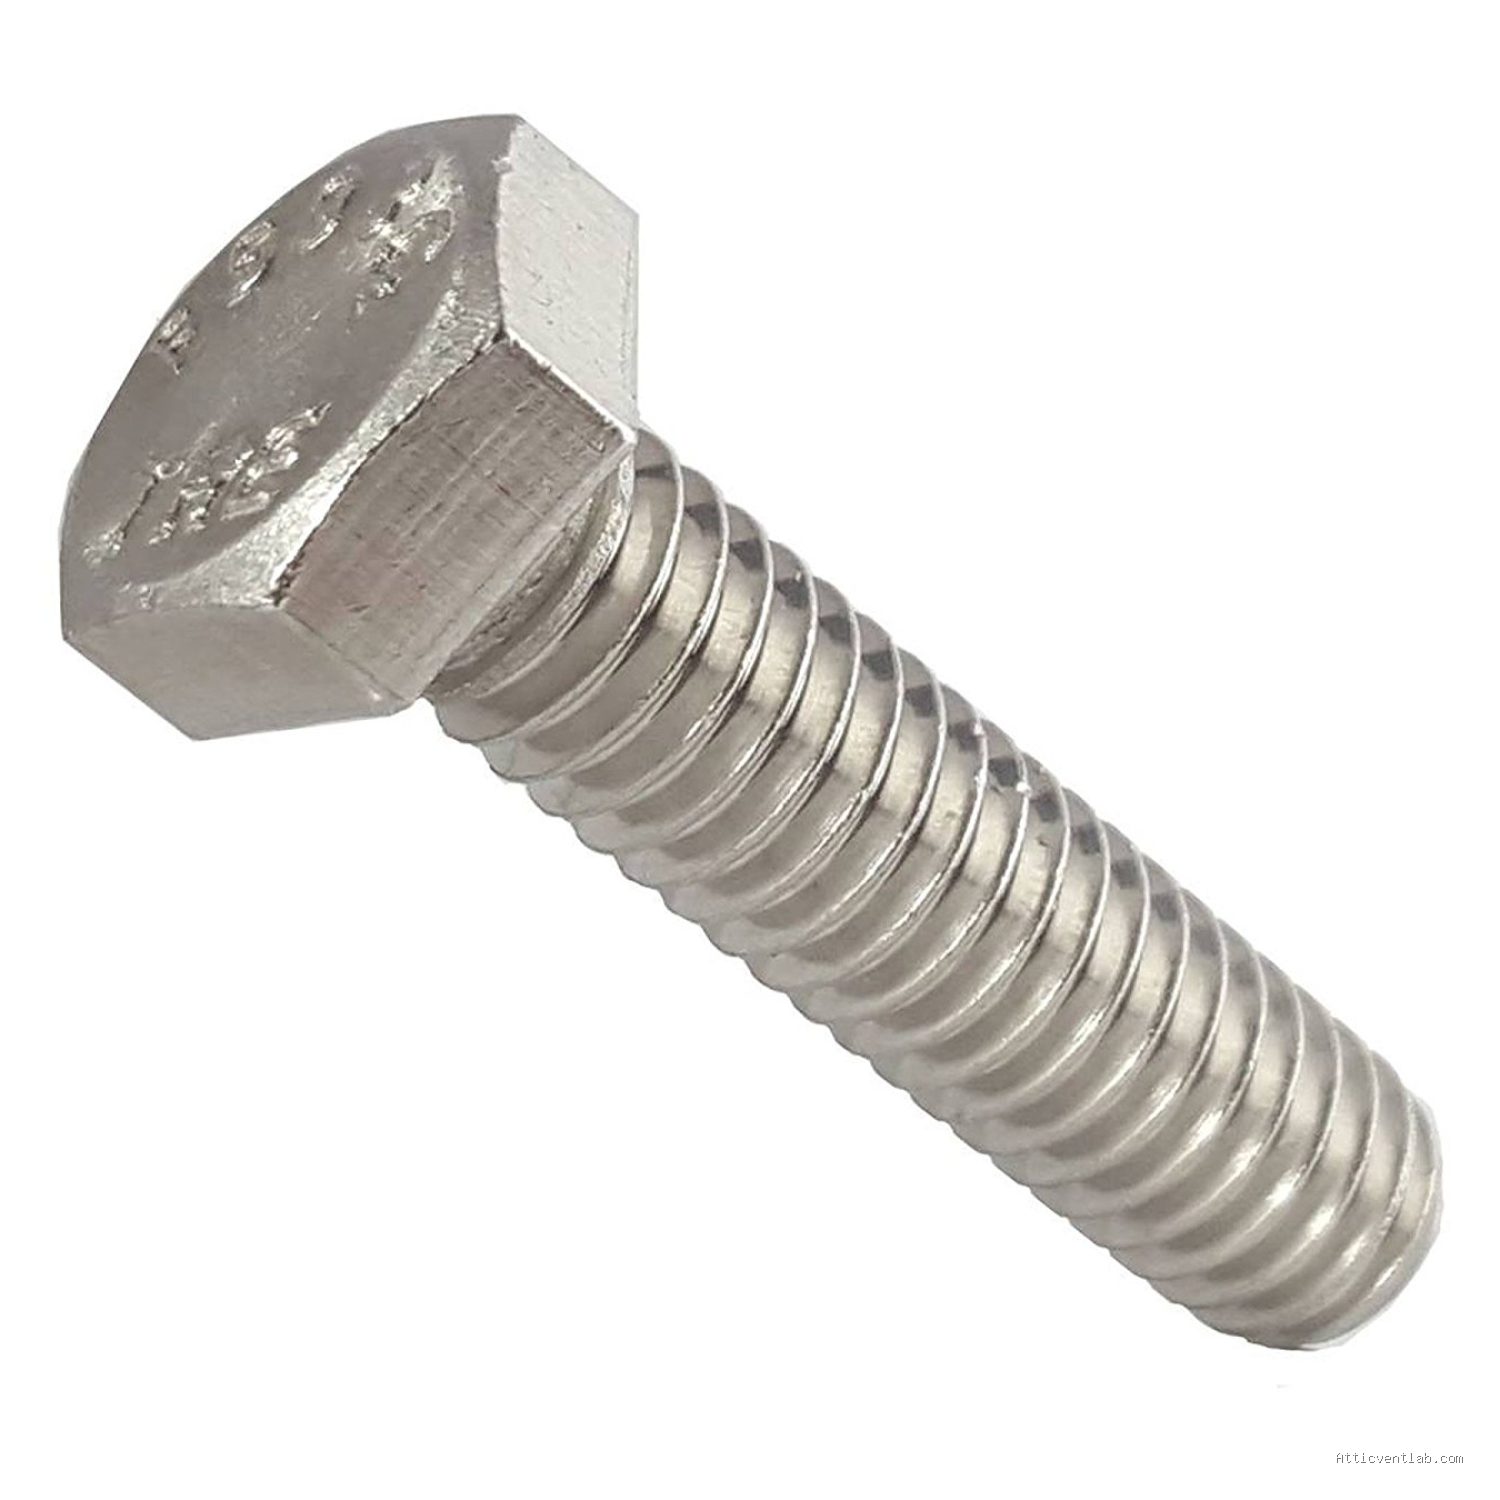
Atticventlab.com – Driving hex head roofing screws straight requires maintaining a perpendicular angle to the surface and using a magnetic nut setter to ensure the washer compresses evenly without tilting or damaging the seal.
Achieving a perfect seal on roofing projects is not just about the quality of the screw; it is about the technique used to drive it. When a hex head roofing screw is driven at an angle, the EPDM rubber washer fails to seat flush against the metal roofing panel. This creates a gap that invites water infiltration, rust, and eventual structural failure. Understanding the mechanics of the driving process can transform a leaky roof into a watertight installation.
The Importance of the Perpendicular Approach
The most common mistake installers make is applying pressure before the screw has properly engaged the metal. When you start a screw at an angle, the washer catches on one side, forcing the screw to push off-center as you drive it home. This tilt is often invisible to the naked eye until the screw is fully tightened, at which point the washer is either pinched or loose on one side. A flush washer should have a uniform, slight bulge around its entire circumference, indicating that the pressure is distributed equally.
Essential Tools for Precision Driving
Using the right equipment is non-negotiable. A high-quality magnetic nut setter is the single most important tool in your arsenal. The magnet holds the hex head firmly in place, acting as an extension of the drill and keeping the screw aligned with the drill bit’s axis. Without a magnetic hold, the screw is prone to “wobbling” during the initial phase of the drive, which is exactly when the washer alignment is determined.
Comparing Driving Methods
| Method | Washer Alignment | Risk of Slippage | Recommended Use |
|---|---|---|---|
| Manual Driver | High Control | Low | Precise finish work |
| Impact Driver | Medium Control | Moderate | Standard metal roofing |
| Drill with Depth Stop | Excellent | Negligible | High-volume projects |
Step-by-Step Guide to Perfect Installation
Read also: Signs Your Attic Hatch Is Leaking Warm Air into the Roof Cavity Space
Follow these steps to ensure every screw you drive remains straight and the washer remains perfectly compressed.
- Mark your target location clearly with a chalk line or pencil to avoid “hunting” for the purlin once the drill is spinning.
- Place the screw into the magnetic nut setter and align the tip of the screw exactly perpendicular to the roofing panel.
- Start the drill at a very slow speed, applying steady, firm downward pressure to dimple the metal slightly before the threads actually bite.
- Maintain a 90-degree angle relative to the roof slope throughout the entire driving process; do not allow the drill to sway.
- Listen for the distinct sound of the washer “seating,” and stop immediately once you see the rubber begin to compress slightly against the metal surface.
- Release the trigger before lifting the tool to ensure the magnetic nut setter does not pull the screw out of alignment at the last millisecond.
Identifying Common Installation Errors
One of the most frequent errors is over-torquing. Many installers believe that tighter is always better, but overtightening a roofing screw is a recipe for disaster. When you drive the screw too deep, the rubber washer is crushed beyond its elastic limit, causing it to crack or split. Once the washer is compromised, the weather-tight seal is broken, and the hole becomes a funnel for moisture. Always set your drill’s clutch to a lower torque setting to prevent this.
Another issue is “walking” or “skating.” If you place the screw tip on the metal and immediately pull the trigger at high speed, the screw will likely slide across the surface, scratching the finish and potentially damaging the surrounding area. Always ensure the drill is at a dead stop when the screw tip touches the metal, and engage the motor only after you have established a firm, stable position.
Maintenance and Inspection Tips
Regular inspection of your screw heads is vital for the long-term health of your roof. If you notice screws that have backed out slightly or washers that have become brittle due to UV exposure, address them immediately. Replacing a single washer or tightening a loose screw can prevent thousands of dollars in water damage. Always use stainless steel screws in coastal or highly corrosive environments to ensure the screw itself does not oxidize and expand, which would eventually push the washer out of place regardless of how well it was installed.
Frequently Asked Questions
Q: How do I know if a washer is correctly tightened?
A: A correctly tightened washer should show a uniform, slight bulge around the edges of the metal head. If you see the rubber washer squeezing out excessively or tearing, you have overtightened the screw.
Q: Can I reuse a roofing screw if I installed it crooked?
A: It is highly discouraged. Once a screw is driven in crooked, the threads have already compromised the metal panel, and the washer has been unevenly deformed. Always remove the crooked screw and use a slightly larger diameter “oversized” replacement screw to ensure a proper seal in the same hole.
Q: Does the angle of the roof affect how I hold the drill?
A: Yes, gravity works against you on steeper pitches. On a steep roof, you must focus extra effort on pushing the drill directly into the roof rather than letting the tool’s weight pull it downward, which causes the screw to tilt toward the bottom of the slope.
By mastering the physical alignment of your drill and understanding the limits of the sealing washer, you can ensure a professional-grade finish on any roofing project. Patience during the initial engagement of the screw is the secret to avoiding the tilt that leads to future leaks. Always prioritize the perpendicular orientation of the fastener over the speed of the installation.
📷 Photo by ebay.com








1 Comments
[…] Read also: How to Drive Hex Head Roofing Screws Straight Without Tilting the Washer […]