

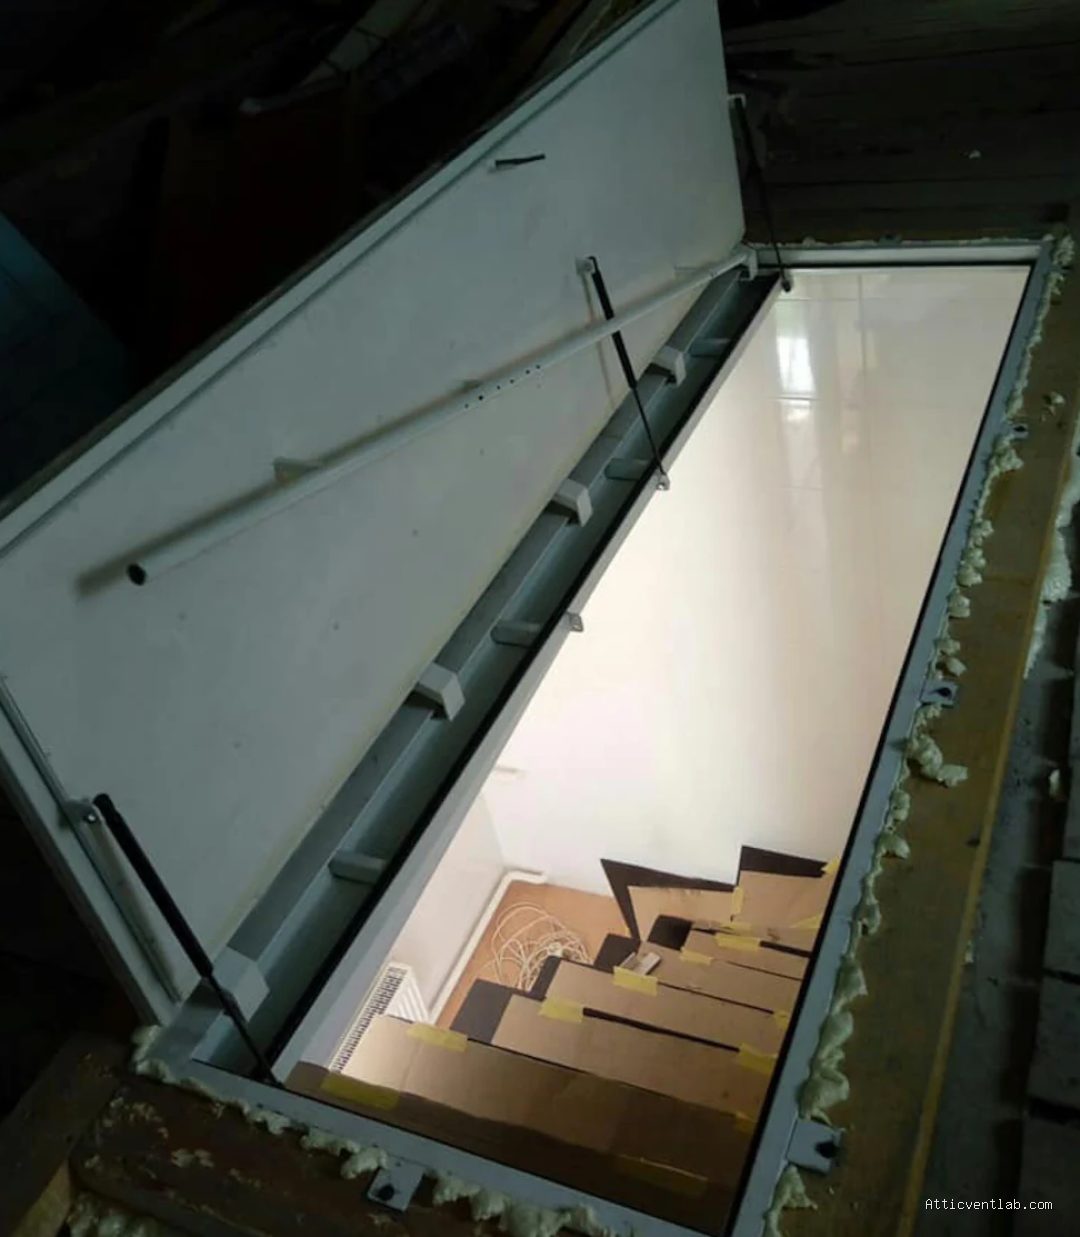
Atticventlab.com – An attic hatch leaks warm air when you notice uneven room temperatures, ice dams on your roof during winter, or dusty insulation particles accumulating around the hatch perimeter. These leaks occur because the access panel lacks a proper airtight seal, allowing conditioned indoor air to escape into the unconditioned attic space through convective airflow.
The attic hatch is often the most overlooked weak point in a home’s thermal envelope. While homeowners frequently focus on upgrading wall insulation or window glazing, the small square panel providing access to the attic acts like a chimney for your climate-controlled air. When this seal is compromised, your HVAC system works significantly harder, and your energy bills climb as a direct result of stack effect pressure.
Common Signs of Attic Hatch Air Leakage
The most immediate indicator of a leaking attic hatch is physical discomfort. If you walk under your attic access point and notice a distinct temperature shift—feeling a draft in winter or a humid, stagnant pocket of air in summer—the hatch is likely not sealed. This is caused by pressure imbalances where warm, moist air from your living space rises and escapes into the attic, pulling replacement air from outside through cracks in your windows and doors.
Another telltale sign is the presence of discoloration or dirt patterns on the attic hatch cover. If you open the hatch and see dark, grayish dust rings around the edges of the insulation or the panel itself, this is a clear indication of air filtration. As air moves through the small gaps, it acts as a filter, trapping dust and debris from the house against the hatch surfaces. If you see this, you are effectively paying to heat or cool the outdoors.
The Impact of Moisture Accumulation
Air leakage isn’t just about heat loss; it is about moisture transport. Warm indoor air holds significantly more water vapor than cold attic air. When this moist air hits the cold surfaces of your roof rafters or the underside of the roof deck during winter, it undergoes condensation. Over time, this moisture leads to wood rot, mold growth, and the degradation of your attic insulation’s R-value.
If you notice ice dams forming on the edge of your roof specifically above the area where your attic access is located, it is a primary sign of heat leakage. The warmth escaping from the hatch melts the snow on your roof, which then refreezes at the colder eaves. This cycle can cause significant structural damage to your shingles and roof decking.
Diagnostic Checklist for Hatch Integrity
| Observation | Indication | Action Required |
|---|---|---|
| Dust rings on hatch edges | Active air bypass | Apply weatherstripping |
| Ice dams above hatch area | Severe thermal leakage | Insulate and seal immediately |
| Cold drafts under hatch | Convective airflow | Install a hatch cover box |
| No gasket material present | Poor seal contact | Add adhesive foam tape |
How to Properly Seal Your Attic Hatch
Sealing an attic hatch is a weekend project that offers one of the highest returns on investment for home energy efficiency. Follow these steps to ensure a permanent, airtight seal that prevents convective heat loss.
- Clear the area around the hatch in the attic to ensure you have a clean surface to work with.
- Measure the perimeter of the attic hatch opening and purchase high-quality EPDM rubber or closed-cell foam weatherstripping tape.
- Apply the weatherstripping adhesive to the trim of the hatch frame so that when the hatch closes, the panel compresses the foam firmly.
- Install a hatch cover box—a rigid foam board box that sits over the hatch in the attic—to provide thermal resistance that the thin plywood panel cannot offer on its own.
- Use a spring or latch mechanism to ensure the hatch is held firmly against the weatherstripping, as gravity alone is rarely enough to maintain an airtight seal.
Common Mistakes to Avoid
A frequent error is using standard fiberglass batt insulation to cover the hatch. Fiberglass is not an air barrier; it allows air to pass through it freely. While it adds a bit of thermal resistance, it does nothing to stop the convective currents that carry moisture into your attic. Always use a rigid, airtight barrier like foam board, and seal the edges of that board with expanding foam or foil tape.
Another mistake is failing to account for the weight of the hatch. If you add heavy insulation to the back of the hatch without upgrading the latching mechanism, the hatch may sag over time. This sagging creates a gap that renders your new weatherstripping useless. Always ensure that the hatch is pulled tightly against the frame using a mechanical tension device or heavy-duty latches.
Frequently Asked Questions
Q: Does my attic hatch really affect my total energy bill that much?
A: Yes, because the stack effect causes warm air to constantly rise. An unsealed hatch acts as an open vent, allowing your conditioned air to escape continuously, which forces your furnace or air conditioner to cycle far more frequently than necessary.
Q: Can I use spray foam to seal the hatch permanently?
A: You should never use spray foam to seal a hatch that you need to access for maintenance. Use removable weatherstripping for the perimeter and a rigid foam board cover that can be easily lifted aside when you need to enter the attic.
Q: Is it normal for the attic hatch to feel cold in the winter?
A: It is normal for the surface to be cool, but it should never feel cold to the touch or show signs of condensation. If the hatch feels significantly colder than the surrounding ceiling drywall, it is a sign that the insulation on the other side has shifted or is insufficient.
By addressing these signs early, you protect your home’s structural integrity and significantly lower your utility costs. Regularly inspecting your hatch once a year—ideally before the start of the winter heating season—will keep your home’s thermal boundary intact and your indoor environment stable.
Read also: How to Install a Chimney Cricket Saddle to Divert Water Off the Back Wall
📷 Photo by etsy.com








1 Comments
[…] Read also: Signs Your Attic Hatch Is Leaking Warm Air into the Roof Cavity Space […]