

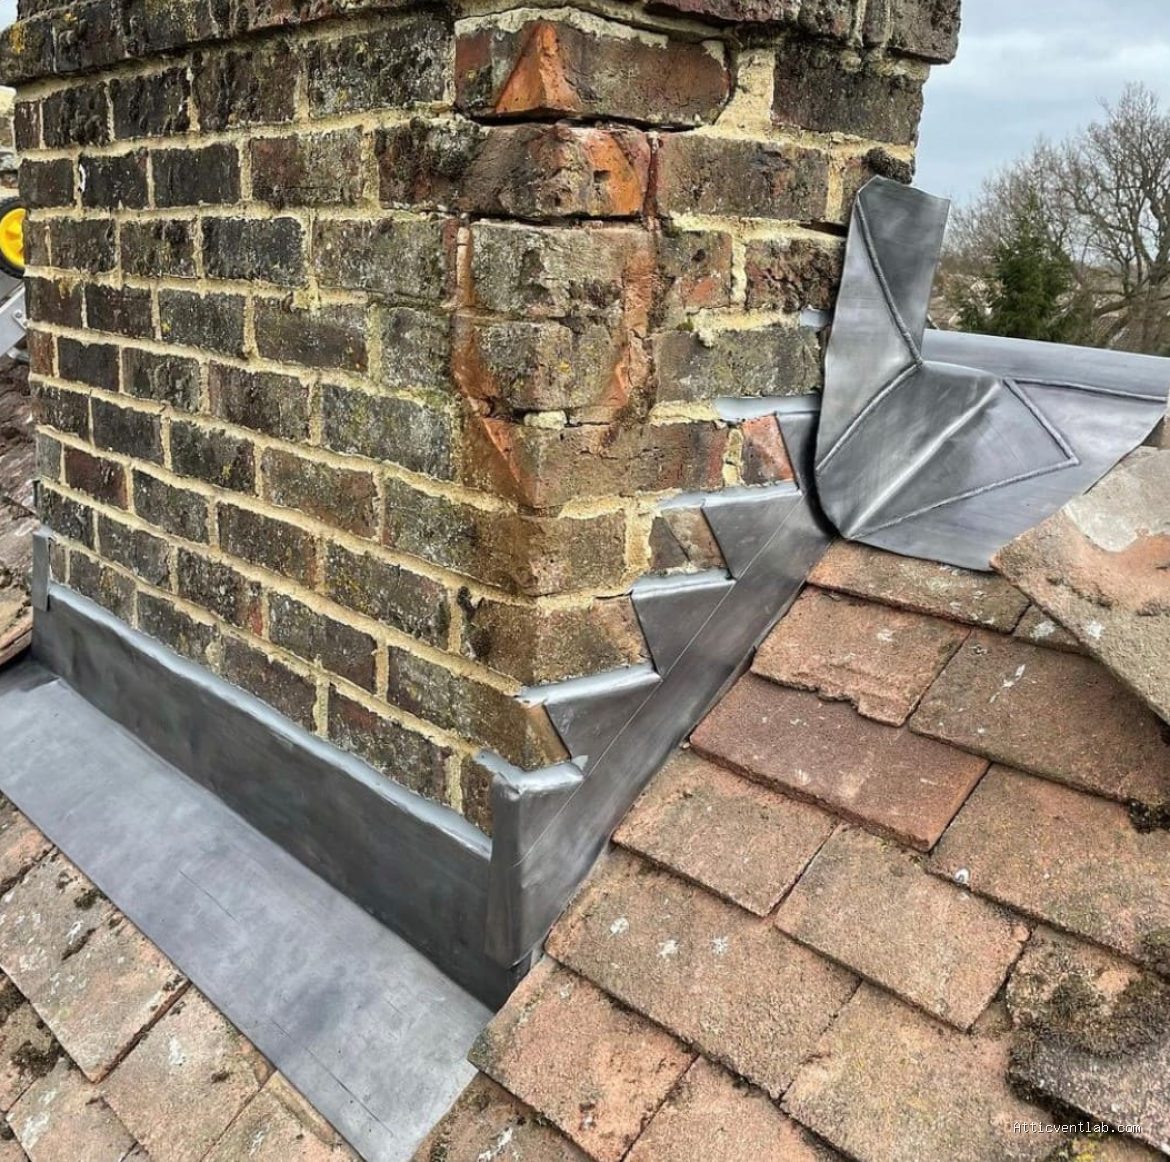
Atticventlab.com – You can effectively reseal aging chimney lead flashing without a soldering gun by utilizing modern high-performance polymer flashing tapes or specialized lead sealant mastics that offer superior flexibility and weather resistance compared to traditional lead welding.
Lead flashing is the primary defense against water ingress at the junction where your chimney stack meets the roof tiles. Over time, lead expands and contracts with thermal fluctuations, leading to cracks, lifting, or detachment from the brickwork. While traditional lead welding (burning) is the gold standard for repairs, it requires specialized tools and significant skill. Fortunately, modern chemical engineering provides robust alternatives that allow homeowners to perform professional-grade repairs without the risk and complexity of open-flame equipment.
Identifying the Need for Repair
Before applying any sealant, you must assess the condition of the existing lead. Look for signs of “lead creep,” where the metal has sagged or slipped down the chimney stack. Check for hairline cracks near the corners or where the lead has been folded. If the lead is severely oxidized or crumbling, no amount of sealant will hold it in place long-term, and replacement may be necessary. However, for minor splits or lifting mortar joints, cold-applied solutions are highly effective.
Essential Materials for Cold-Applied Flashing Repair
Choosing the right material is critical. You should avoid cheap hardware store silicone, as it lacks the UV resistance and movement capability required for roof environments. Instead, look for lead-specific bitumen-based mastics or butyl-rubber flashing tapes. These materials are engineered to bond with porous brick and non-porous lead, maintaining a watertight seal even during extreme temperature swings.
| Material Type | Best Use Case | Key Advantage |
|---|---|---|
| Lead Mastic | Filling gaps in mortar or small cracks | High adhesion to masonry surfaces |
| Butyl Flashing Tape | Sealing long seams or overlapping joints | Instant waterproof seal and high flexibility |
| Lead Primer | Preparation before sealing | Ensures long-term bond on oxidized lead |
Step-by-Step Guide to Resealing Chimney Flashing
Follow these steps to ensure a long-lasting repair that prevents water from leaking into your attic or chimney breast.
- Clear all debris from the flashing area using a stiff wire brush to remove moss, loose mortar, and oxidized lead dust.
- Clean the surfaces thoroughly with a degreasing agent or white spirit to ensure the adhesive or sealant can bond directly to the material.
- Apply a specialized lead primer to the cleaned areas if the manufacturer recommends it, allowing it to become tacky before proceeding.
- If using flashing tape, measure and cut the length required, peel back the protective backing, and press it firmly into the junction, using a rubber roller to eliminate air bubbles.
- If using mastic, apply a consistent bead along the joint, then use a pointing trowel to smooth the sealant into the gap, ensuring a slight slope to shed water away from the brick.
- Allow the material to cure fully according to the manufacturer’s instructions before expecting it to withstand heavy rain or snow.
Common Mistakes to Avoid
One of the most frequent errors is applying sealant over dirty or damp surfaces. Moisture trapped underneath a patch will eventually turn into steam during hot summer days, causing the sealant to bubble and blow out, leading to immediate failure. Always ensure the chimney stack is bone-dry before beginning your work.
Another mistake is failing to allow for thermal movement. If you apply a rigid filler to a large crack, the expansion of the lead will crack the filler almost immediately. Always use products labeled as “high-movement” or “elastomeric” to ensure the repair flexes with the chimney structure.
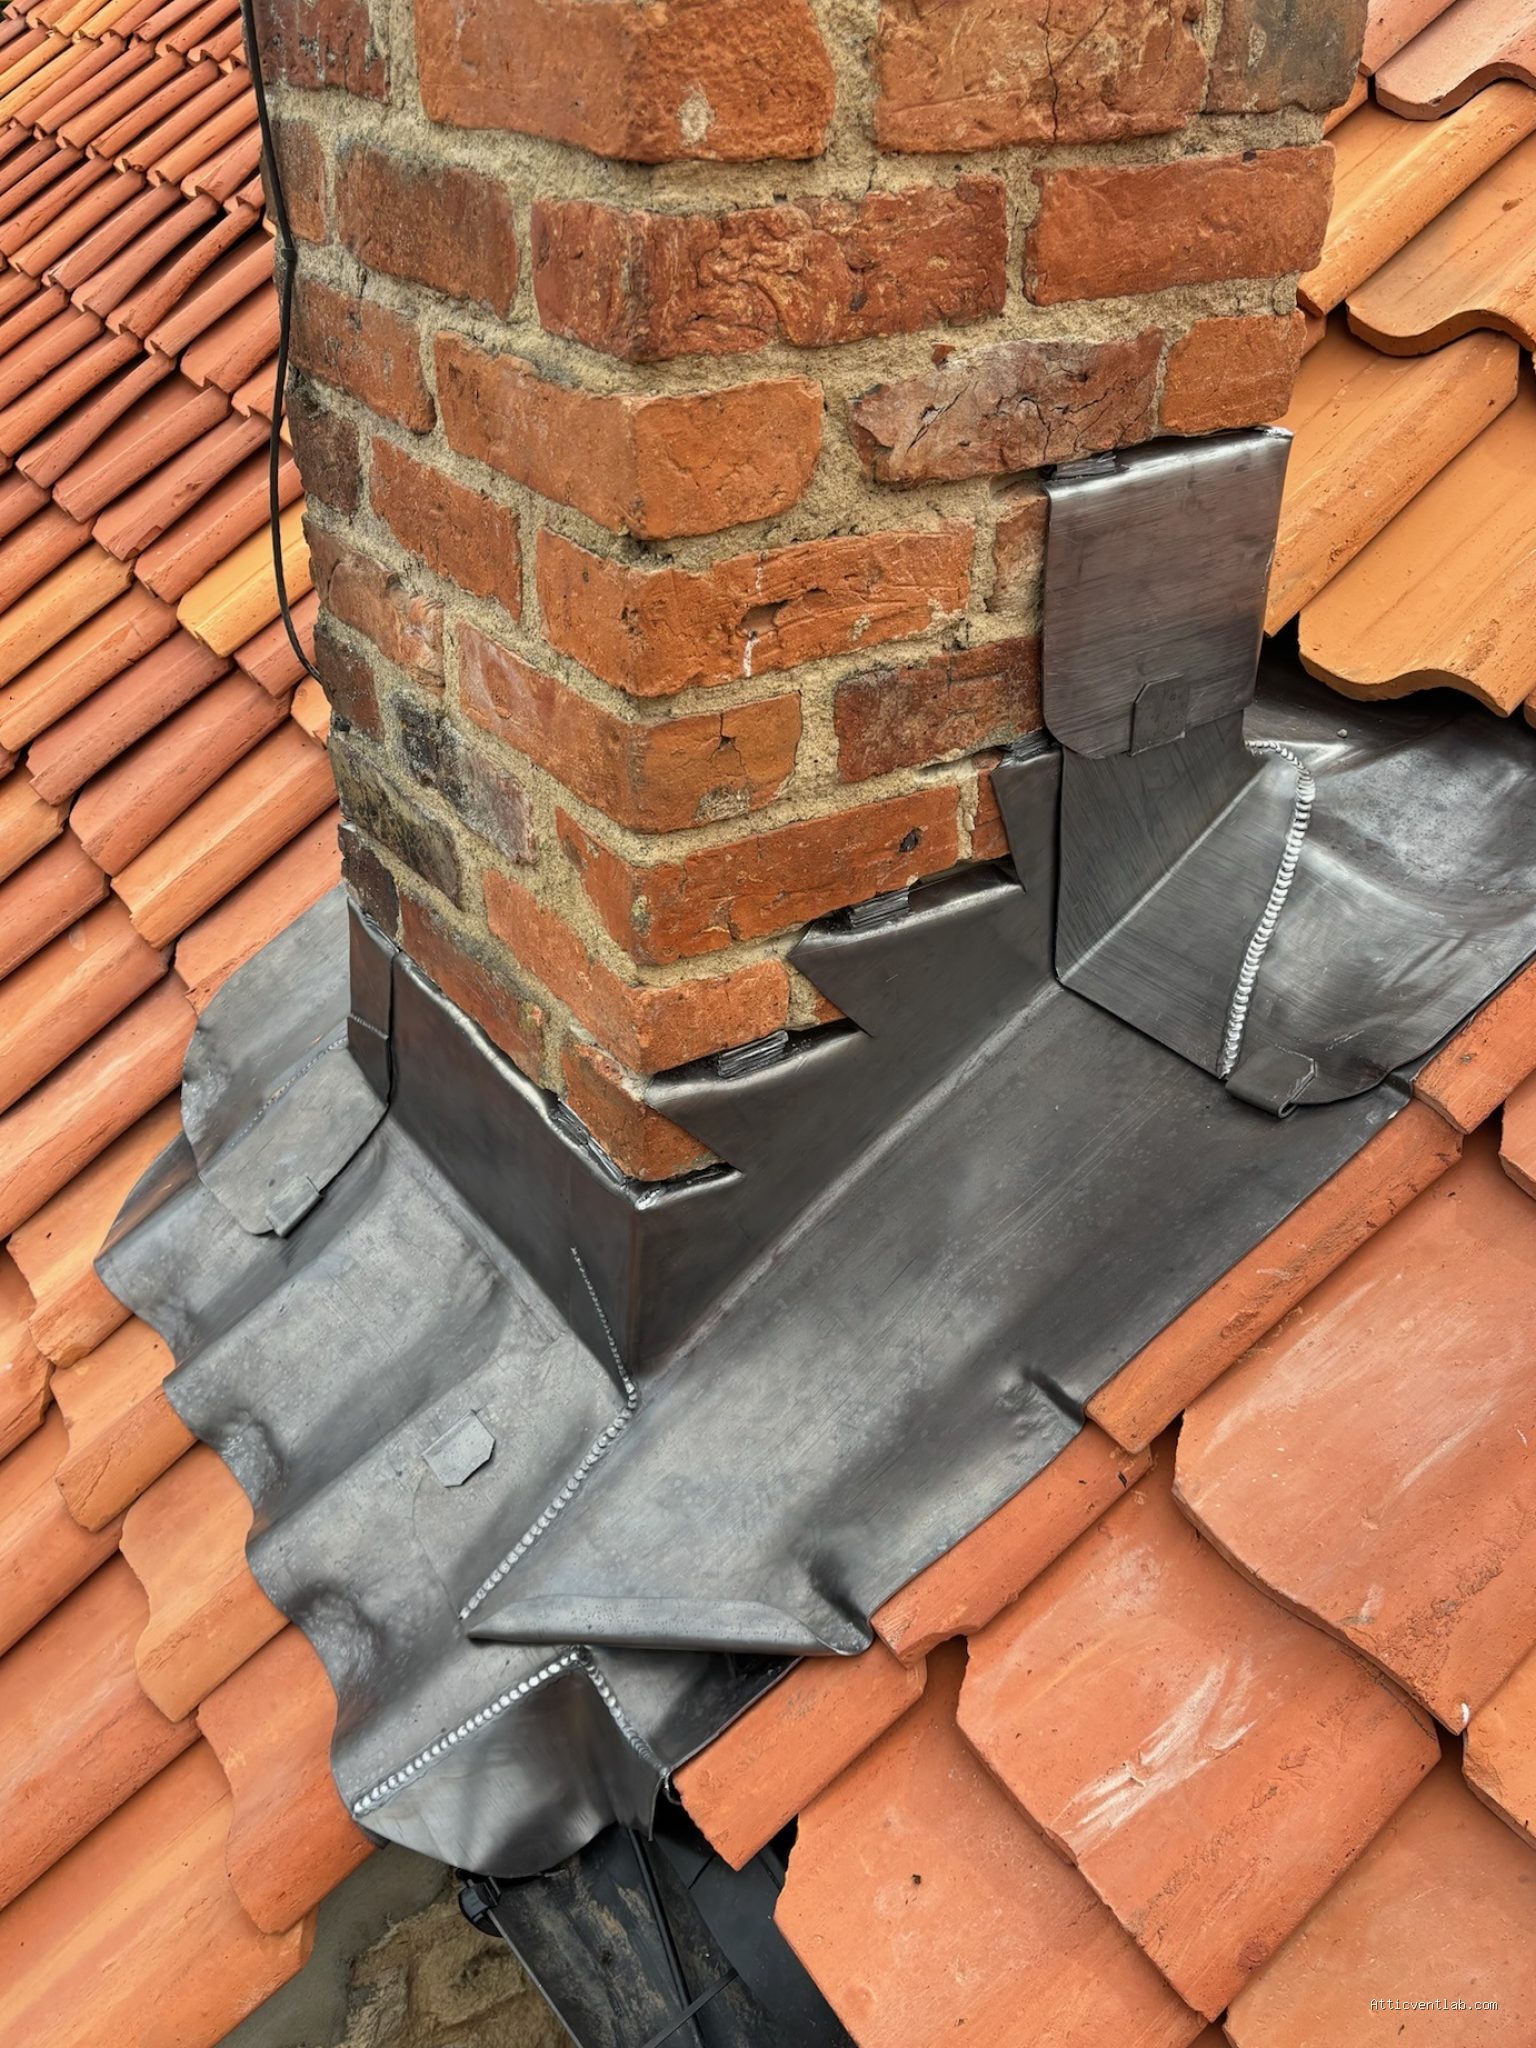
📷 Photo by theleadlads.co.uk
Safety and Practical Considerations
Working on a chimney involves working at height, which is inherently dangerous. Always use a stable ladder or, preferably, scaffolding if the roof pitch is steep. Never attempt these repairs during windy or wet conditions. Furthermore, lead is toxic; always wear gloves when handling old lead flashing and wash your hands thoroughly after the project is complete. If the chimney brickwork itself is crumbling, resealing the lead will only be a temporary fix. In such cases, the mortar joints must be repointed before the flashing can be properly secured.
Q: Can I use standard exterior silicone to patch lead flashing?
A: No, standard silicone does not bond well to lead, and it often breaks down under the intense UV radiation found on rooftops. Always use specialized lead mastics or butyl tapes designed for external roof repairs.
Q: How long will these cold-applied repairs last?
A: When applied correctly to clean surfaces, high-quality butyl tapes and lead-specific mastics can last between 5 to 10 years, depending on the exposure to the elements and the quality of the surface preparation.
Q: Do I need to remove the old lead flashing before resealing it?
A: Not necessarily. If the lead is physically sound but simply lifting or leaking at the joints, you can clean and reseal it in place. If the lead is heavily corroded or structurally damaged, it must be replaced entirely.
By opting for these modern, non-soldering methods, you can extend the life of your chimney flashing significantly without the need for expensive professional equipment. Regular inspection of these seals twice a year—ideally in the spring and autumn—will help you catch minor issues before they escalate into costly interior water damage.
📷 Photo by storage.googleapis.com








Leave a Reply