

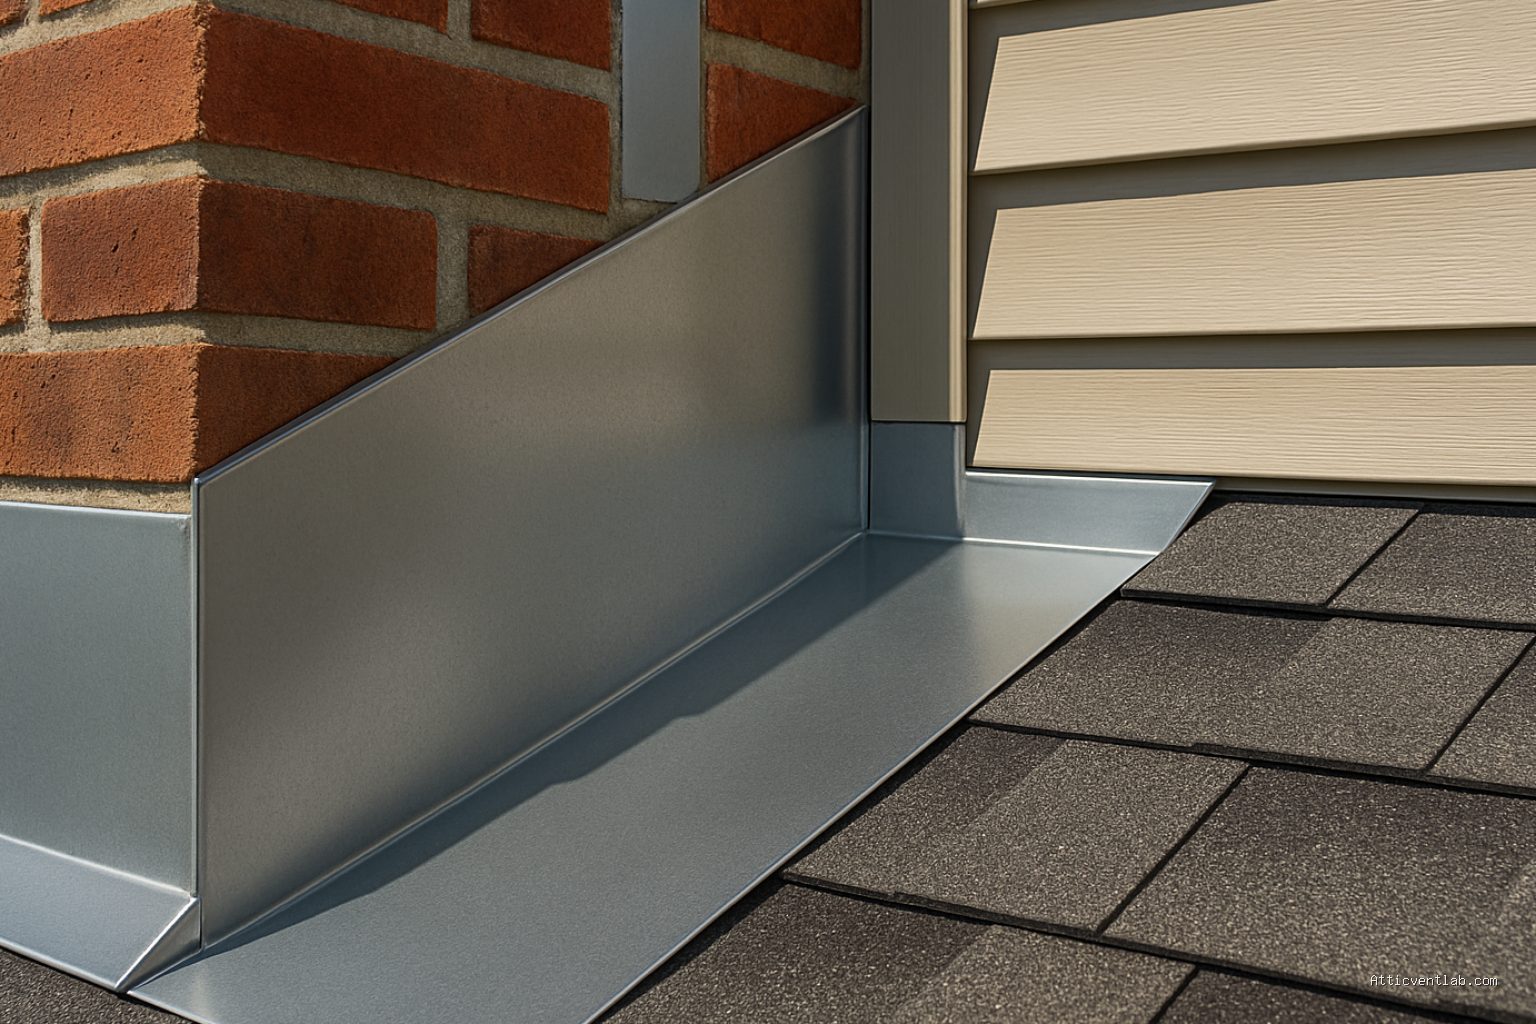
Atticventlab.com – Installing drip edge along the rake edge is a critical roofing step that prevents wind-driven rain from penetrating the roof deck and secures the shingles against uplift during high-velocity storms.
The rake edge, which is the sloped side of your roof running from the eaves to the peak, is highly susceptible to wind damage. Without proper flashing, wind can catch the underside of your shingles, lifting them and allowing moisture to seep into the roof sheathing. This leads to rot, mold, and structural deterioration over time. Installing drip edge creates a rigid, aerodynamic barrier that protects the vulnerable edge of the decking.
Understanding the Importance of Rake Edge Protection
Many homeowners confuse the drip edge at the eave with the flashing required for the rake. While the eave drip edge is installed under the underlayment to direct water into the gutter, the rake edge flashing is installed over the underlayment. This specific placement ensures that water running down the slope of the roof is diverted away from the wood trim and siding.
When wind hits the rake edge, it creates a vacuum effect. If the shingles are not secured by a metal drip edge, the wind force can easily peel them back. Metal flashing provides a mechanical anchor point. It also acts as a visual finish, providing a clean, straight line that hides the rough edge of the plywood or OSB roof sheathing.
Tools and Materials You Will Need
Before beginning the installation, ensure you have the proper materials. Standard aluminum or galvanized steel drip edge is common, but you should choose a gauge that suits your local climate—thicker metal is preferred in areas prone to hurricane-force winds.
| Material/Tool | Purpose |
|---|---|
| Drip Edge Flashing | Provides wind resistance and water diversion. |
| Roofing Nails | Secures the metal to the deck (1-inch galvanized). |
| Tin Snips | Used for cutting metal to size at corners. |
| Hammer | Driving nails flush without denting the metal. |
| Chalk Line | Ensuring the flashing is installed in a perfectly straight line. |
Step-by-Step Installation Guide
Installing the flashing correctly requires precision. Follow these steps to ensure your roof is fully protected against wind uplift.
- Prepare the roof edge by ensuring the sheathing is smooth and free of protruding nails or debris.
- Measure the length of the rake edge and cut your first piece of drip edge to fit, allowing for a slight overlap if multiple pieces are required.
- Position the drip edge so the flange sits flat against the roof deck and the vertical face covers the edge of the fascia board.
- Starting from the bottom of the rake, work your way toward the peak of the roof.
- Fasten the drip edge by driving roofing nails through the metal flange into the roof deck every 8 to 12 inches.
- Ensure the next piece of drip edge overlaps the lower piece by at least 2 inches to prevent water from entering the seams.
- Once you reach the peak, use tin snips to trim the metal to fit the ridge line cleanly, ensuring the two sides meet or overlap properly.
Common Mistakes to Avoid
A frequent error is installing the rake drip edge under the underlayment. Unlike the eave edge, which goes under, the rake edge must be placed on top of the underlayment. This ensures that any water blowing back onto the roof deck is channeled over the metal and away from the house.
Another common mistake is over-nailing or under-nailing. If you put too many nails in, you risk warping the metal, which creates gaps for wind to enter. If you put too few, the metal may rattle or pull away during heavy gusts. Always use galvanized nails to prevent rust, as the metal edge is constantly exposed to the elements.
Risks of Neglecting Rake Edge Flashing
Without this protective layer, your roof is essentially open to the elements at its most vulnerable points. Moisture trapped under the shingles at the rake will quickly rot the fascia boards and the edges of the plywood sheathing. Once the wood begins to soften, the nails holding your shingles in place will lose their grip, significantly increasing the risk of shingles being ripped off during a storm.
Furthermore, without the rigid edge provided by the metal flashing, the shingles will sag over time. This sagging creates a dip that collects debris and water, accelerating the degradation of your roofing materials. Investing the time to install high-quality drip edge is a cost-effective way to extend the lifespan of your entire roofing system.
Maintenance Tips for Long-Term Protection
Once installed, perform an annual inspection of your rake edges. Look for signs of corrosion or loose fasteners. If you live in a high-wind area, consider using a slightly heavier gauge of metal, which is more resistant to bending. If you notice the metal has been pulled away from the deck, re-secure it immediately using high-quality roofing adhesive or additional nails to maintain the wind-tight seal.
Frequently Asked Questions
Q: Can I use the same drip edge for the eaves and the rake?
A: While the profiles are often similar, the installation method differs; eave drip edge goes under the underlayment, while rake drip edge goes over it.
Q: What is the best metal material for drip edge in coastal areas?
A: Aluminum or stainless steel is recommended for coastal regions because these materials are highly resistant to salt-air corrosion compared to standard galvanized steel.
Q: How do I handle corners at the peak of the roof?
A: You should trim the metal with tin snips to create a mitered joint, ensuring that the two pieces overlap tightly so no gap remains for wind or water to enter.
📷 Photo by americanqualityremodeling.com








Leave a Reply