

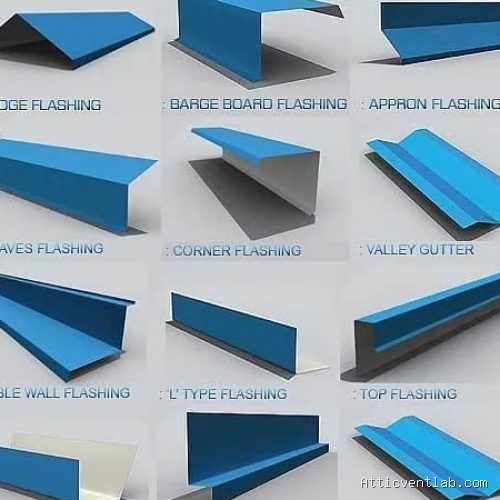
Atticventlab.com – Flashing a parapet wall junction with built-up roofing (BUR) requires a multi-layered approach using reinforced bitumen membranes or liquid-applied flashing systems to ensure a watertight seal at the critical transition between the horizontal roof deck and the vertical wall. The integrity of this junction depends on the correct installation of a cant strip, proper membrane adhesion, and the secure termination of the flashing under a counter-flashing or coping cap.
Understanding the Critical Nature of Parapet Junctions
The parapet wall junction is the most common point of failure for flat roofing systems. Because the roof deck and the masonry wall expand and contract at different rates due to thermal cycling, a rigid connection will inevitably crack. A built-up roof system addresses this by using a base flashing that acts as a bridge, allowing for movement while maintaining a waterproof barrier.
Failure at this junction often results in water infiltration that travels behind the roofing membrane, leading to hidden rot in the roof decking and structural damage to the parapet wall itself. Proper flashing is not just about stopping water; it is about managing the stresses of the building structure over several years of seasonal temperature shifts.
Essential Components for a Successful Installation
Before beginning the installation, ensure you have the correct materials. A standard BUR parapet flashing assembly consists of a cant strip, a base ply, and a cap sheet. The cant strip is vital because it eliminates the sharp 90-degree angle, which would otherwise cause the roofing membrane to bridge and crack under tension.
| Component | Function | Material Recommendation |
|---|---|---|
| Cant Strip | Creates a 45-degree transition | Fiberboard or Perlite |
| Base Flashing | Primary waterproof seal | SBS or APP Modified Bitumen |
| Counter-Flashing | Protects top edge of membrane | Galvanized Steel or Aluminum |
| Sealant | Prevents moisture entry at cap | Polyurethane or MS Polymer |
Step-by-Step Installation Procedure
📷 Photo by storage.googleapis.com
Follow these steps to ensure a long-lasting and durable parapet junction seal. Always ensure the parapet surface is clean, dry, and primed before beginning application.
- Install the cant strip securely along the base of the parapet wall using mechanical fasteners or cold-process adhesive to ensure it does not shift.
- Apply a high-quality primer to the vertical surface of the parapet wall, extending at least 8 inches up from the roof surface, and allow it to dry completely.
- Cut the base flashing membrane to a length that allows it to extend at least 6 inches onto the horizontal roof deck and 8 to 12 inches up the vertical wall.
- Adhere the base flashing into the hot bitumen or cold adhesive, ensuring it is pressed firmly into the cant strip to avoid any voids or air pockets.
- Apply the cap sheet over the base flashing, staggering the seams to ensure that no two joints in the flashing layers align with each other.
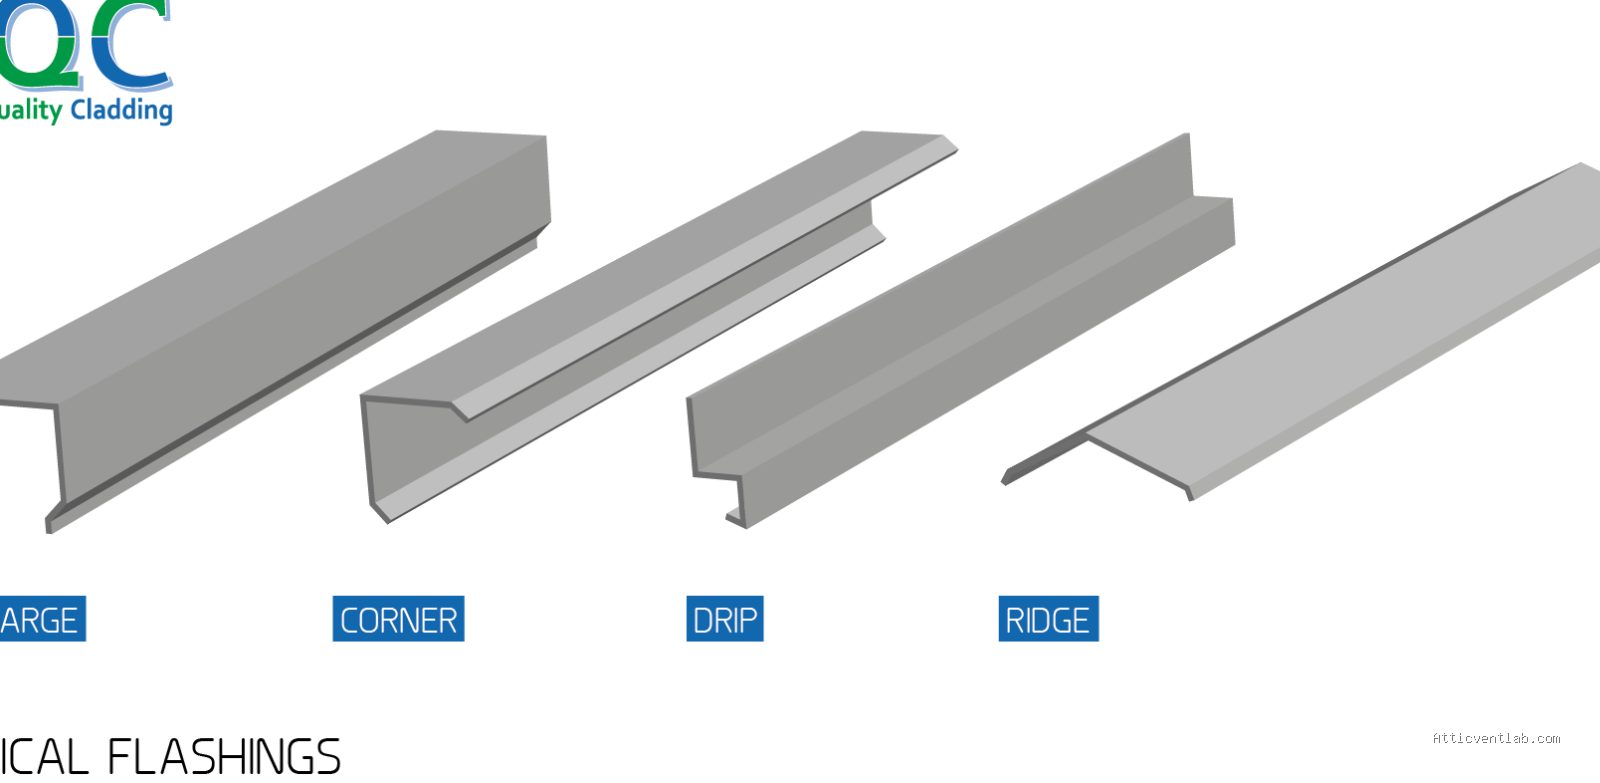
- Install a metal counter-flashing or termination bar at the top edge of the membrane to prevent water from running behind the flashing.
- Seal the top of the counter-flashing with a high-grade exterior-rated sealant to create a secondary line of defense against wind-driven rain.
Common Installation Errors to Avoid
One of the most frequent mistakes is failing to provide a proper cant strip. Installers sometimes attempt to bend the membrane directly against the 90-degree corner, which leads to “bridging.” Bridging occurs when the membrane spans the corner without full contact; over time, the weight of the roof or building movement will punch a hole through this unsupported area.
Another common error is inadequate height. Flashing should always extend at least 8 inches above the finished roof surface. In regions with heavy snowfall or potential for ponding, increasing this height to 12 inches is a prudent measure to prevent water from overtopping the flashing during extreme weather events.
The Role of Thermal Movement
Built-up roofing materials are sensitive to temperature. When applying hot asphalt, ensure the temperature is within the manufacturer’s specified range. If the asphalt is too cold, it will not bond properly to the parapet wall. If it is too hot, it can degrade the membrane. Always use a thermometer to monitor the bitumen temperature on the roof surface, not just in the kettle.
Furthermore, ensure that the parapet wall is capped correctly. If the masonry or brickwork on top of the parapet is porous, water can enter from the top and migrate downward behind your flashing. A metal coping cap with a drip edge is essential to shed water away from the face of the parapet wall.
Maintenance and Inspection Tips
Even a perfectly installed flashing system requires periodic inspection. Check the parapet junctions after every major storm. Look for signs of “fishmouthing,” where the edges of the membrane lift, or cracks in the sealant at the termination bar. Early detection of these minor issues can save thousands in structural repair costs.
If you notice the sealant at the top of the termination bar is pulling away, remove the old sealant entirely, clean the surface, and reapply a fresh bead of compatible exterior sealant. Never simply apply new sealant over the top of old, cracked, or dirty material, as it will fail to bond.
Frequently Asked Questions
Q: Can I use self-adhered membranes for parapet flashing on a BUR system?
A: Yes, many modern SBS modified bitumen systems allow for self-adhered flashings, provided the substrate is properly primed and compatible with the membrane adhesive.
Q: How high should my parapet flashing terminate?
A: The standard minimum is 8 inches above the roof surface, though 12 inches is recommended in climates with heavy snow or high wind-driven rain to prevent moisture ingress.
Q: Why is my flashing pulling away from the wall?
A: This is usually caused by improper adhesion, lack of a cant strip, or insufficient mechanical fastening at the top edge of the membrane. Ensure a termination bar is used to hold the top edge securely against the parapet.
Properly flashing a parapet wall is a technical task that demands attention to detail. By following the correct sequence of cant strip installation, proper membrane overlapping, and secure termination, you create a robust system that protects the building envelope from the most common cause of flat roof leaks.
📷 Photo by indiamart.com








Leave a Reply