

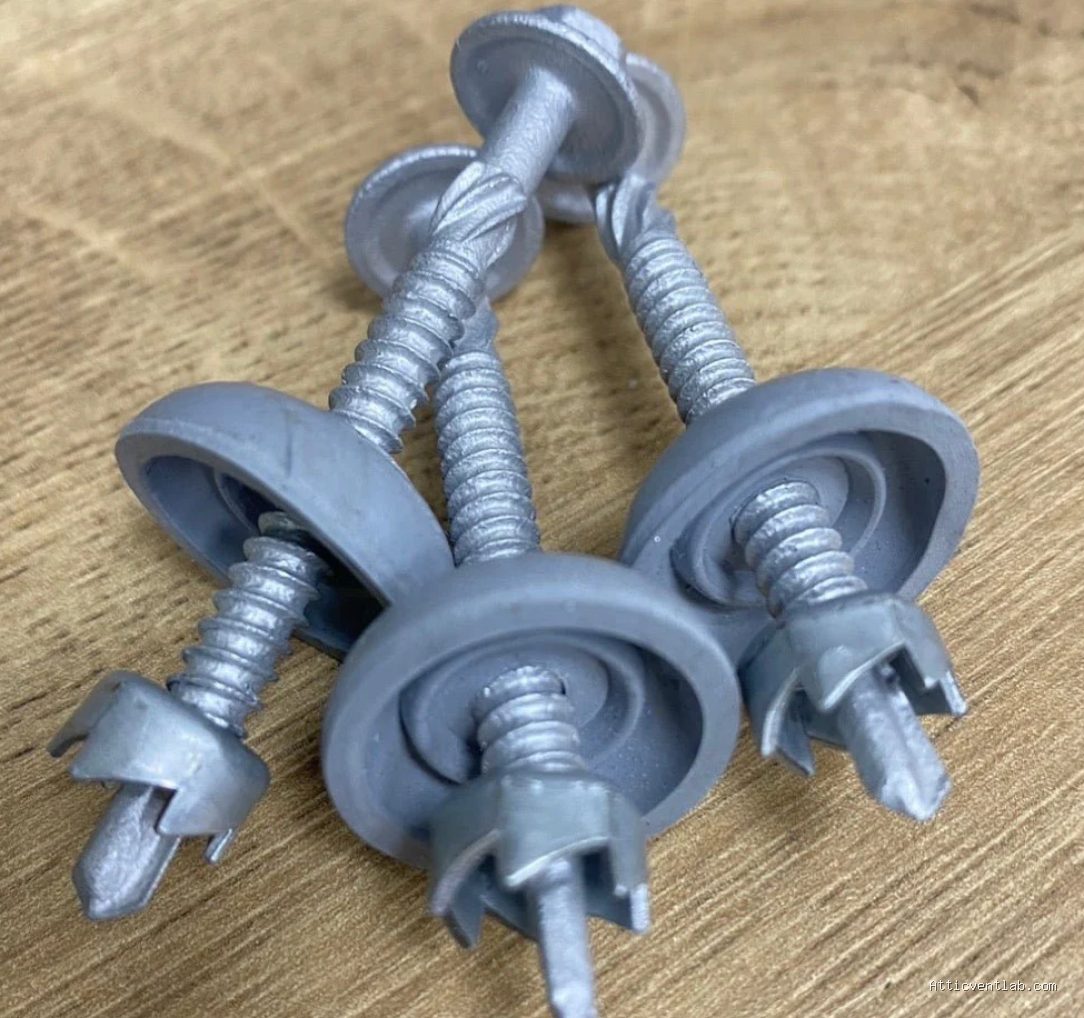
Atticventlab.com – Sealing overdriven screws on corrugated polycarbonate roof sheets requires removing the damaged fastener, patching the oversized hole with a UV-stable silicone sealant or a specialized repair washer, and installing a new screw with a EPDM rubber gasket to restore the waterproof integrity.
Polycarbonate roofing is a popular choice for greenhouses, patios, and industrial sheds due to its impact resistance and light transmission. However, the material is prone to thermal expansion and contraction. When screws are driven too deep, the rubber washer (neoprene or EPDM) is compressed beyond its functional limit, causing it to split or deform. This creates a direct path for water intrusion, leading to leaks that can compromise the structural supports beneath the sheets.
Identifying the Damage
The first sign of an overdriven screw is often a visible indentation or “crater” around the screw head. If you inspect the fastener closely, you will notice the rubber washer is flattened, cracked, or pushed away from the screw shank. In severe cases, the polycarbonate sheet itself may have developed micro-cracks radiating from the screw hole. These small fissures are the primary entry points for moisture and must be addressed immediately before they expand under wind pressure or temperature fluctuations.
Tools and Materials Needed
Before beginning the repair, ensure you have the correct materials. Using generic household adhesives is a common mistake; you must use sealants specifically rated for polycarbonate. Standard silicone often contains acetic acid, which can cause the polycarbonate to become brittle and crack over time. Always opt for a neutral-cure silicone or a high-grade butyl sealant tape.
| Material | Purpose |
|---|---|
| Neutral-cure Silicone | Sealing the hole and washer interface |
| EPDM Washers | Providing a flexible, UV-resistant seal |
| Butyl Tape | Backing seal for larger cracks |
| Replacement Screws | Correcting the fastener tension |
Step-by-Step Repair Process
Follow these steps to ensure a long-lasting, watertight seal. Do not skip the cleaning phase, as debris will prevent the sealant from bonding correctly to the polycarbonate surface.
- Remove the existing overdriven screw carefully using a drill set to a low-speed reverse setting. If the screw is rusted or stripped, use locking pliers to grip the head and rotate it out manually.
- Clean the area around the hole using isopropyl alcohol to remove dust, grease, and old sealant residue. Ensure the surface is completely dry before proceeding.
- Inspect the hole for stress cracks. If the hole is significantly enlarged or jagged, apply a small amount of neutral-cure silicone inside the hole itself to fill the gap.
- Place a new, larger EPDM-backed cyclonic washer over the hole. This provides a broader surface area to cover any damage caused by the previous overdriven screw.
- Install a new screw, ensuring it is driven only until the rubber washer creates a firm, snug seal against the sheet. The washer should be compressed slightly but not deformed or pushed out from under the screw head.
Common Mistakes to Avoid
A frequent error is overtightening the replacement screw. Many installers assume that tighter equals better protection against leaks, but this is exactly what caused the initial problem. Polycarbonate expands significantly in the sun. If the screw is too tight, the sheet cannot move, leading to buckling or further cracking around the fastener. Always leave a tiny amount of “play” for thermal movement.
Another mistake is using the wrong type of screws. Corrugated sheets require screws with integrated EPDM washers specifically designed for roofing. Avoid using flat washers or metal-on-metal connections, as these will inevitably leak as the roof shifts. Additionally, never place your ladder directly onto the polycarbonate sheets. Always use a crawling board or a thick piece of plywood to distribute your weight across the support rafters to prevent denting or cracking the material.
Risks of Neglecting Leaks
Ignoring a leaking screw might seem harmless, but the consequences compound over time. Water dripping onto wooden rafters leads to rot, which can eventually cause the entire roof structure to sag or fail. Inside a greenhouse or living space, the constant moisture promotes mold and mildew growth. Furthermore, if the water reaches electrical fixtures or equipment stored underneath, the repair costs will far exceed the price of a few replacement screws and a tube of sealant.
Preventative Maintenance Tips
To prevent this issue in the future, consider using a depth-limiting attachment on your drill when installing polycarbonate roofing. This tool stops the drill from driving the screw past the desired point, ensuring the washer remains intact. Additionally, conduct a bi-annual inspection of your roof, especially after extreme weather events, to check for loose or over-compressed fasteners. Early detection is the most effective way to extend the lifespan of your polycarbonate roof.
Q: Can I use super glue to fix cracks around the screw hole?
A: No. Super glue (cyanoacrylate) is too rigid and will crack as the polycarbonate sheet undergoes thermal expansion. Always use flexible sealants like neutral-cure silicone or butyl tape that can move with the material.
Q: How do I know if the screw is tight enough?
A: The EPDM washer should be slightly compressed so that its edges are in full contact with the roofing sheet, but you should not see it bulging or splitting. If the rubber starts to spread out past the metal washer, it is too tight.
Q: Does the color of the sealant matter?
A: While color does not affect the performance, choosing a clear or translucent sealant is usually preferred for aesthetic reasons on light-transmitting polycarbonate roofs. Ensure the product is labeled as UV-resistant to prevent it from yellowing or peeling under direct sunlight.
📷 Photo by exceliteplas.com.au








Leave a Reply