

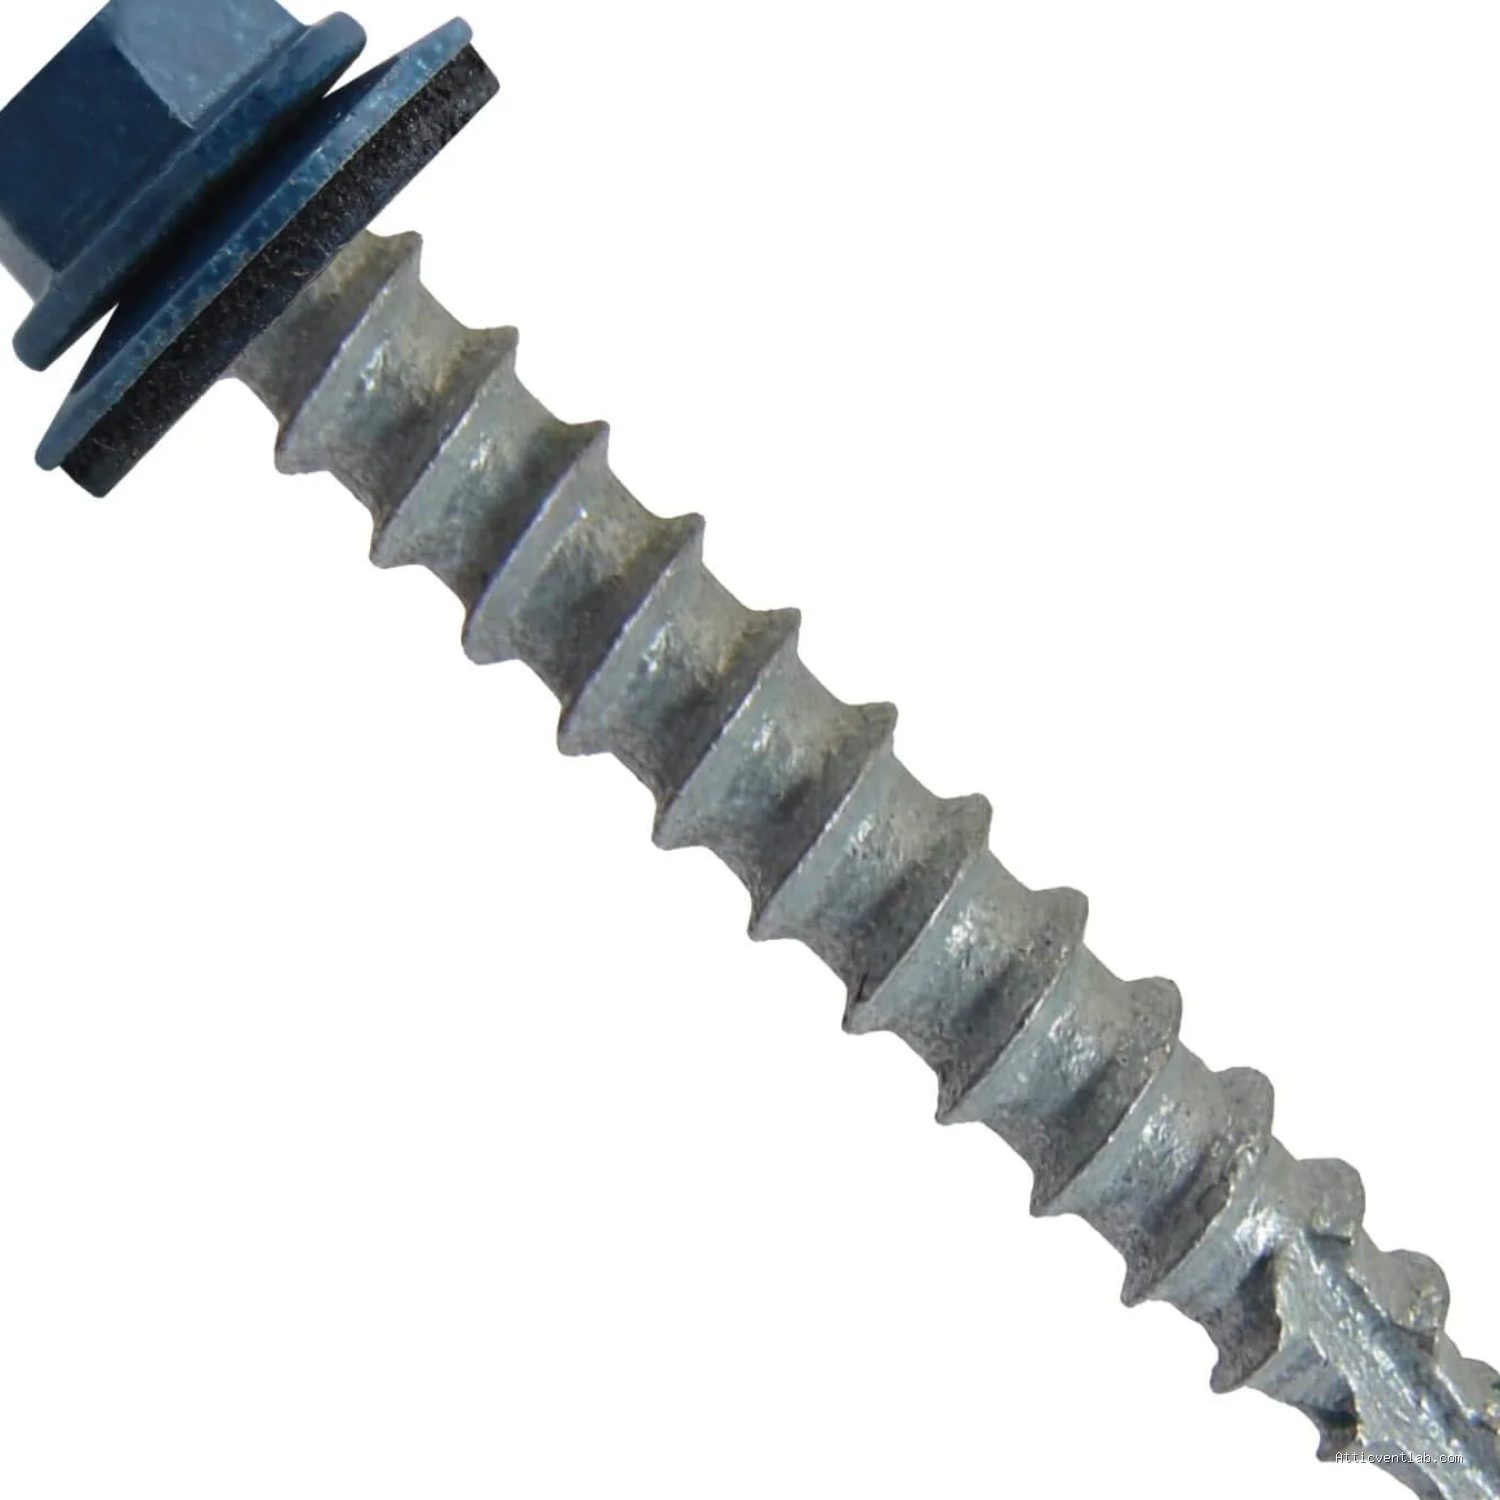
Atticventlab.com – Replacing broken EPDM washers on existing metal roof screws involves removing the screw, cleaning the surrounding metal surface, and installing a new, high-quality EPDM bonded washer to restore a watertight seal. This process prevents leaks, prevents corrosion, and extends the lifespan of your roofing system without requiring a full fastener replacement.
Understanding the Role of EPDM Washers
Ethylene Propylene Diene Monomer (EPDM) washers are the unsung heroes of metal roofing. These synthetic rubber gaskets are designed to compress against the metal panel when the screw is tightened, creating a hermetic seal that prevents water from infiltrating the screw hole. Over time, exposure to intense ultraviolet (UV) radiation, fluctuating temperatures, and ozone causes these washers to become brittle, crack, or completely disintegrate.
When an EPDM washer fails, the screw acts as a direct conduit for water into the attic space or the roof deck. This leads to hidden wood rot, rusted purlins, and significant interior water damage. Identifying a failed washer is often simple: look for cracked, hardened rubber or gaps between the washer and the metal panel surface. If you see pieces of rubber missing from under the screw head, immediate replacement is necessary to maintain the integrity of your roof.
Tools Required for the Replacement Process
Before you begin, ensure you have the correct supplies. You will need a cordless impact driver with the appropriate hex socket (typically 1/4 inch or 5/16 inch), a wire brush, a clean rag, denatured alcohol for cleaning, and high-quality replacement EPDM bonded washers. It is crucial to purchase washers that match the diameter of your existing screws to ensure a proper fit.
| Component | Function | Recommendation |
|---|---|---|
| EPDM Washer | Primary weather seal | Use UV-stabilized, high-grade synthetic rubber |
| Impact Driver | Fastener removal/installation | Use a low-torque setting to avoid stripping |
| Wire Brush | Surface preparation | Soft brass or nylon brush to avoid scratching |
| Sealant | Secondary moisture barrier | Polyurethane-based roof sealant |
Step-by-Step Guide to Replacing EPDM Washers
Following a systematic approach ensures that you do not damage the metal panels or over-tighten the screws during reinstallation. Always prioritize safety by using proper fall protection and working during dry, clear weather conditions.
- Locate the damaged fastener and use your impact driver in reverse to carefully unscrew the fastener. Do not pull the screw out forcibly; back it out until it is free from the wood purlin or metal substrate.
- Once the screw is removed, inspect the hole for signs of rust or oversized drill holes. If the hole is significantly enlarged, you may need a slightly larger diameter screw rather than just a new washer.
- Use a wire brush to gently remove any debris, dirt, or old rubber residue from the metal panel surface where the new washer will seat. The surface must be perfectly flat and clean for the new gasket to seal correctly.
- Clean the area with a small amount of denatured alcohol on a rag to remove any oily residue or oxidation. Let the area dry completely before proceeding.
- Slide the new EPDM bonded washer onto the screw. Apply a small bead of high-quality polyurethane roof sealant around the underside of the washer if the metal surface has minor pitting or irregularities.
- Insert the screw back into the original hole. Tighten the screw until the EPDM washer is slightly compressed—you should see a thin ring of rubber begin to bulge out from the edges of the metal washer. Avoid over-tightening, as this can crack the new rubber and cause it to fail prematurely.
Common Mistakes and Best Practices
One of the most frequent mistakes homeowners make is over-tightening the screws. When the EPDM rubber is squashed too hard, it loses its elasticity and tears, creating a direct path for moisture. The goal is a firm “snug” fit that compresses the rubber just enough to create a seal, not a deformation of the metal panel itself.
Another common error is failing to address the underlying metal surface. If the metal panel is dented or scratched around the screw hole, the new washer will not have a flat surface to seal against. In these instances, applying a small dab of specialized metal roofing sealant under the new washer is a critical insurance policy against future leaks. Furthermore, never reuse an old screw if it shows signs of corrosion, as the rust will continue to eat away at the metal panel from the inside out.
Maintaining Your Roof for Longevity
Regular maintenance is the key to a long-lasting metal roof. Every six months, perform a visual inspection of your roof, paying close attention to the fasteners in areas where water flow is heaviest, such as valleys or near chimneys. If you find a cluster of failed washers, it is often a sign that the entire roof is reaching the end of its UV-resistance cycle. In such cases, consider replacing all fasteners in that section to prevent a “whack-a-mole” scenario where you are constantly chasing new leaks.
Environmental factors also play a massive role in washer degradation. If your home is located in a coastal area with high salt content in the air, or in an area with extreme thermal cycling, your washers will likely fail faster than those in temperate, stable climates. Being proactive with these small repairs will save you thousands of dollars in structural repairs over the life of your home.
Q: How do I know if the washer is the right size for my screw?
A: The internal diameter of the EPDM washer should fit snugly onto the shank of the screw. Most standard metal roofing screws use a 1/4 inch or 5/16 inch hex head, and the washers are sold based on the screw gauge; always check the packaging for compatibility with your specific screw diameter.
Q: Can I use silicone instead of replacing the washer?
A: While applying silicone sealant over a broken washer might provide a temporary fix, it is not a permanent solution. Silicone can degrade and lose adhesion over time, and it does not provide the structural compression required to keep the screw firmly in place. Always replace the physical EPDM washer for long-term protection.
Q: Is it necessary to replace every screw on the roof if only a few are broken?
A: It is not strictly necessary to replace every screw, but if you notice widespread cracking across the entire roof, it indicates the rubber has reached its life expectancy. In that case, a total replacement is recommended to avoid recurring maintenance issues.
📷 Photo by walmart.com








Leave a Reply