

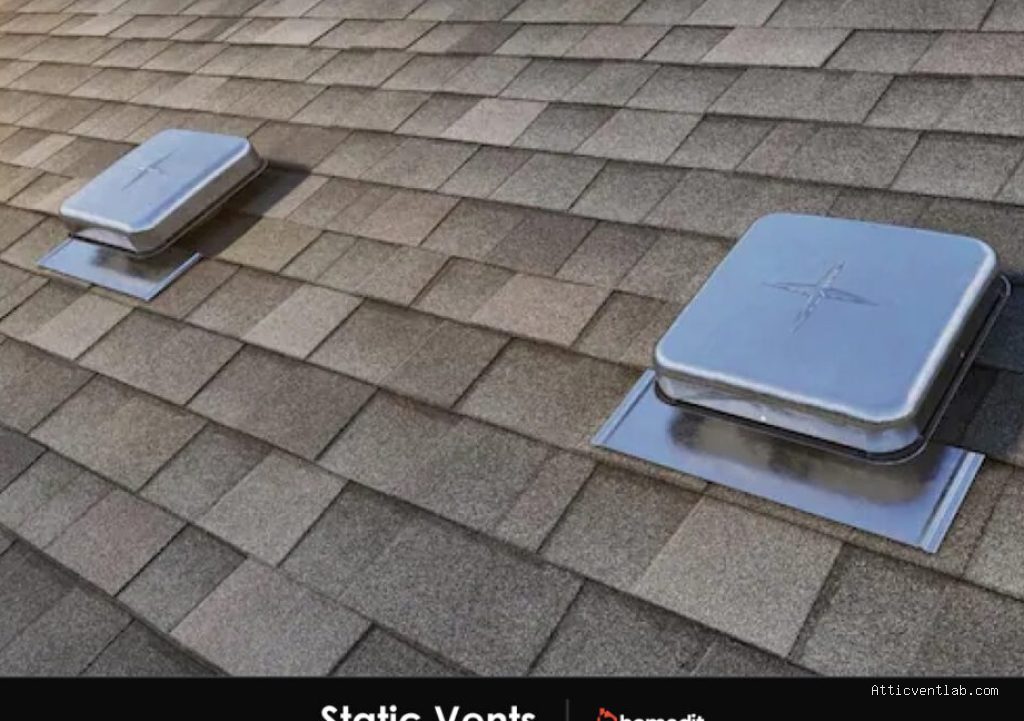
Atticventlab.com – Adding extra static roof vents balances low ridge exhaust by increasing the total net free area (NFA) of the attic, ensuring that air intake and exhaust work in harmony to prevent moisture buildup and heat stagnation. This process restores the proper pressure differential required for passive ventilation systems to function effectively.
Understanding the Ventilation Imbalance
Most attic ventilation issues stem from a mismatch between intake and exhaust. When a ridge vent is installed, it relies on the stack effect—warm air rising through the ridge—to pull fresh, cooler air from the soffits. If the ridge vent is undersized or blocked by internal baffles, or if the intake is insufficient, your attic becomes a trapped pocket of high-temperature, high-humidity air. Adding static vents, such as box vents or wind turbines, provides an auxiliary exit point that compensates for the lack of airflow at the ridge, effectively “bypassing” the bottleneck.
The Importance of Net Free Area (NFA)
Before installing any additional vents, you must calculate the NFA of your attic. The standard rule of thumb is the 1/150 ratio, which suggests one square foot of ventilation for every 150 square feet of attic floor space. If you are balancing a low-performing ridge vent, your goal is to reach that 1/150 threshold by distributing the exhaust points more evenly across the roof deck. Failing to reach this balance often leads to premature shingle degradation and the growth of mold on roof sheathing.
Comparison of Common Static Vent Types
Choosing the right vent depends on your roof pitch and the existing architectural layout. The following table outlines the typical NFA provided by various static vent options to help you determine how many units are required to balance your system.
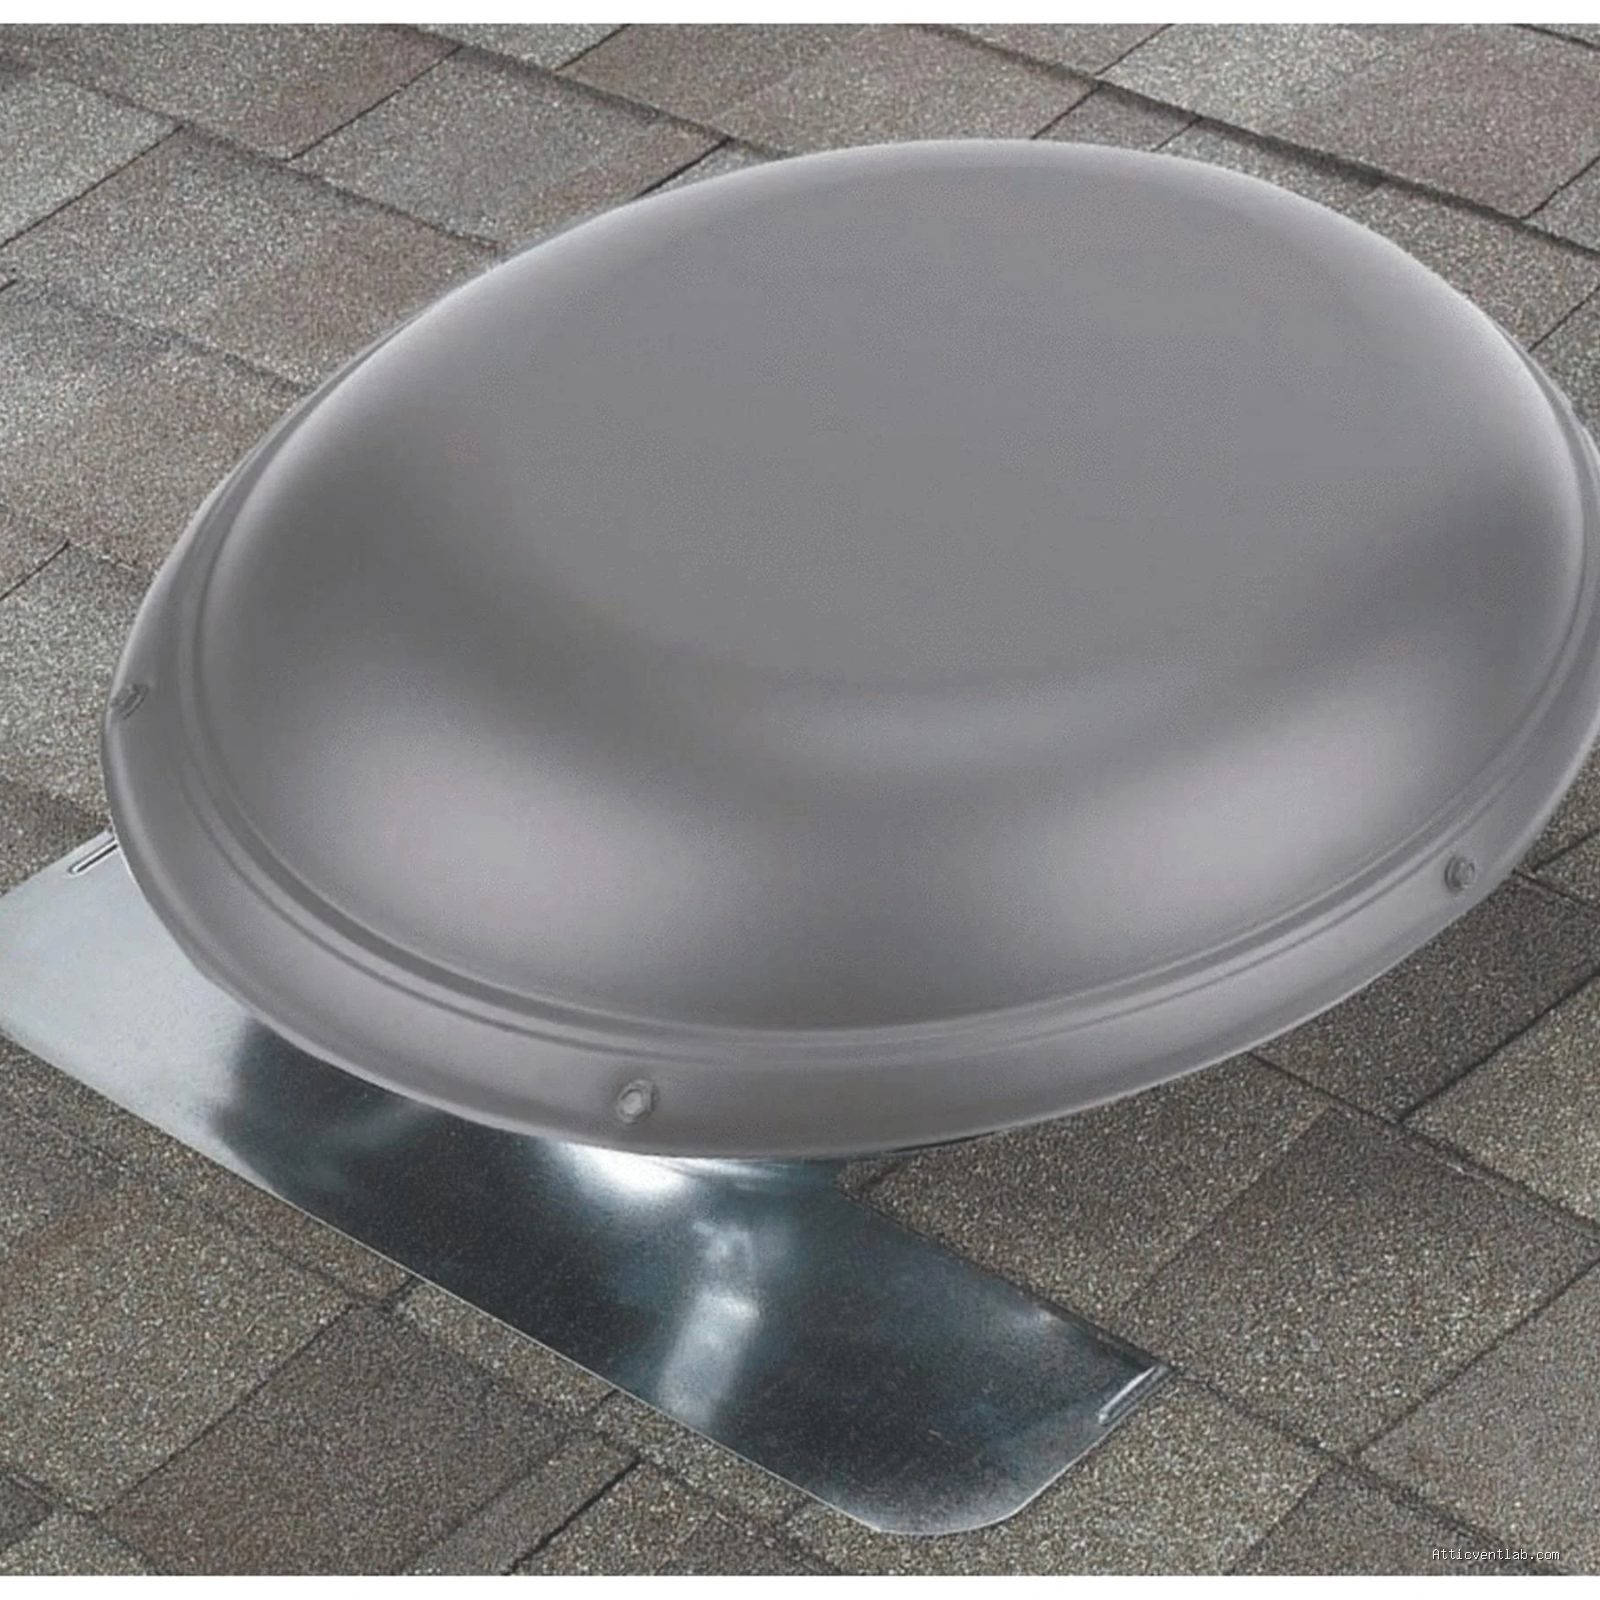
📷 Photo by walmart.com
| Vent Type | Average NFA (sq. inches) | Best Use Case |
|---|---|---|
| Standard Box Vent (Plastic) | 50 to 75 | General attic heat relief |
| Low-Profile Static Vent | 30 to 50 | Aesthetic-conscious installations |
| Wind Turbine (12-inch) | 100 to 140 | High-volume exhaust needs |
| Gable End Louver | Varies by size | Supplemental passive airflow |
Step-by-Step Guide to Installing Static Roof Vents
Installing extra vents is a task that requires precision to ensure the roof remains watertight. Follow these steps to safely incorporate static vents into your existing roof layout.
- Determine the placement: Locate the spots on the roof deck that are at least 18 inches below the ridge. Do not install vents too close to the ridge, as this can cause “short-circuiting,” where air is pulled from the new vent instead of the soffits.
- Mark the opening: Use the template provided by the vent manufacturer. Ensure you are avoiding roof trusses or rafters by checking the interior of the attic first.
- Cut the roof deck: Use a reciprocating saw or a circular saw set to the depth of your plywood or OSB sheathing. Be careful not to cut into the roof rafters.
- Prepare the shingles: Carefully remove the shingles around the opening to allow the vent flange to slide under the shingles above the hole.
- Install the vent and seal: Apply high-quality roofing cement under the flange. Secure the vent with galvanized roofing nails, ensuring all exposed nail heads are covered with sealant to prevent leaks.
- Finish with shingles: Replace the surrounding shingles, trimming them to fit snugly against the vent base, and apply a final bead of sealant to all exposed edges.
Common Mistakes to Avoid
One of the most frequent errors homeowners make is mixing different types of exhaust ventilation. You should never install static roof vents alongside ridge vents if they are at the same height or higher, as the static vents can actually pull air into the attic through the ridge vent, effectively killing your passive airflow system. Always ensure that static vents are placed lower on the roof slope than your ridge vent, or ensure the ridge vent is completely sealed off if you are transitioning entirely to a static vent system.
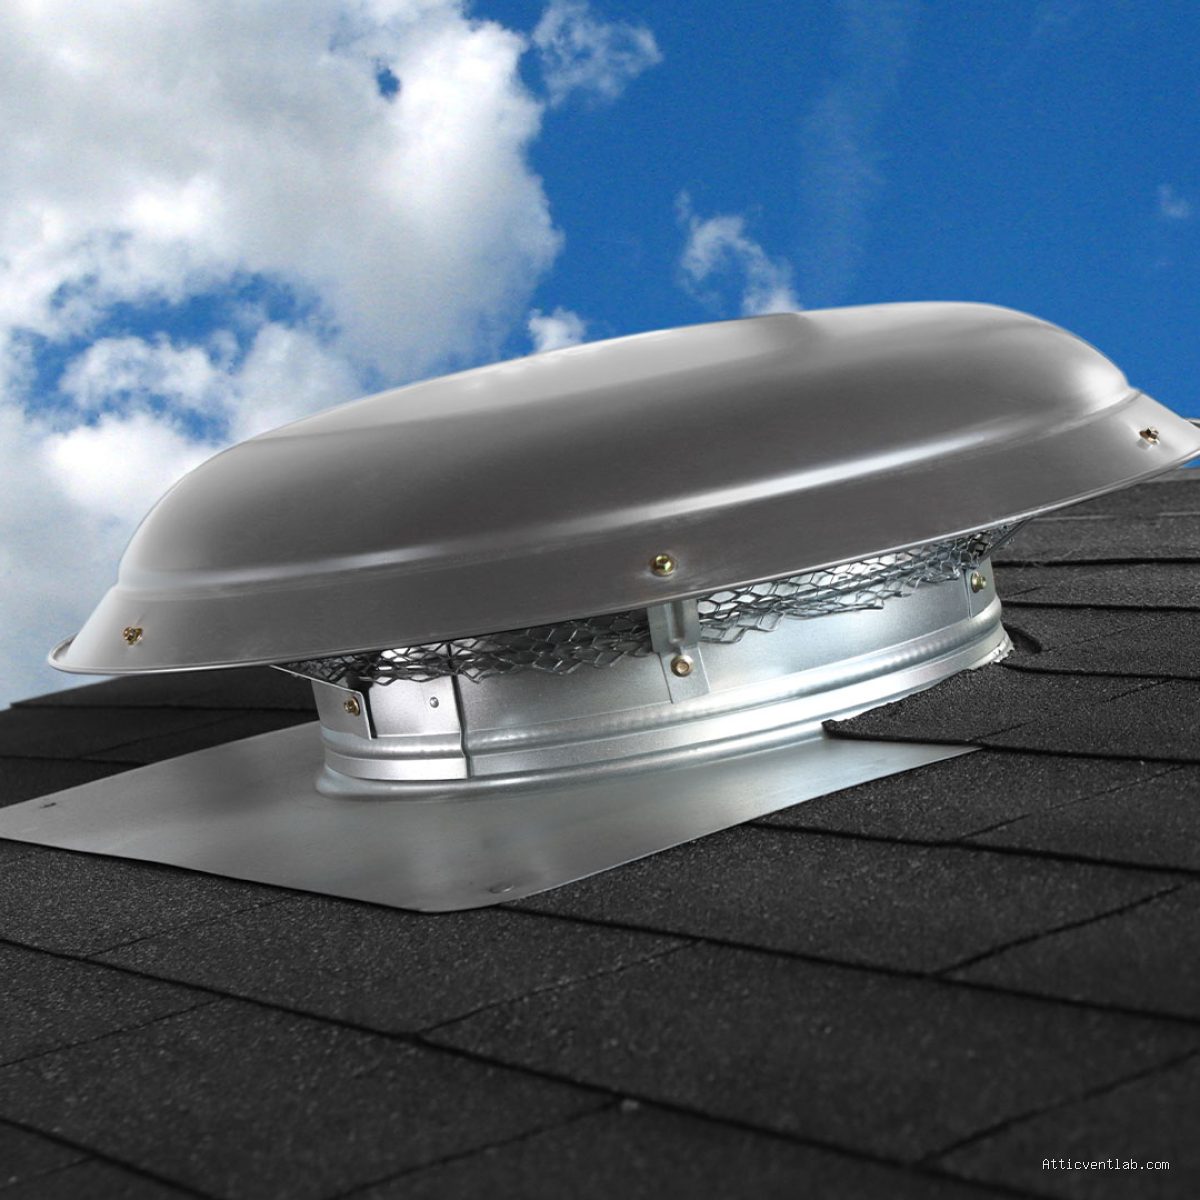
📷 Photo by usfanco.com
Another common mistake is neglecting the intake. Adding more exhaust vents without ensuring your soffit vents are open and unobstructed will create negative pressure. This can pull air from conditioned living spaces through bathroom fans or light fixtures, which increases your energy bills and introduces household humidity into the attic.
Risks of Poor Ventilation
If you ignore the balance of your attic, the consequences are often hidden until they become costly. In the winter, warm air leaking from the house meets cold roof sheathing, causing condensation. This moisture drips onto the insulation, reducing its R-value, and creates the perfect environment for wood rot. During the summer, the trapped heat acts like an oven, baking your shingles from the underside and significantly shortening their lifespan. By adding static vents to balance the ridge exhaust, you extend the life of your entire roofing assembly.
Frequently Asked Questions
Q: Can I install static vents if I already have a ridge vent?
A: Yes, but only if they are placed significantly lower on the roof deck. If placed too close to the ridge, they will interfere with the ridge vent’s ability to pull air from the soffits, creating a short-circuit in the airflow pattern.
Q: How do I know if my attic is properly balanced?
A: A balanced attic should have an equal or slightly greater amount of intake (soffit) ventilation compared to exhaust (ridge/static) ventilation. If you see signs of frost on the roof sheathing in winter or feel excessive heat in the attic during summer, your system is likely unbalanced.
Q: Do I need a permit to add static vents?
A: While minor repairs often don’t require permits, modifying your roof structure or adding multiple penetrations may be subject to local building codes. It is always recommended to check with your local municipal building department before starting the project.
📷 Photo by narodnatribuna.info








Leave a Reply