

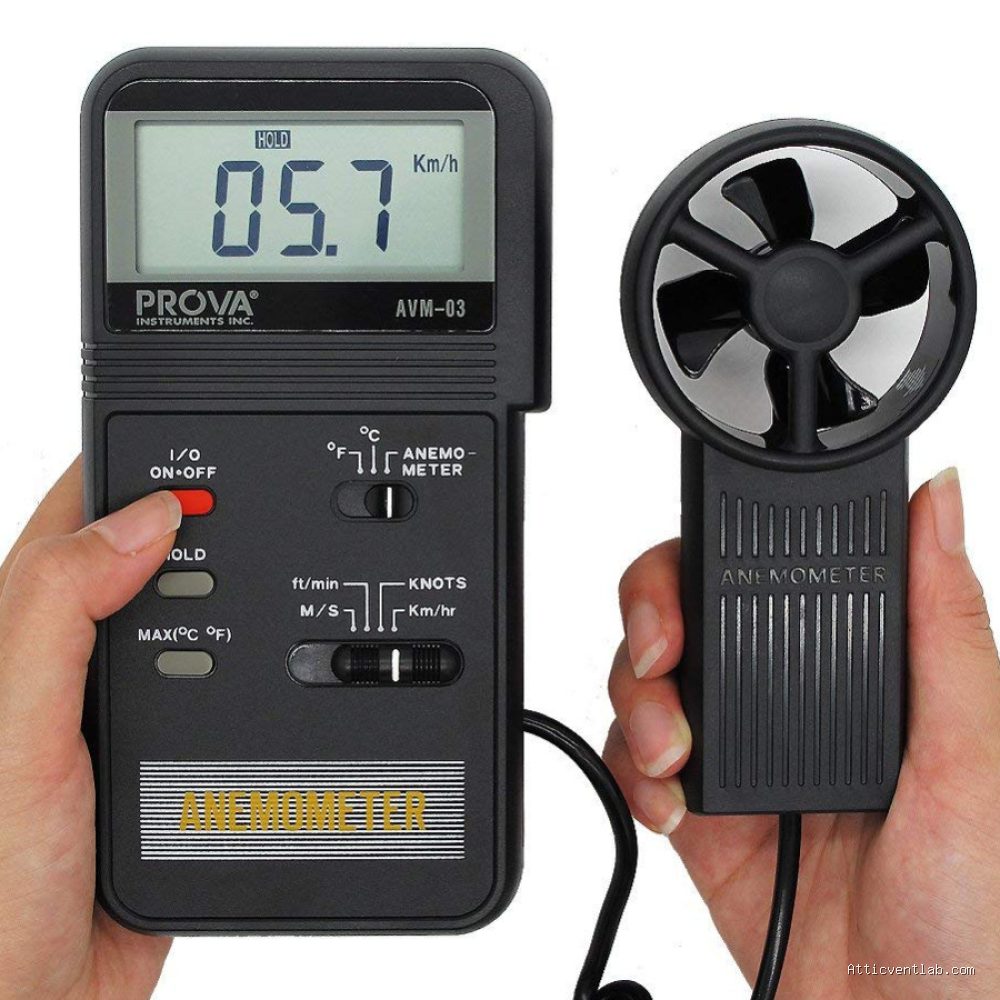
Atticventlab.com – To measure attic airflow speed across rafter bays, position a handheld vane anemometer directly in the path of the airflow at the soffit intake or ridge vent, ensuring the device remains perpendicular to the air stream for at least 30 seconds to capture a stable average reading.
Understanding the Importance of Attic Airflow
Proper attic ventilation is the silent guardian of your home’s structural integrity. Without adequate airflow, moisture builds up during the winter, leading to mold growth and wood rot, while excessive heat in the summer can prematurely degrade asphalt shingles and spike cooling costs. Checking the velocity of air moving through your rafter bays is the most precise way to determine if your ventilation system is actually performing as intended, rather than relying on guesswork.
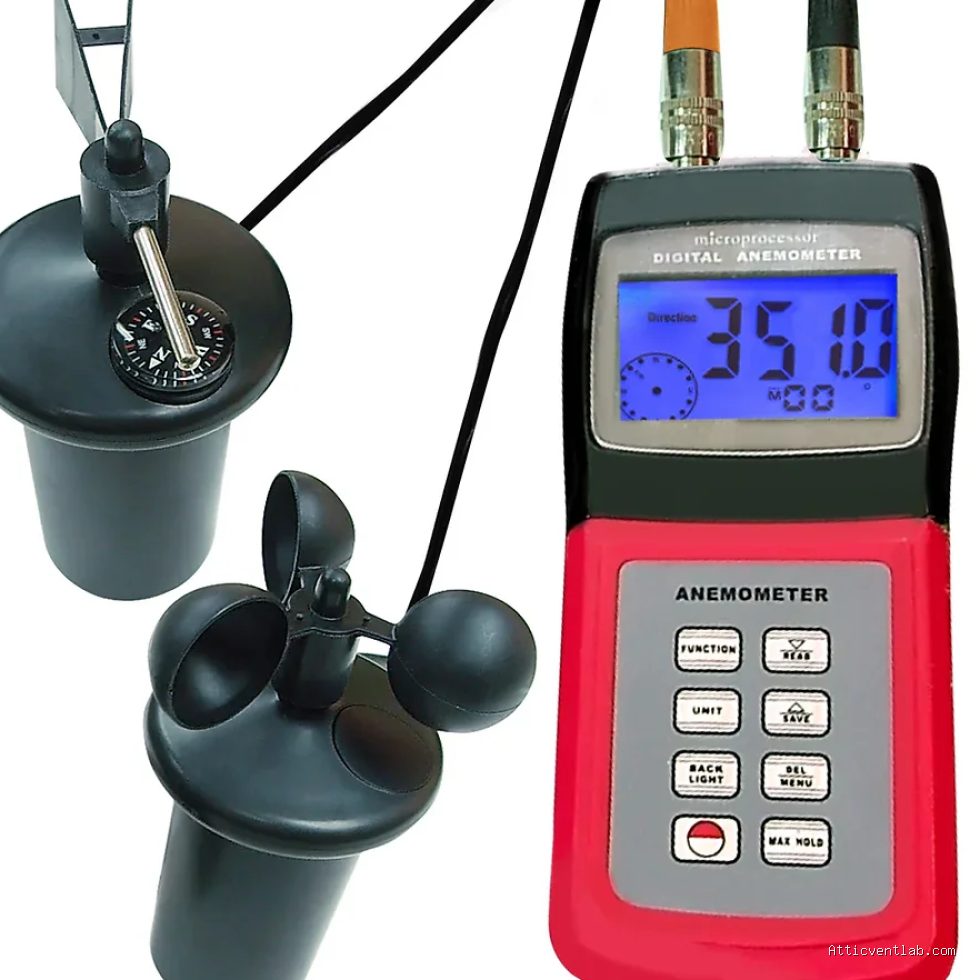
Most homeowners assume that if they have vents, they have ventilation. However, blocked soffits, insulation damming, or disconnected ductwork can render an entire vent system useless. An anemometer provides the quantitative data needed to identify these bottlenecks. By measuring the speed at which air travels through the bays, you can confirm whether the “stack effect”—the natural movement of air from low intake to high exhaust—is functioning efficiently.
Preparing for Your Airflow Assessment
Before you climb into the attic, you must ensure your safety and accuracy. Attic environments are often cramped, dusty, and hot. Always wear a respirator, safety goggles, and a headlamp. It is also crucial to perform these tests on a day with at least a light breeze outside, as a completely stagnant day will make it difficult to detect natural pressure differentials.
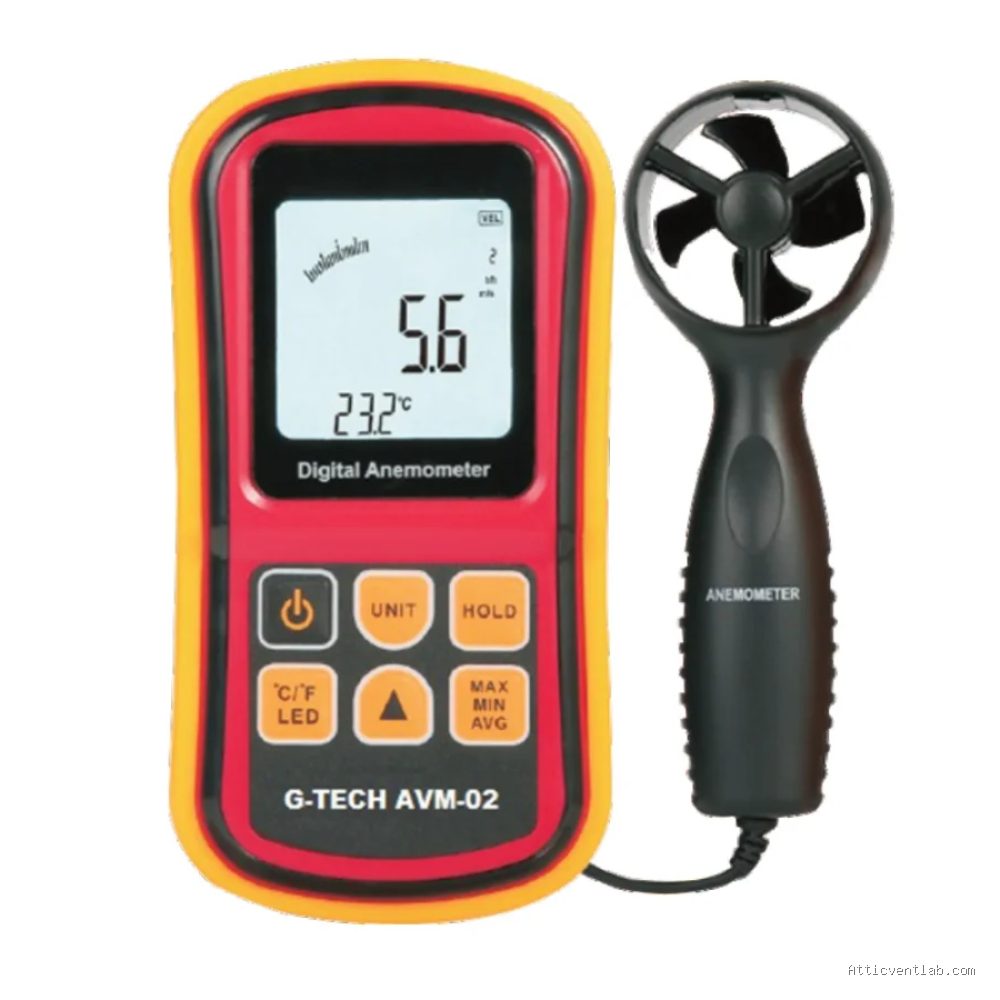
You will need a digital vane anemometer. While expensive industrial models exist, a mid-range handheld vane anemometer is sufficient for residential diagnostics. Ensure the battery is fresh and that the vane rotates freely without friction. If the vane is stiff or damaged, your readings will be significantly skewed, leading to incorrect assumptions about your ventilation health.
Step-by-Step Guide to Measuring Rafter Bay Airflow
- Clear the work area: Remove any insulation or debris that may have migrated into the rafter bay, as these blockages will create false low-velocity readings.
- Identify the intake point: Locate the soffit vent area inside the attic where the rafter bay meets the exterior wall.
- Position the anemometer: Hold the anemometer at the mouth of the rafter bay, ensuring the blades are facing directly into the incoming air stream.
- Stabilize the reading: Keep your hand steady and hold the device in place for 30 to 60 seconds; most digital anemometers have a “max” or “average” function that helps smooth out fluctuating gusts.
- Record the data: Note the feet per minute (FPM) or meters per second (m/s) for that specific bay and repeat the process for several bays across the attic to identify inconsistencies.
- Compare against benchmarks: Use your recorded data to compare airflow across different sections of the roof, looking for bays that show significantly lower velocity than others.
Common Causes of Poor Attic Airflow
When your anemometer displays near-zero readings, you are likely dealing with a physical obstruction. The most common culprit is insulation displacement. If insulation has been pushed too far into the eaves, it effectively chokes the soffit vents. This is a frequent issue in homes where loose-fill insulation was installed without proper baffles or rafter vents.
Another common issue is the “short circuiting” of airflow. This occurs when air enters the soffit but is sucked out by an exhaust vent (like a gable vent) too close to the intake, preventing the air from sweeping across the entire length of the rafter bay. In this scenario, your anemometer might show high speed at the intake but very little movement near the mid-section of the roof deck, which is exactly where moisture needs to be cleared.
Interpreting Your Data
Once you have gathered data from multiple bays, you can use the following table to assess the health of your attic ventilation. Keep in mind that these are general guidelines for residential homes under typical wind conditions.
| Airflow Reading (FPM) | Ventilation Status | Recommended Action |
|---|---|---|
| 0 – 50 FPM | Stagnant / Blocked | Check for insulation blockage or closed soffits. |
| 50 – 150 FPM | Suboptimal | Consider adding baffles or clearing debris. |
| 150 – 300 FPM | Healthy / Active | System is functioning well; monitor periodically. |
| 300+ FPM | High Velocity | Ensure no roof leaks or wind-driven rain penetration. |
Risks of Ignoring Low Airflow
Ignoring low airflow readings is a recipe for long-term property damage. In climates with high humidity, stagnant air allows condensation to collect on the underside of the roof sheathing. This moisture creates the perfect environment for mold, which can compromise the air quality of the living space below and deteriorate the plywood or OSB decking. Once the decking begins to swell or delaminate, the cost of repair shifts from simple ventilation maintenance to a full roof deck replacement.
📷 Photo by prosense.com.au
Furthermore, heat accumulation in the attic during summer months can bake the shingles from the underside. This causes the oils in the asphalt to evaporate faster than intended, leading to curling, cracking, and a significantly reduced lifespan for your roof. By using an anemometer to catch these issues early, you are essentially performing preventative maintenance that extends the life of your entire roofing system.
Practical Tips for Better Results
Always perform your measurements at different times of the day. Because the sun heats the roof surfaces unevenly, the stack effect can vary significantly from morning to afternoon. Testing during the peak heat of the day will give you the best indication of how your ventilation handles thermal load. If you find one specific side of the house has zero airflow, check for external obstructions like dense tree branches or landscaping that might be blocking prevailing winds from reaching your soffit intakes.
If you find that your attic is consistently stagnant despite having open vents, consider the geometry of your roof. Complex roof lines, such as hips and valleys, often create “dead zones” where air does not circulate. In these areas, you may need to supplement your passive ventilation with small, solar-powered attic fans to force the movement of air that would otherwise remain trapped.
📷 Photo by gtechinstruments.com
Frequently Asked Questions
Q: Does the anemometer need to be calibrated before use?
A: Most digital handheld anemometers are calibrated at the factory. For residential diagnostic purposes, periodic professional calibration is generally unnecessary unless the device has been dropped or submerged in water.
Q: Why does my anemometer show different speeds in different bays?
A: Variations are normal due to wind direction and the orientation of the house. However, if one bay is significantly lower than the rest, it usually indicates a localized blockage or a structural obstruction inside that specific rafter bay.
Q: Should I test with the attic hatch open or closed?
A: Always keep the attic hatch closed during your testing. An open hatch can disrupt the natural pressure dynamics of the attic and lead to inaccurate readings, as air may escape through the hatch rather than following the intended path through the vents.
📷 Photo by clarenshouse.co.za






Leave a Reply