

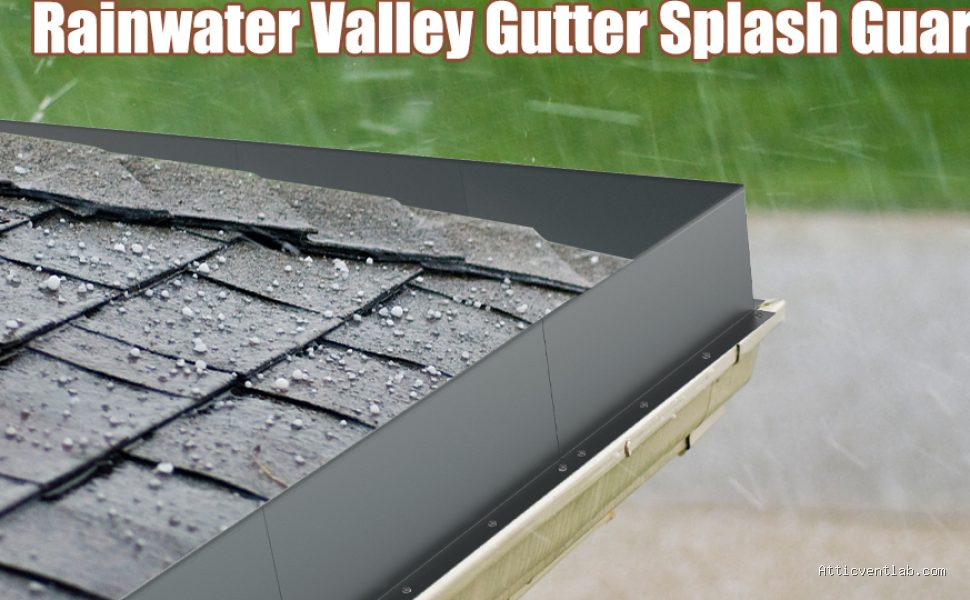
Atticventlab.com – Installing ice and water shield inside valley centers before metal liners requires a continuous, self-adhering membrane layer laid vertically from the eave to the ridge to create a watertight seal that prevents ice dam backups and wind-driven rain penetration. This critical underlayment layer must be installed with precise overlapping techniques to ensure the metal valley flashing remains isolated from the roof deck, preventing galvanic corrosion and moisture entrapment.
The Importance of Proper Valley Underlayment
Roof valleys are the most vulnerable locations on any sloped roof system. They act as a funnel for all the water running off adjacent roof planes, making them high-traffic zones for moisture. If the underlayment is not installed correctly, water can easily seep beneath the metal liners, leading to rotted roof decking, damaged rafters, and interior ceiling leaks.
Using a high-temperature self-adhering ice and water shield is the industry standard for these areas. Unlike traditional felt paper, which can tear or degrade under the heat generated by metal roofing, a rubberized asphalt or synthetic membrane provides a permanent, self-sealing barrier. This material is specifically designed to seal around the fasteners used to secure the metal valley liners, ensuring that every nail hole remains watertight.
Preparation and Material Selection
Before beginning the installation, ensure the roof deck is clean, dry, and free of protruding nail heads or debris. Any uneven surface under the valley membrane can cause the material to tent or puncture when the metal liner is pressed down. You must select a membrane that is rated for high-temperature applications, especially if you are installing a metal roof, as metal surfaces can reach temperatures exceeding 200 degrees Fahrenheit in direct sunlight.
Step-by-Step Installation Guide for Valley Membranes
- Clear the entire valley area of existing debris, dust, and old roofing materials to ensure the adhesive backing bonds directly to the wood deck.
- Measure and cut your ice and water shield into manageable lengths, typically 4 to 6 feet, to make handling easier while working on the steep slope of the valley.
- Start at the bottom of the valley (the eave) and center the membrane strip precisely along the valley crease.
- Peel back the release film and press the membrane firmly into the valley, starting from the center and working outward toward the edges to prevent air bubbles.
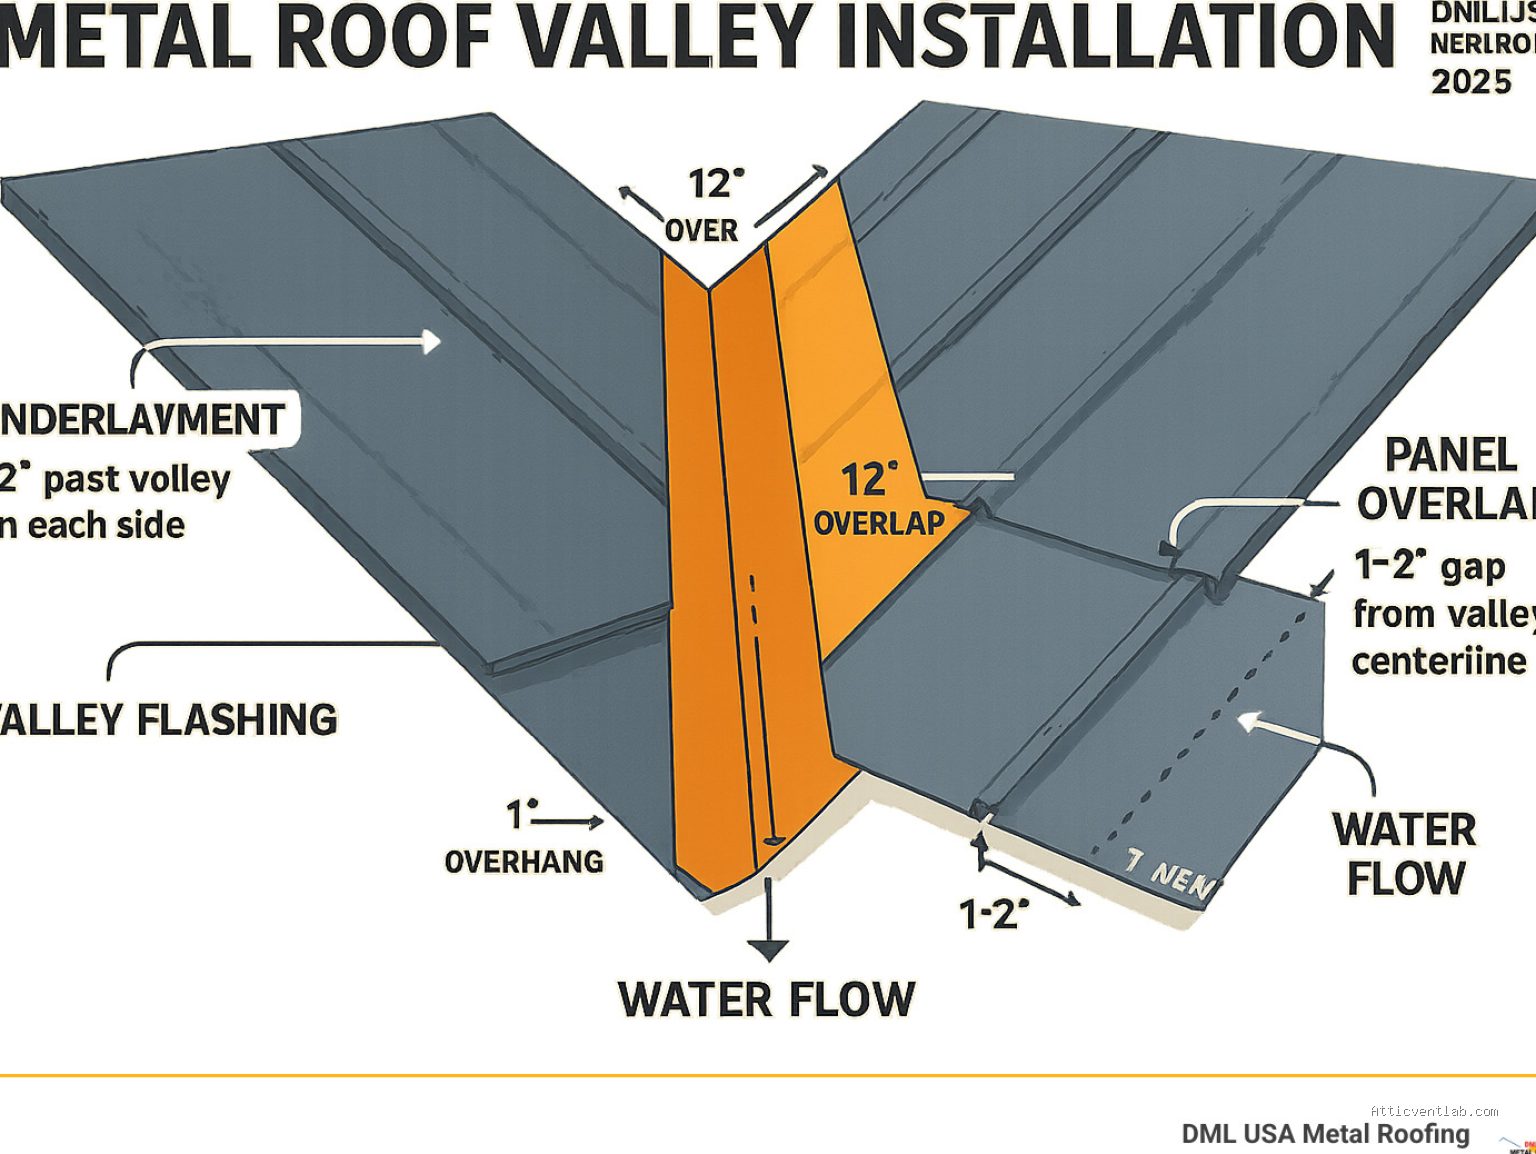
- Overlap the next sheet of membrane by at least 6 inches over the previous sheet, ensuring the “shingle fashion” overlap points downward to shed water correctly.
- Apply firm pressure using a heavy hand roller over the entire surface of the membrane to activate the adhesive and ensure a complete bond to the deck.
- Extend the membrane at least 18 to 24 inches onto each adjacent roof plane to provide a wide enough buffer for the metal valley liner flanges.
Comparison of Valley Underlayment Options
| Material Type | Adhesion Method | Temperature Resistance | Recommended Use |
|---|---|---|---|
| Standard Felt | Mechanically Fastened | Low | Not recommended for valleys |
| Synthetic Underlayment | Mechanically Fastened | Moderate | General roof deck only |
| Self-Adhering Membrane | Pressure Sensitive | High (Up to 250F) | Valleys and Eaves |
Common Mistakes and How to Avoid Them
📷 Photo by dmlusa.com
One of the most frequent errors installers make is failing to roll the membrane. Simply laying the material down and walking on it is rarely sufficient to ensure a long-term bond. Using a heavy roller is essential to eliminate voids between the adhesive and the wood, which could otherwise allow moisture to track horizontally under the membrane.
Another common mistake is attempting to install the membrane in cold weather without proper surface preparation. If the temperature is below 40 degrees Fahrenheit, the adhesive on the ice and water shield may not stick effectively. In these cases, it is necessary to use a heat gun or wait for warmer conditions to ensure the membrane adheres properly to the roof deck.
Finally, avoid using excessive fasteners on the membrane itself. Since the metal valley liner will be installed over the top, the pressure from the metal—if fastened correctly—will further secure the membrane. Any unnecessary staples or nails driven through the membrane create potential leak points that rely entirely on the self-sealing properties of the rubberized asphalt to stay dry.
Risks of Improper Installation
Ignoring the valley underlayment or using inferior products creates a significant risk of structural failure. Metal valley liners often expand and contract with temperature fluctuations. If the underlying membrane is not properly installed or if it lacks the flexibility to move with the structure, the metal can chafe against the membrane, eventually wearing a hole through the protective barrier.
Furthermore, improper overlap direction is a catastrophic error. Always ensure that the upper sheet of the membrane overlaps the lower sheet. If the overlap is reversed, water traveling down the valley will be directed underneath the membrane, effectively bypassing the protection you intended to create.
Frequently Asked Questions
Q: Can I use standard roof felt instead of ice and water shield in the valley?
A: No, standard felt paper lacks the self-sealing and waterproofing properties required for valleys and will likely fail prematurely, leading to leaks beneath your metal liner.
Q: Should I fasten the metal valley liner directly through the membrane?
A: Ideally, you should use metal clips to secure the valley liner whenever possible to avoid penetrating the ice and water shield. If you must nail the flange, ensure the fasteners are placed as far as possible from the valley center and are covered by the roofing panels.
Q: How long should the valley membrane extend up the roof slope?
A: The membrane should extend at least 18 to 24 inches on each side of the valley center line to provide a sufficient secondary drainage plane beneath the metal valley liner.
📷 Photo by amazon.ca







Leave a Reply