

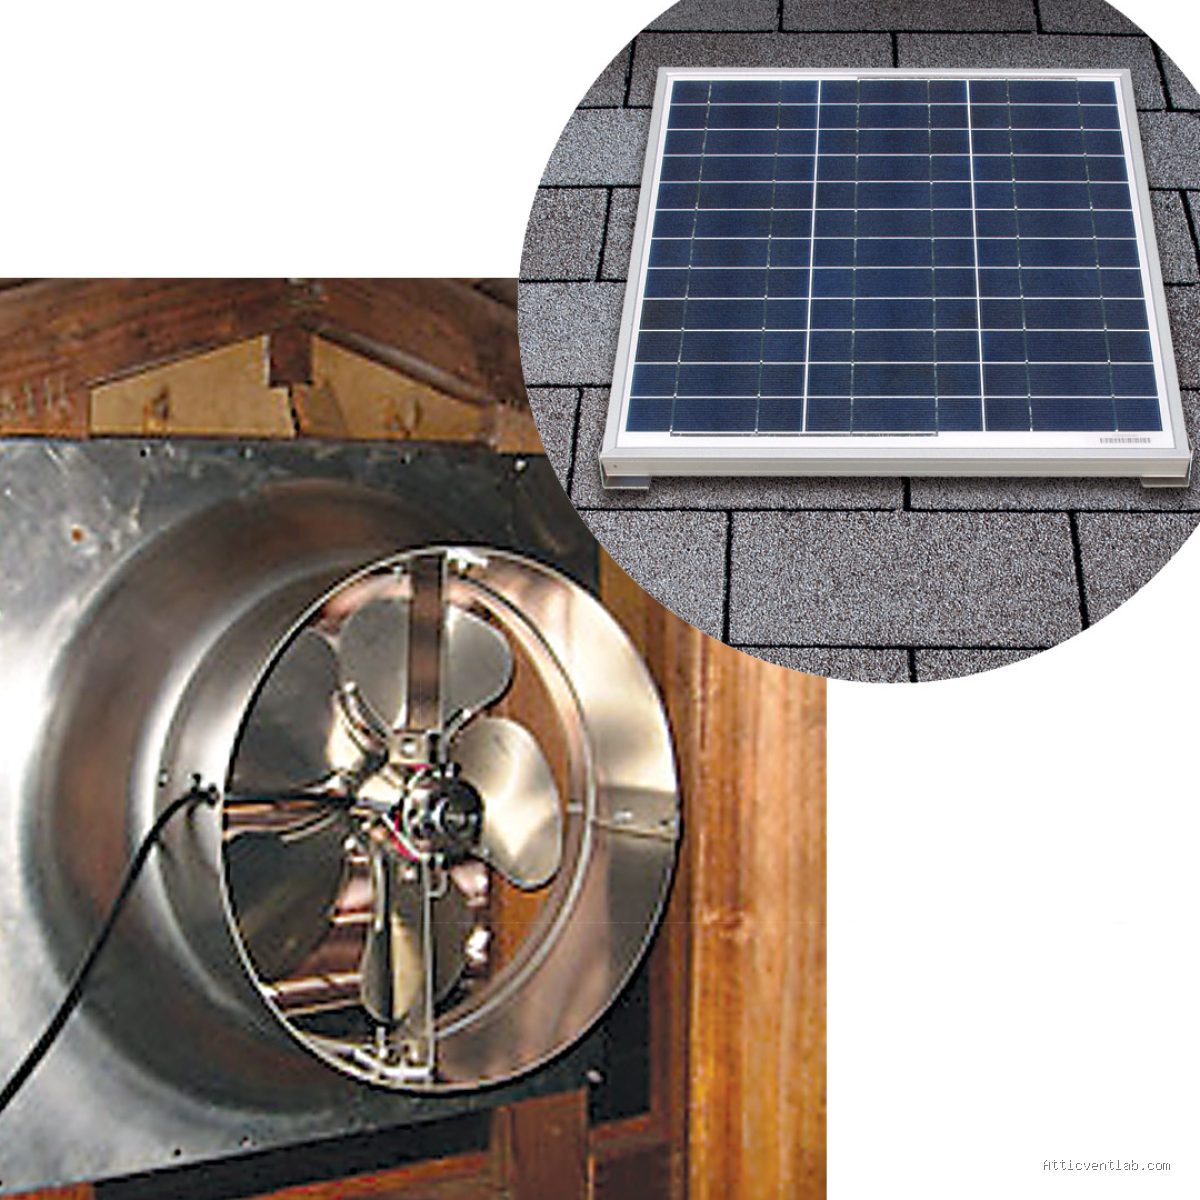
Atticventlab.com – Wiring a solar-powered attic fan on a high-pitch hip roof requires securing the unit near the ridge to maximize sun exposure while ensuring all electrical connections are weather-sealed and properly routed to prevent water intrusion into the attic space.
Installing a solar fan on a steep hip roof presents unique challenges compared to a standard gable roof. The steep angle—often exceeding 8/12 pitch—makes footing precarious and requires specialized safety equipment. Furthermore, the complex geometry of a hip roof means you must be strategic about where you place the fan to avoid structural rafters and ensure the solar panel receives unobstructed sunlight throughout the day.
Safety and Preparation for High-Pitch Roofs
Working on a high-pitch roof is inherently dangerous. Before you begin, ensure you have a certified roof harness, a high-quality roof ladder or ridge hook, and a spotter on the ground. Never attempt this installation during windy conditions or when the shingles are damp, as the slope significantly increases the risk of sliding.
When selecting the installation site, choose a section of the roof that faces south or west. On a hip roof, the highest point is the ridge. Placing the fan near the top of the roof allows it to draw out the hottest air trapped in the attic, which naturally rises to the peak. Always verify the underside of the roof deck for obstructions like electrical wiring or plumbing vents before cutting your opening.
Tools and Components Required
To ensure a professional-grade installation, you need the right tools. Beyond the fan unit, gather a reciprocating saw, a roofing sealant (specifically designed for exterior use), a utility knife, a drill with appropriate bits, and galvanized roofing nails. Having these items organized in a tool belt will prevent unnecessary trips up and down the ladder.
Step-by-Step Installation Guide
- Mark the center point for the fan opening between two rafters, ensuring you have at least 12 inches of clearance from the ridge and any hip joints.
- Use the template provided by the manufacturer to trace the circular or square cutout onto the shingles.
- Carefully cut through the shingles and the roof decking using a reciprocating saw, being mindful not to cut into the rafters.
- Install the base flashing by sliding the top half under the existing shingles above the hole and leaving the bottom half exposed over the shingles below.
- Secure the flashing to the roof deck using roofing nails, then apply a generous bead of high-grade roofing sealant under all exposed edges to create a watertight seal.
- Connect the solar panel wiring to the motor unit according to the manufacturer’s color-coded instructions, ensuring the connectors are snapped firmly into place.
- Mount the fan unit onto the flashing and secure it with the provided hardware, ensuring all gaskets are compressed to prevent leaks.
- Test the fan by exposing the solar panel to direct sunlight; the motor should begin spinning immediately without abnormal vibration.
Comparison of Attic Ventilation Methods
| Feature | Solar Attic Fan | Passive Ridge Vent | Electric Attic Fan |
|---|---|---|---|
| Power Source | Solar Panel | None (Convection) | AC Power (Hardwired) |
| Installation Difficulty | Moderate | Low | High (Requires Electrician) |
| Operating Cost | Zero | Zero | Monthly Utility Bill |
| Effectiveness | High | Moderate | Very High |
Common Mistakes to Avoid
One of the most frequent errors is failing to seal the flashing properly. On a steep hip roof, water moves quickly; if the top edge of the flashing is not tucked far enough under the upper shingles, water will seep behind the unit and rot the roof deck. Always prioritize the “shingle lap” method, where every layer of material overlaps the one below it.
Another common mistake is placing the fan in a shaded area. If the solar panel is shaded by nearby trees, chimneys, or the hip roof’s own geometry during peak afternoon hours, the fan will fail to move air when it is needed most. Test the spot for shade throughout the entire day before you commit to cutting the roof.
Managing Wiring and Connections
Since the unit is solar-powered, you do not need to run high-voltage electrical lines. However, you must ensure the low-voltage wires between the panel and the motor are tucked securely into the housing. Use cable ties to bundle excess wire so it does not rattle against the roof deck during high winds, which can lead to wire fraying over time.
If your kit includes a remote thermostat or humidistat, mount the sensor in a location within the attic that reflects the average temperature. Do not mount it directly under the roof deck, as the radiant heat from the shingles will cause the sensor to trigger the fan prematurely, leading to unnecessary wear on the motor bearings.
Maintenance Tips for Longevity
Once installed, the system requires minimal maintenance. Twice a year, check the solar panel for debris, dust, or bird droppings. A dirty panel can significantly reduce the fan’s RPM. Use a soft cloth and water to wipe the glass surface clean. Additionally, check the flashing seal every two years to ensure the sealant hasn’t cracked due to thermal expansion and contraction.
Q: Can I install a solar fan on a roof that already has a ridge vent?
A: Yes, but you must ensure the fan is powerful enough to handle the volume of your attic. If the ridge vent is too large, it may cause the fan to “short circuit” by pulling air in from the nearby vent rather than from the intake vents at the soffits.
Q: Does the fan work on cloudy days?
A: Solar attic fans rely on sunlight. On heavily overcast days, the fan speed will slow down significantly or stop entirely. This is generally acceptable, as attic heat buildup is usually less severe when the sun is blocked by clouds.
Q: Is it necessary to hire a professional for a hip roof?
A: If you are not comfortable working on steep slopes or lack proper fall protection, hire a professional roofing contractor. The cost of installation is significantly lower than the potential medical costs of a fall or the structural damage caused by a leaking roof installation.
Read also: Why Mastic and Tar Smears Crack and Fail on Valley Flashing Repairs
📷 Photo by earthtechproducts.com








1 Comments
[…] Read also: How to Wire a Solar Powered Attic Fan on a High-Pitch Hip Roof […]