

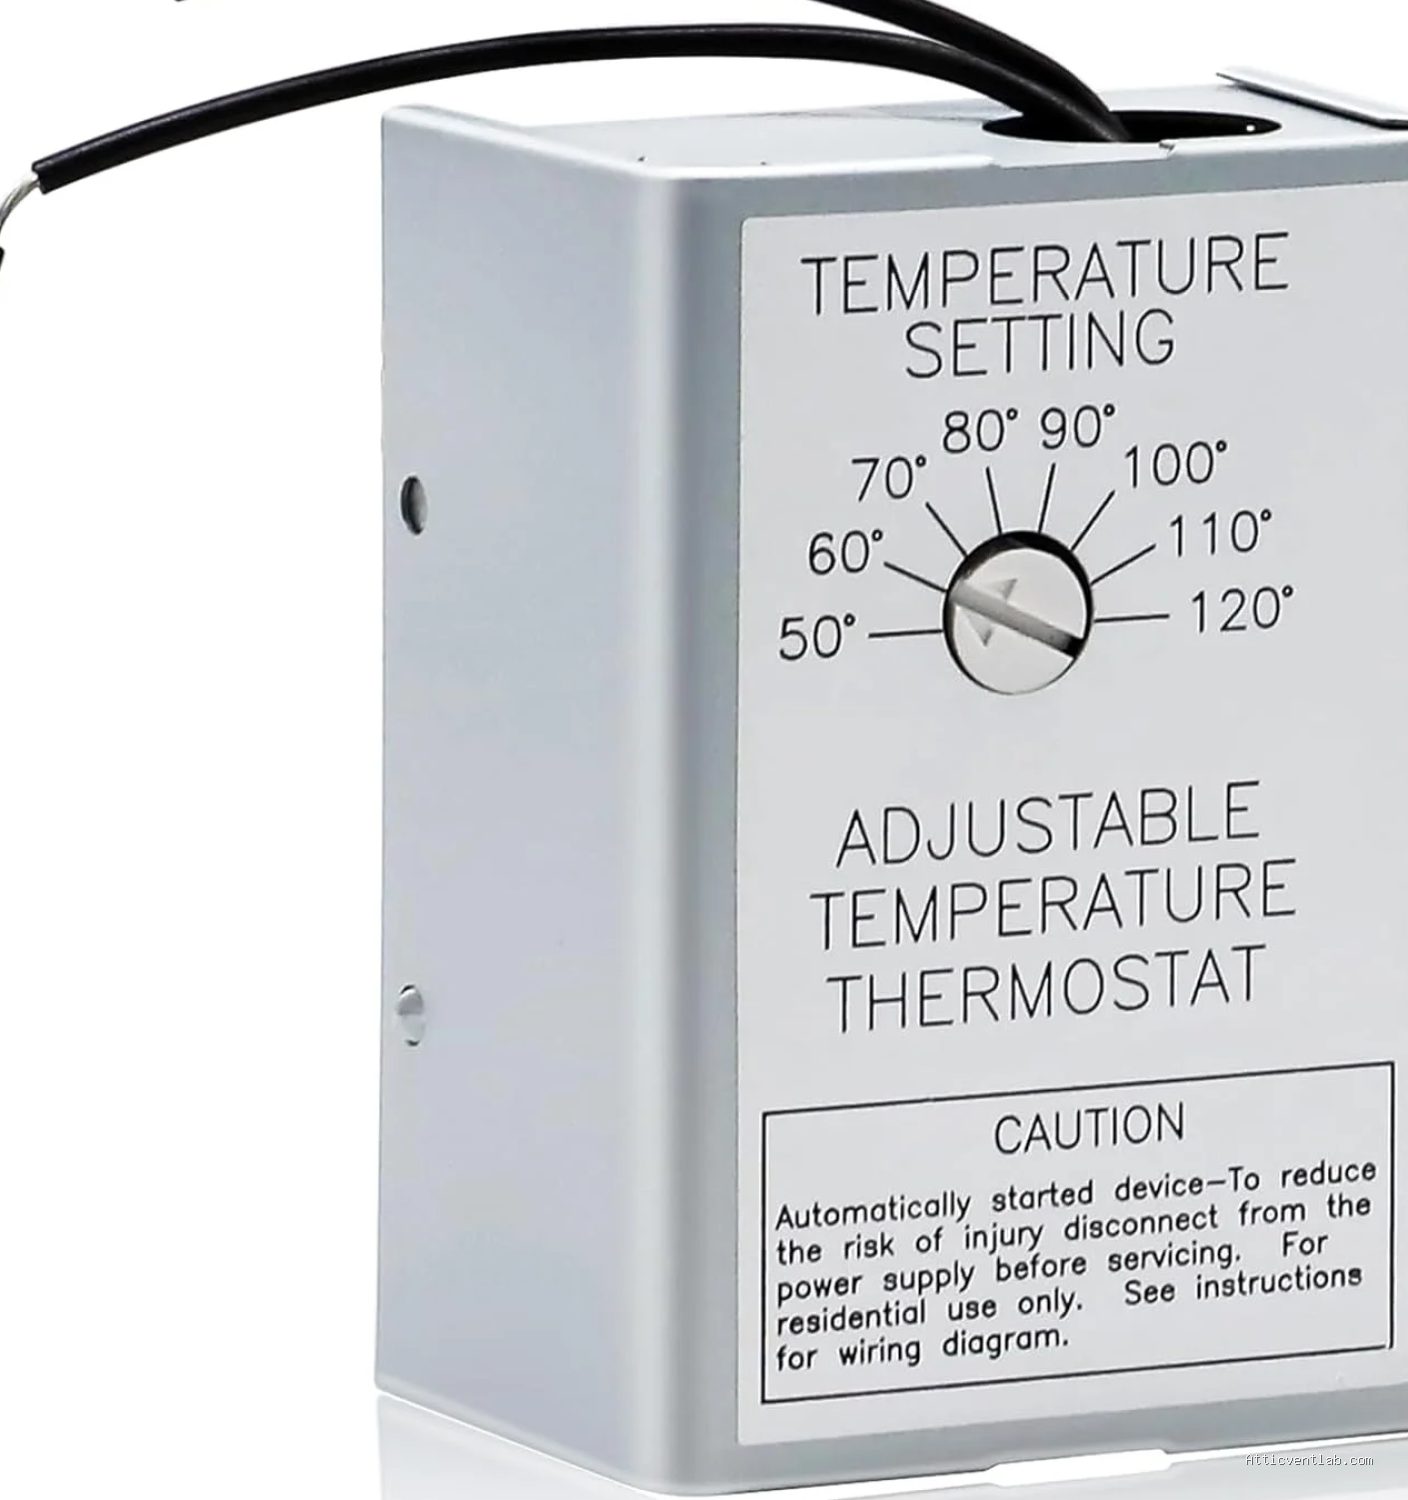
Atticventlab.com – Wiring an attic exhaust fan thermostat and humidistat combo unit involves connecting the power source, the fan motor leads, and the sensor relay to ensure the fan activates automatically based on either excessive heat or high moisture levels. This dual-control setup protects your roof structure by preventing heat buildup and moisture-induced wood rot or mold growth.
Understanding the Dual-Control Mechanism
An attic exhaust fan controlled by a combo unit operates on a logic system that prioritizes both temperature and humidity. Unlike a single-function thermostat, a combo unit features two separate internal switches wired in parallel. This means if the temperature exceeds the set point OR the humidity level rises above the threshold, the circuit closes and activates the fan.
The primary benefit of this configuration is year-round protection. In the summer, the thermostat prevents heat shingles from baking and reduces cooling loads. In the winter, the humidistat prevents warm, moist air leaking from the living space into the attic from condensing on cold rafters, which is a leading cause of structural decay.
Safety Precautions Before You Start
Electrical work in an attic environment carries inherent risks. Always locate your main service panel and flip the breaker dedicated to the attic fan circuit to the off position. Use a non-contact voltage tester to verify that no power is flowing through the wires before you touch any terminals. If you are uncomfortable working with high-voltage wiring, consult a licensed electrician.
Essential Tools and Materials
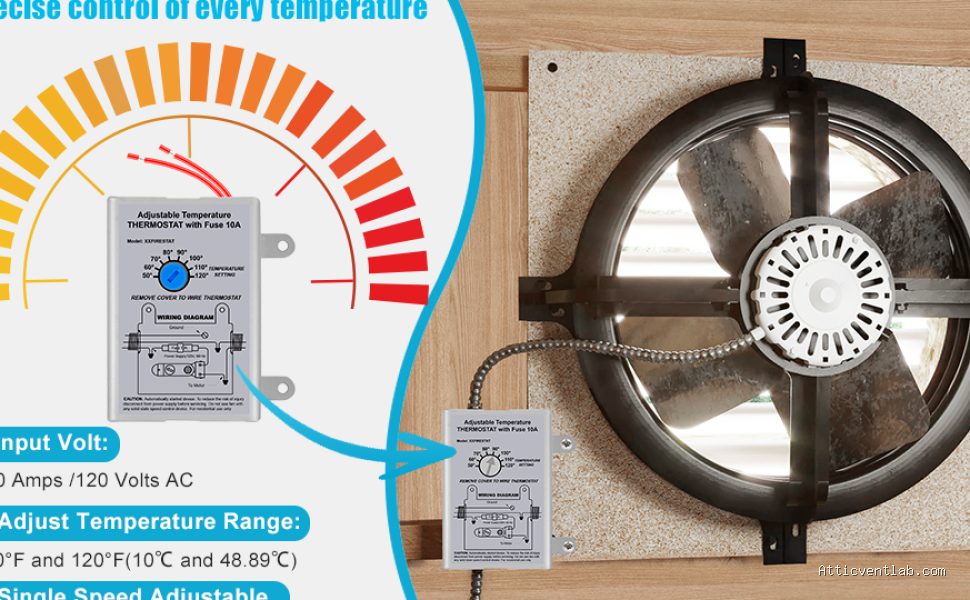
📷 Photo by amazon.com
Before beginning the installation, ensure you have the following items ready to avoid multiple trips to the hardware store:
| Item | Purpose |
|---|---|
| Wire Strippers | To remove insulation from electrical conductors. |
| Voltage Tester | To ensure the power is completely off. |
| Wire Nuts | To secure connections safely inside the junction box. |
| Screwdriver Set | For mounting the control unit and tightening terminals. |
| Electrical Tape | To wrap and insulate wire nut connections. |
Step-by-Step Wiring Guide
Follow these steps to integrate the combo unit into your attic ventilation system. Most units come with a pre-wired junction box, but you must make the final connections to your power supply and fan motor.
- Mount the combo unit to a wall stud or a vertical rafter in a location that represents the average temperature and humidity of the attic, away from direct sunlight or immediate exhaust airflow.
- Feed the power supply cable (from the breaker) and the fan cable into the junction box of the combo unit using proper cable clamps to prevent wire strain.
- Connect the green or bare copper ground wires from the power source and the fan to the green grounding screw or the designated ground terminal inside the unit box.
- Connect the white (neutral) wire from the power source directly to the white (neutral) wire of the exhaust fan motor using a wire nut.
- Connect the black (hot) wire from the power source to the “Line” or “Common” input terminal on the combo unit.
- Connect the black (hot) wire leading to the fan motor to the “Load” terminal on the combo unit.
- Check all connections to ensure they are firm, tuck the wires neatly into the junction box, and secure the cover plate.
Common Mistakes to Avoid
One of the most frequent errors is mounting the sensor too close to the intake vents. If the sensor is placed directly in the path of fresh air coming from the soffits, it will provide an inaccurate reading of the attic’s overall climate, causing the fan to cycle on and off prematurely. Always place the unit in the central, upper portion of the attic space.
Another common mistake is failing to calibrate the sensors after installation. Many homeowners leave the factory settings as they are, which may not be optimal for their specific climate. Test the unit by using a hair dryer (from a safe distance) to trigger the thermostat and a damp cloth near the sensor to trigger the humidistat.
Risks of Improper Wiring
Poorly secured wire nuts can lead to arcing, which creates a significant fire hazard in an attic environment filled with insulation and dust. Additionally, if the wiring is not routed through conduit or stapled properly to the studs, it may be subject to vibration from the fan motor, eventually leading to loose connections or frayed insulation.
Frequently Asked Questions
Q: Can I wire a combo unit if my attic fan only has two wires?
A: Yes, but you must ensure you have a proper ground wire available in your electrical box. If your fan is an older model lacking a ground, you should upgrade the wiring to meet modern safety codes.
Q: What are the ideal settings for an attic combo unit?
A: Generally, set the thermostat to 100-110 degrees Fahrenheit and the humidistat to approximately 70-80 percent relative humidity. These settings prevent the fan from running unnecessarily while still providing adequate protection.
Q: Why does my fan run constantly even when the attic feels cool?
A: It is likely that the humidistat is being triggered. If the outside air is very humid or there is a moisture leak in your attic, the unit will keep the fan running to prevent mold growth, which is actually a sign that the system is working exactly as intended.
Maintaining Your Ventilation System
Once wired, the system requires minimal maintenance. However, you should inspect the unit once per year—ideally before the start of the summer season. Ensure the sensor screen is free of dust, spider webs, or debris that might insulate the sensor and delay its response to ambient conditions. Keeping the sensor clean ensures that the thermostat and humidistat remain responsive and efficient, extending the life of your fan motor and protecting your roof deck from moisture damage.
📷 Photo by walmart.com








Leave a Reply